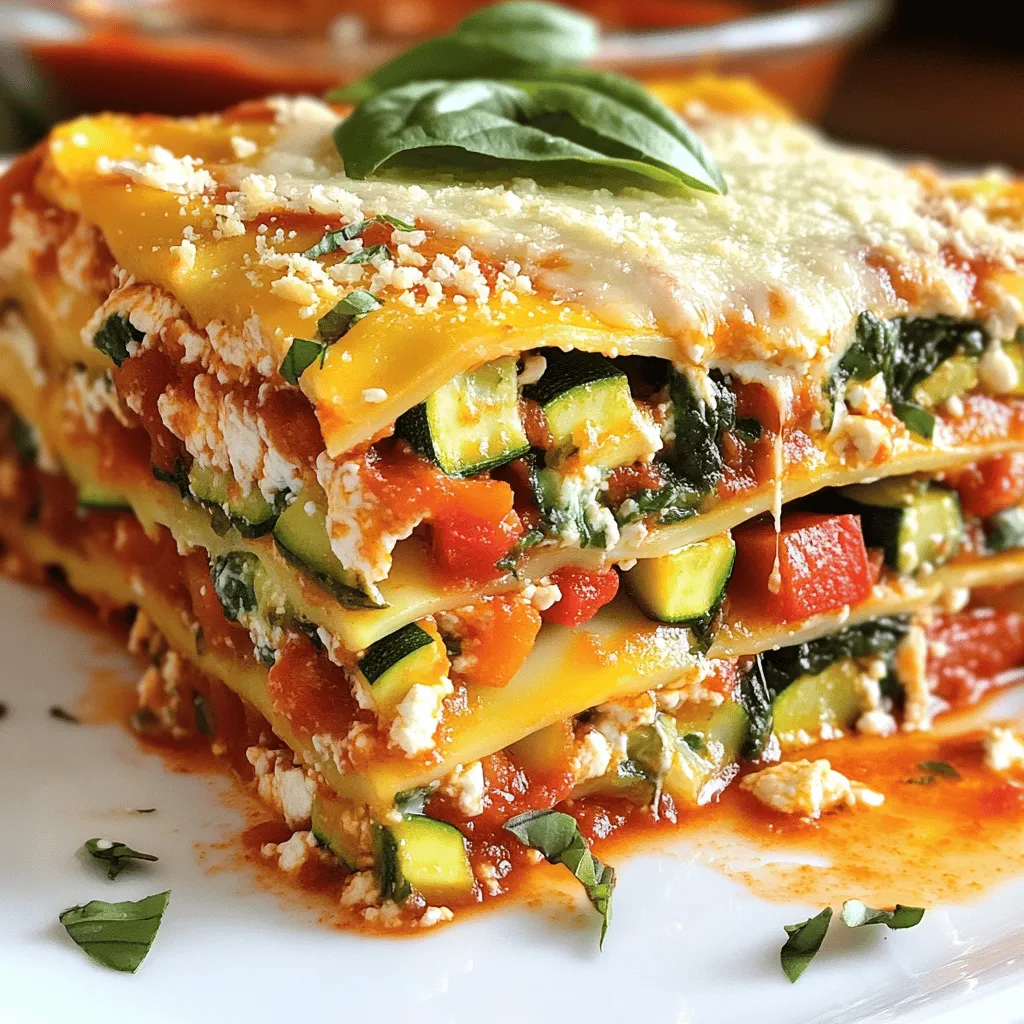
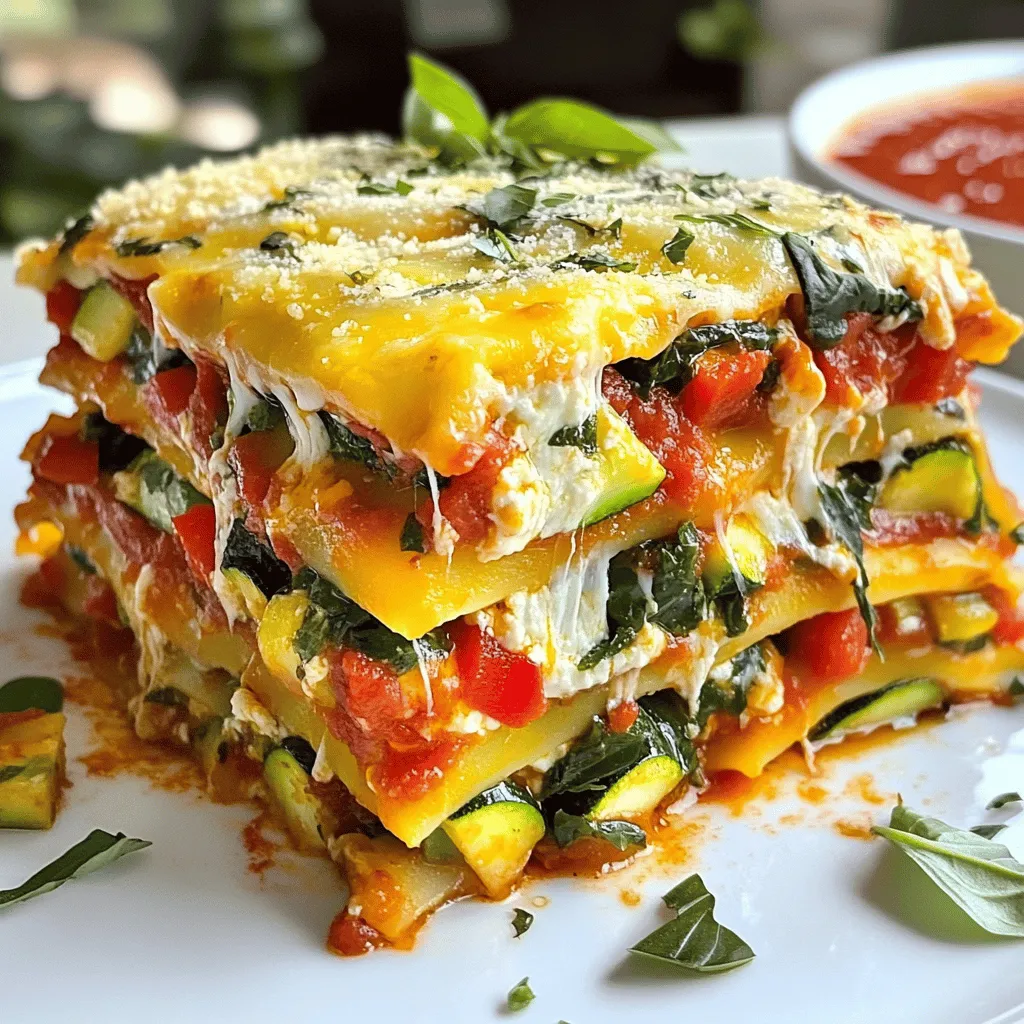
Are you ready to enjoy a mouthwatering Classic Veggie Lasagna that’s simple to make? I’m excited to share a delightful recipe packed with rich flavors and fresh veggies. In this blog post, I will guide you step-by-step in creating a comfort food classic that suits every palate. Whether you are an expert in the kitchen or just starting out, this easy recipe will have you serving up smiles in no time. Let’s dive in!
Ingredients
List of Ingredients
– Main ingredients
– 9 lasagna noodles
– 2 cups ricotta cheese
– 2 cups shredded mozzarella cheese
– 1 cup grated Parmesan cheese
– 1 medium zucchini, diced
– 1 medium red bell pepper, diced
– 1 cup chopped spinach (fresh or frozen)
– 2 cups marinara sauce
– 1 teaspoon dried oregano
– 1 teaspoon dried basil
– 2 cloves garlic, minced
– Salt and pepper to taste
– 1 tablespoon olive oil
These ingredients create a tasty veggie lasagna. Each layer brings flavor and texture.
– Common substitutions
– Swap zucchini for eggplant or mushrooms.
– Use cottage cheese instead of ricotta.
– Try a blend of cheeses based on your taste.
These swaps keep the dish delicious and fresh.
– Additional seasoning options
– Add a pinch of crushed red pepper for heat.
– Use fresh herbs like basil or parsley for aroma.
– Try Italian seasoning for an extra flavor boost.
These options allow you to customize the taste. Feel free to get creative!
Step-by-Step Instructions
Preparation Steps
1. Preheat the oven and prepare baking dish: Set your oven to 375°F (190°C). Grab a 9×13 inch baking dish and lightly grease it. This helps the lasagna come out easily.
2. Cooking the lasagna noodles: In a large pot, bring salted water to a rolling boil. Add 9 lasagna noodles. Cook them for about 8-10 minutes until they are al dente. Drain the noodles and lay them flat on a clean kitchen towel to keep them from sticking.
3. Sautéing the vegetables: In a skillet, heat 1 tablespoon of olive oil over medium heat. Add the diced zucchini and red bell pepper. Sauté for about 5 minutes until they soften. Then, stir in the minced garlic and chopped spinach. Cook for another 2 minutes until the spinach wilts. Season with salt, pepper, oregano, and basil. Remove from heat and let cool slightly.
Cheese and Sauce Preparation
1. Mixing the ricotta cheese blend: In a medium bowl, combine 2 cups of ricotta cheese with half of the grated Parmesan (1/2 cup). Add a pinch of salt and pepper. Mix well until smooth. Set aside.
2. Layering the ingredients: In your prepared baking dish, spread about 1 cup of marinara sauce evenly on the bottom. Place 3 lasagna noodles on top of the sauce. Spoon half of the ricotta mixture over the noodles, followed by half of the sautéed vegetables. Then, sprinkle one-third of the shredded mozzarella cheese on top. Repeat this layer: another layer of marinara sauce, 3 noodles, the remaining ricotta mix, the remaining vegetables, and another third of mozzarella. Lastly, add the final 3 noodles, drizzle with the remaining marinara, and sprinkle the rest of the mozzarella and Parmesan on top.
Baking the Lasagna
1. Covering and baking instructions: Cover the baking dish tightly with aluminum foil. Place it in the preheated oven and bake for 25 minutes. After that, remove the foil and bake for another 15-20 minutes until the cheese is bubbly and golden brown.
2. Cooling and serving tips: Let the lasagna cool for about 10 minutes before slicing. This helps set the layers and makes it easier to serve. For a special touch, drizzle each slice with extra marinara sauce and garnish with fresh basil or grated Parmesan. Enjoy your layered veggie delight!
Tips & Tricks
Cooking Tips
Ensuring perfect noodle texture
To get great lasagna noodles, cook them just until they are al dente. This means they should be firm but not hard. When you drain them, lay them flat on a clean towel. This keeps them from sticking together. If you want an easier option, you can use no-boil noodles. They save time and work well in this dish.
Avoiding watery lasagna
To keep your lasagna from being watery, make sure your veggies are dry. Sauté them well to remove excess moisture. Also, don’t overload the layers with too much sauce. Use just enough marinara to keep it flavorful without making it soggy.
Serving Suggestions
Ideal accompaniments
Serve your veggie lasagna with a fresh green salad. A simple mix of greens with olive oil and vinegar is perfect. You can also add garlic bread on the side. It adds a nice crunch and helps scoop up any extra sauce.
Presentation ideas
When serving, cut neat slices for a clean look. Drizzle a bit of marinara sauce on each slice. A sprinkle of fresh basil or grated Parmesan cheese on top makes it look fancy. This little touch makes a big difference in how it feels on the plate.
Variations
Dietary Adaptations
Gluten-Free Options
You can make this lasagna gluten-free with a few simple swaps. Use gluten-free lasagna noodles instead of regular ones. Many brands offer tasty alternatives made from rice or quinoa. Always check the packaging for cooking times, as they can vary.
Vegan Modifications
To create a vegan lasagna, substitute ricotta cheese with a vegan version made from cashews or tofu. Use a plant-based mozzarella cheese for that stretchy texture. Check your marinara sauce to ensure it’s vegan-friendly. This way, everyone can enjoy your delicious dish.
Adding More Flavor
Additional Veggies to Incorporate
Feel free to get creative with your veggies. Carrots, mushrooms, and eggplant work great in this dish. You can also add chopped kale or shredded carrots for added nutrition. Mix and match to suit your taste or what you have on hand.
Alternative Sauces to Try
Switch up your sauce for an exciting twist. Instead of marinara, try a pesto sauce for a burst of flavor. A white sauce, like béchamel, can also add a creamy touch. Use your favorite sauce to make this dish uniquely yours.
Storage Info
Storing Leftovers
To keep your veggie lasagna fresh, store leftovers properly. Place any leftover lasagna in an airtight container. This helps keep it moist and prevents it from absorbing other smells in the fridge.
– Refrigeration tips: You can store it in the fridge for up to 4 days. Make sure it cools down before sealing it up.
– Freezing guidelines: If you want to store it longer, freeze the lasagna. Wrap it tightly in plastic wrap and then in foil. It can last in the freezer for about 3 months. For best taste, label the package with the date.
Reheating Instructions
When you’re ready to enjoy the leftovers, reheating is easy. Here are the best methods:
– Best methods for reheating: Use the oven for the best results. Preheat your oven to 350°F (175°C). Place the lasagna in an oven-safe dish. Cover it with foil to keep it moist. Bake for about 20-25 minutes, or until it’s heated through.
If you’re in a hurry, you can use the microwave. Put a slice on a microwave-safe plate. Cover it with a damp paper towel. Heat it for 1-2 minutes, checking to see if it’s hot.
Following these tips will keep your classic veggie lasagna delicious, whether fresh or stored.
FAQs
Common Questions
Can I use no-boil lasagna noodles?
Yes, you can use no-boil lasagna noodles. They save time and effort. Just layer them directly in the dish with sauce. The moisture from the sauce cooks them as they bake.
How to make lasagna ahead of time?
To make lasagna ahead, simply assemble it in a baking dish. Cover it well with plastic wrap or foil. Refrigerate it for up to 24 hours. When ready to bake, remove the cover and bake as usual. You may need to add a few extra minutes to the cooking time.
What can I substitute for ricotta cheese?
If you need a ricotta substitute, try cottage cheese or cream cheese. Both options work well. You can blend them for a smooth texture.
Troubleshooting
Why is my lasagna watery?
Watery lasagna usually happens when there is too much moisture. Make sure to drain your vegetables well before adding them. Also, avoid using too much sauce.
How to ensure a flavorful lasagna?
To boost flavor, season each layer as you go. Use fresh or dried herbs like basil and oregano. Don’t forget to add garlic and a pinch of salt. These simple steps will enhance your dish.
This blog covered everything you need to make a great lasagna. We explored the main ingredients, tasty substitutions, and seasoning options. You learned the step-by-step process, from prep to baking. Tips on texture and serving helped you perfect your dish. We also discussed variations for different diets and flavor enhancements. Remember to store leftovers correctly for future meals. With these insights, you can create delicious lasagna every time. I hope you feel ready to try your hand at this classic dish!


