Skip to content
About
Contact
Cookie Policy
Copyright Policy
Disclaimer
Search
Home
Dinner
Appetizer
Desserts
Drinks
About
Contact
Privacy Policy
Toggle Menu
Home
/
Dinner
- Page 7
Dinner
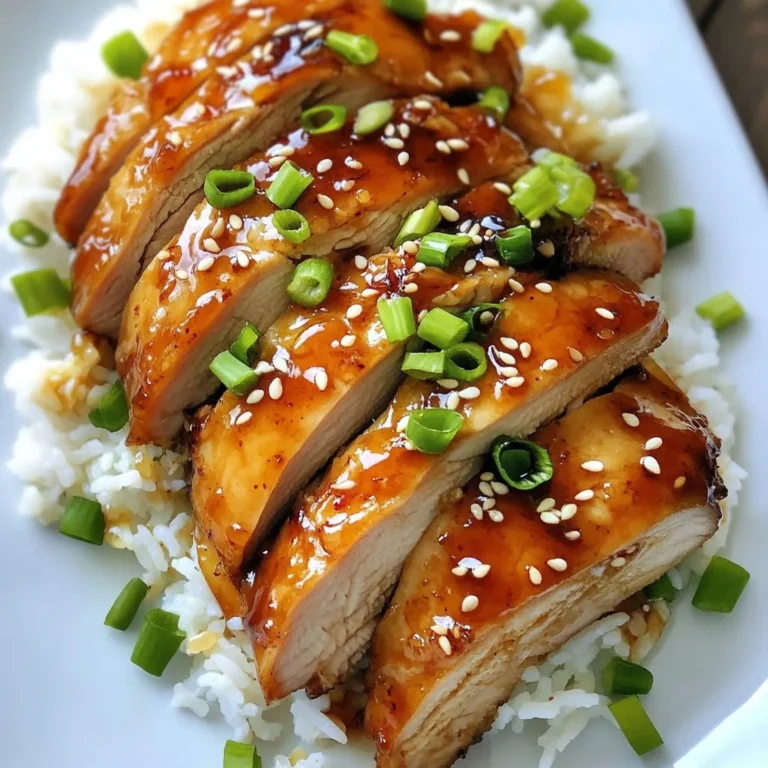
Brown Sugar Garlic Chicken Finger-Licking Delight
Creamy Garlic Parmesan Risotto Simple and Delicious Dish
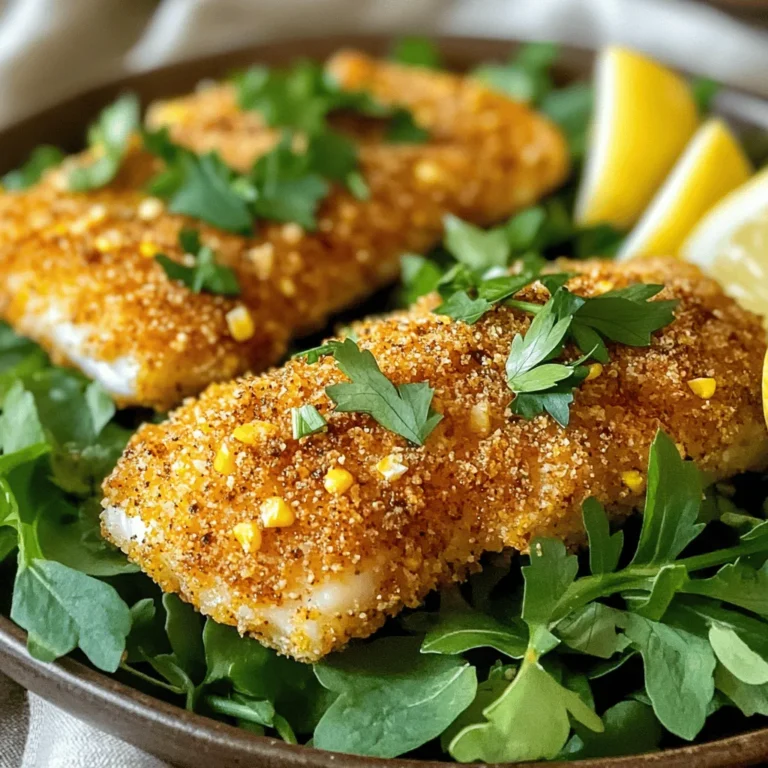
Spicy Cajun Air Fryer Catfish Tasty and Crispy Meal
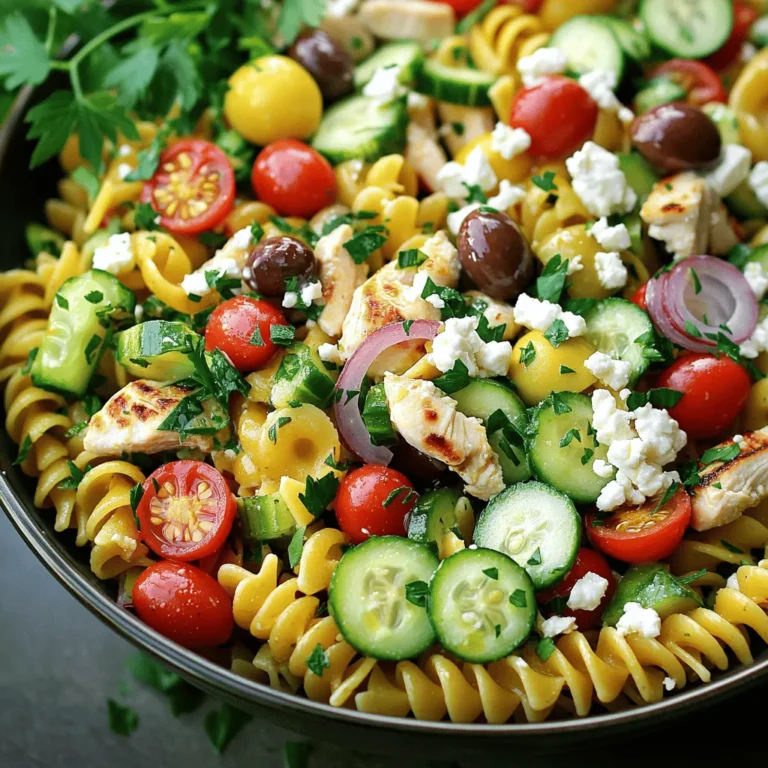
Greek Chicken Pasta Salad Flavorful and Fresh Meal
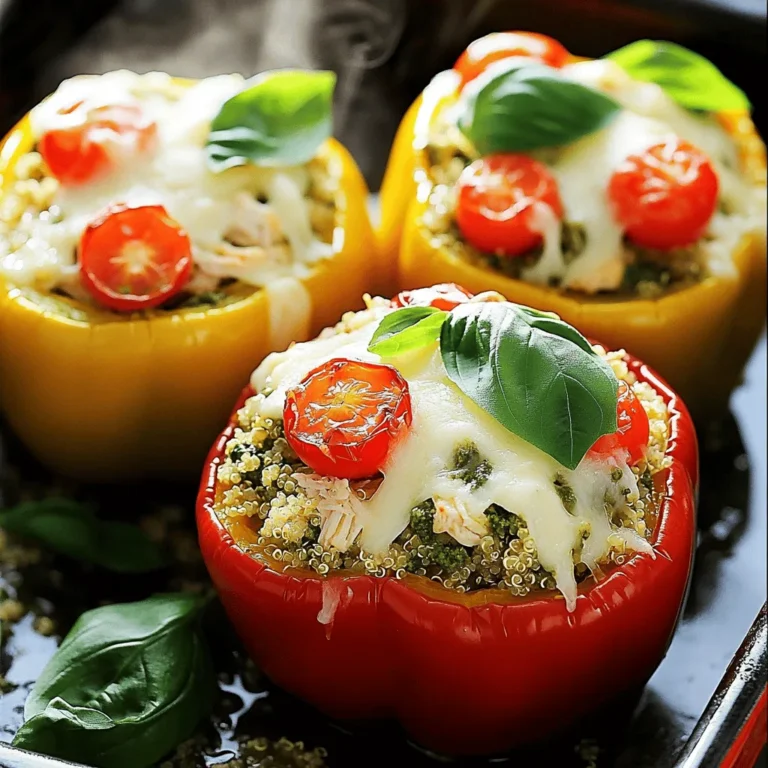
Pesto Chicken Stuffed Peppers Flavorful Dinner Idea
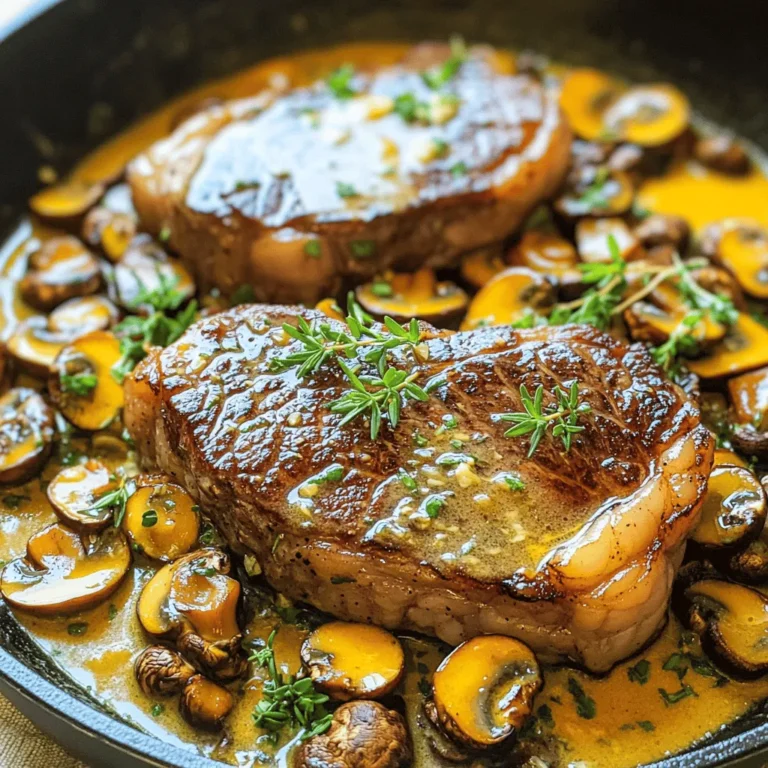
Garlic Butter Mushroom Steak Skillet Flavorful Delight
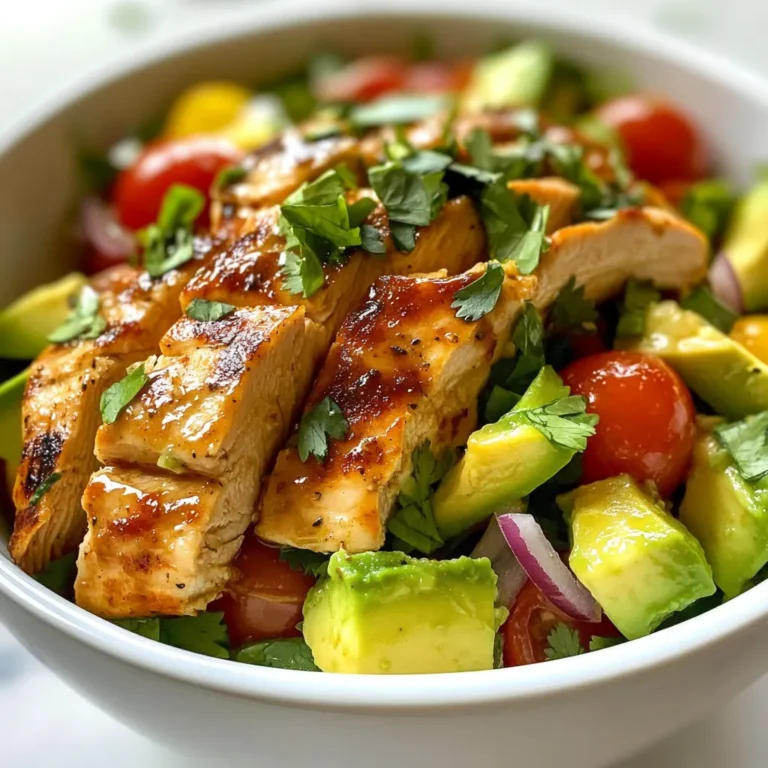
Zesty Lime Chicken Avocado Salad Fresh and Tasty Dish
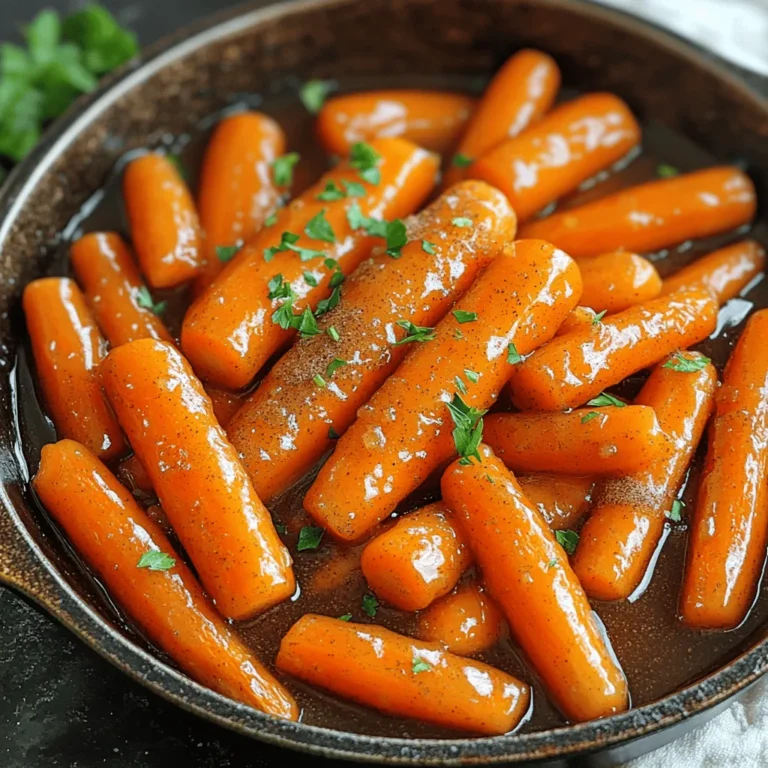
Brown Sugar Glazed Carrots Tasty and Easy Side Dish
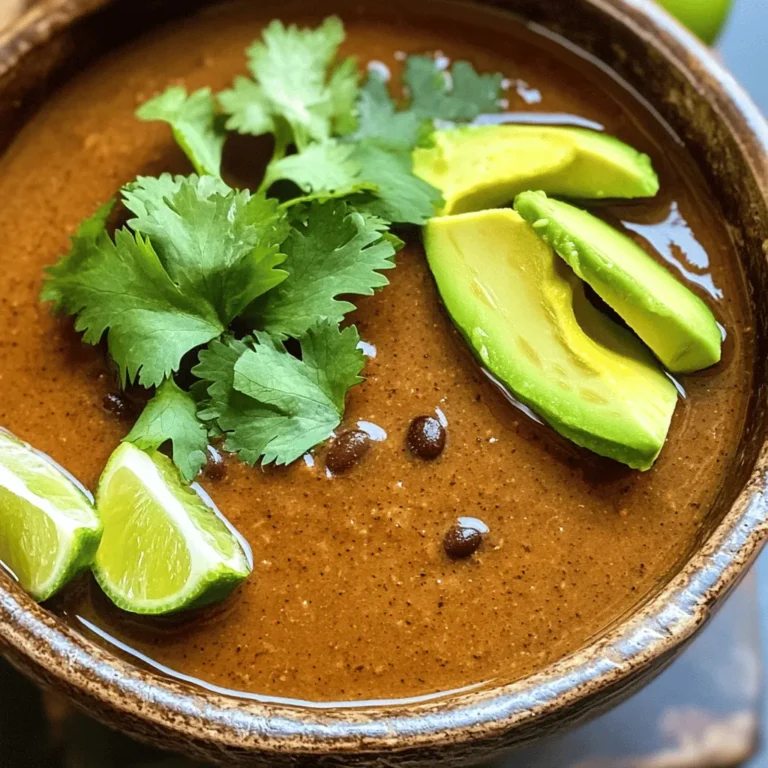
Spicy Black Bean Soup Flavorful and Easy Recipe
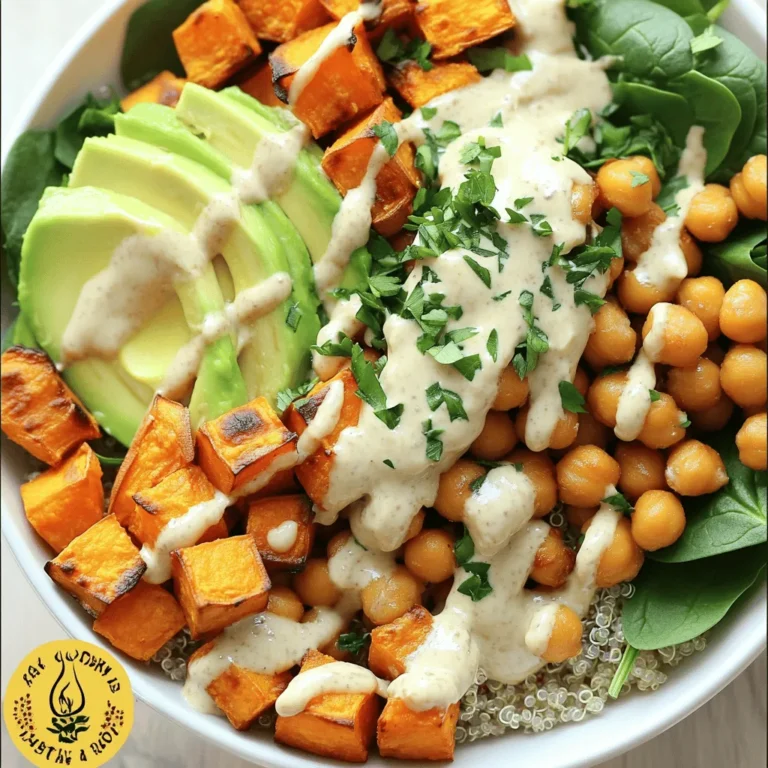
Sweet Potato Chickpea Buddha Bowl Flavorful Delight
Page navigation
Previous Page
Previous
1
…
5
6
7
8
9
…
38
Next Page
Next
Home
Dinner
Appetizer
Desserts
Drinks
About
Contact
Privacy Policy
Toggle Menu Close
Search for:
Search