Skip to content
About
Contact
Cookie Policy
Copyright Policy
Disclaimer
Search
Home
Dinner
Appetizer
Desserts
Drinks
About
Contact
Privacy Policy
Toggle Menu
Home
/
Dinner
- Page 6
Dinner
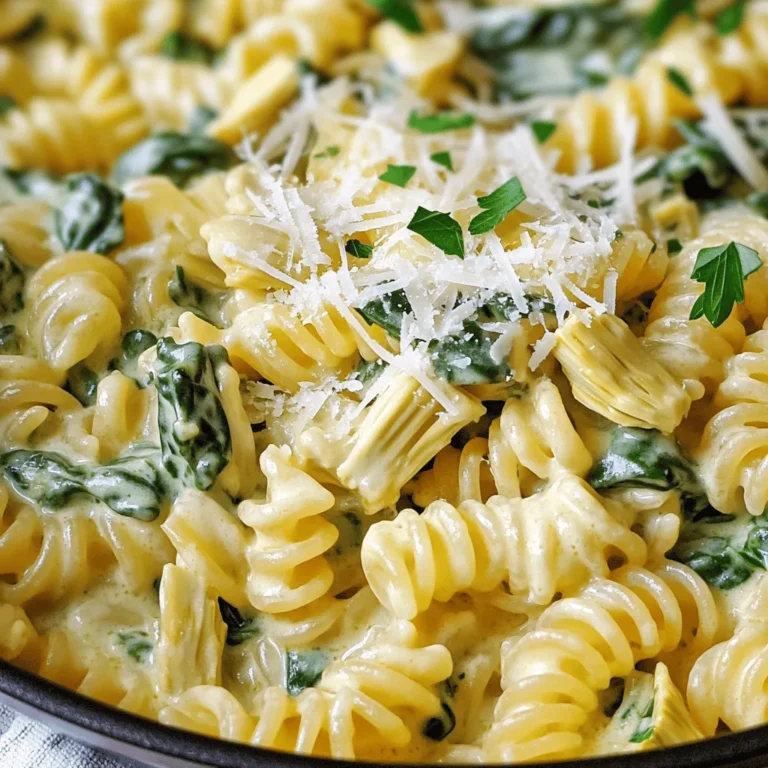
One-Pot Creamy Spinach Artichoke Pasta Delight
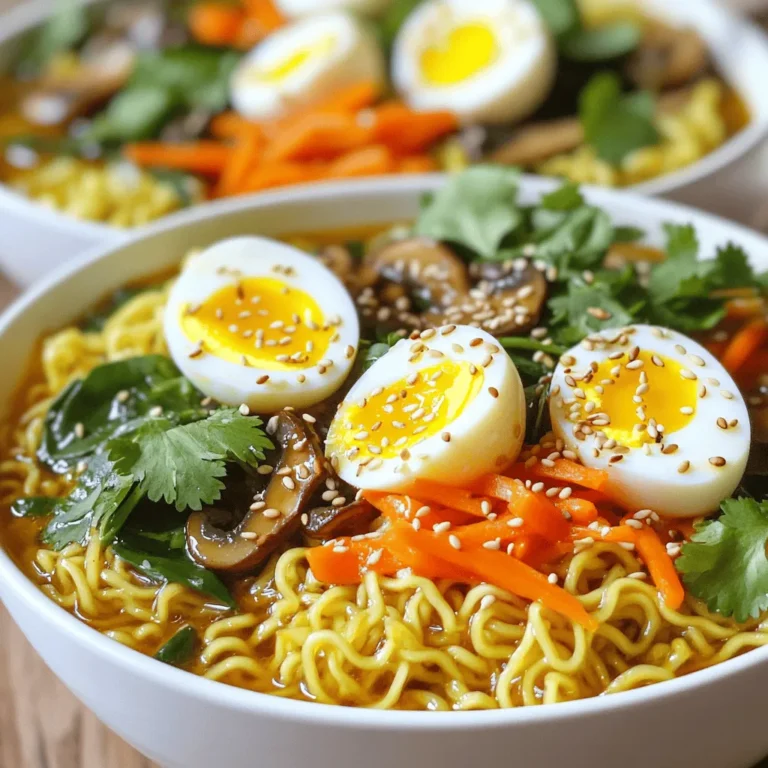
Spicy Chili Crisp Ramen Bowls Quick and Flavorful Meal
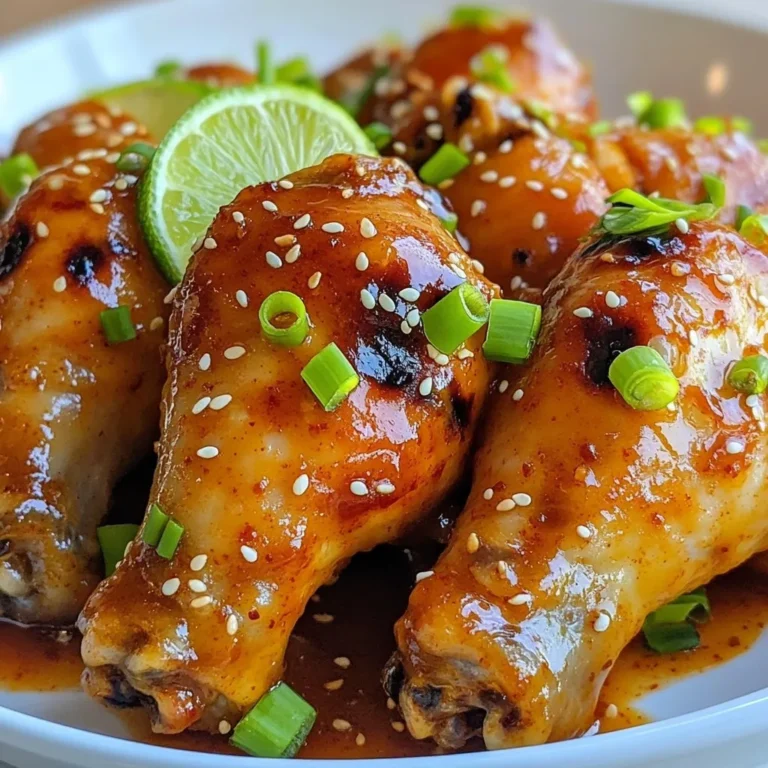
Sweet Chili Lime Drumsticks Flavorful and Easy Recipe
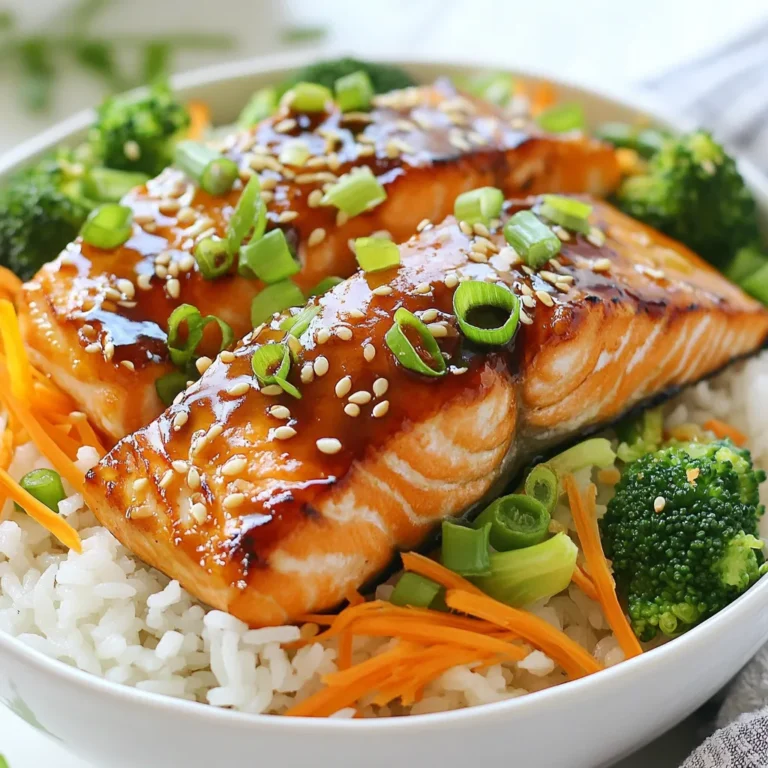
Teriyaki Salmon Rice Bowls Flavorful and Simple Meal
Air Fryer Lemon Garlic Butter Cod Quick and Simple Recipe
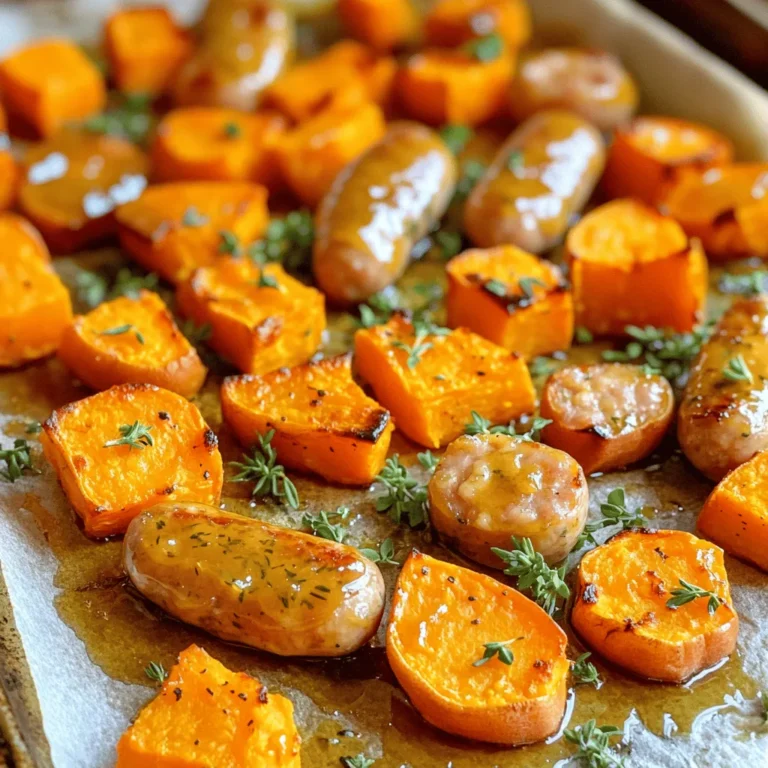
Maple Glazed Chicken Sausage & Sweet Potatoes Delight
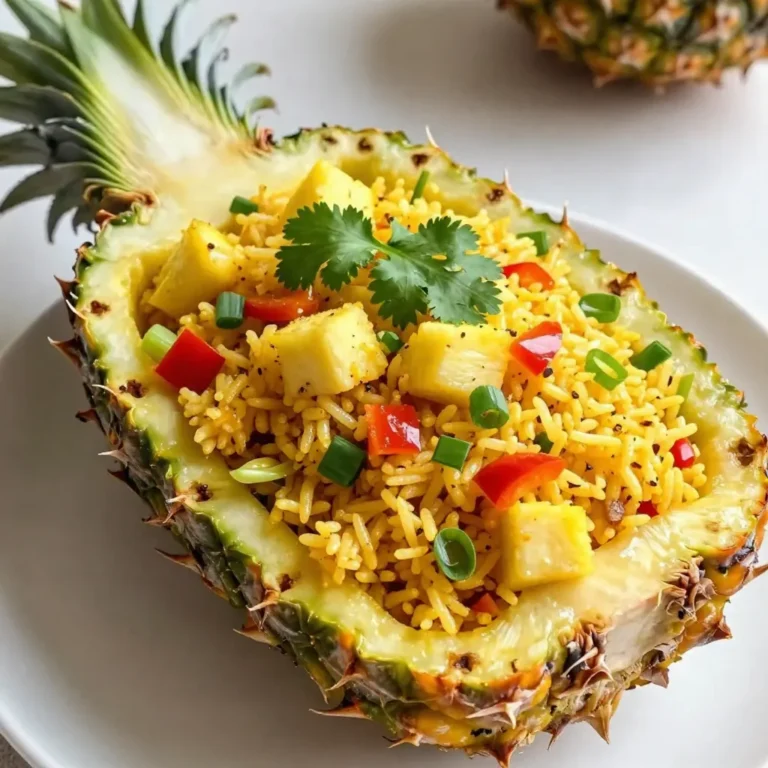
Pineapple Fried Rice Flavorful and Easy Weeknight Meal
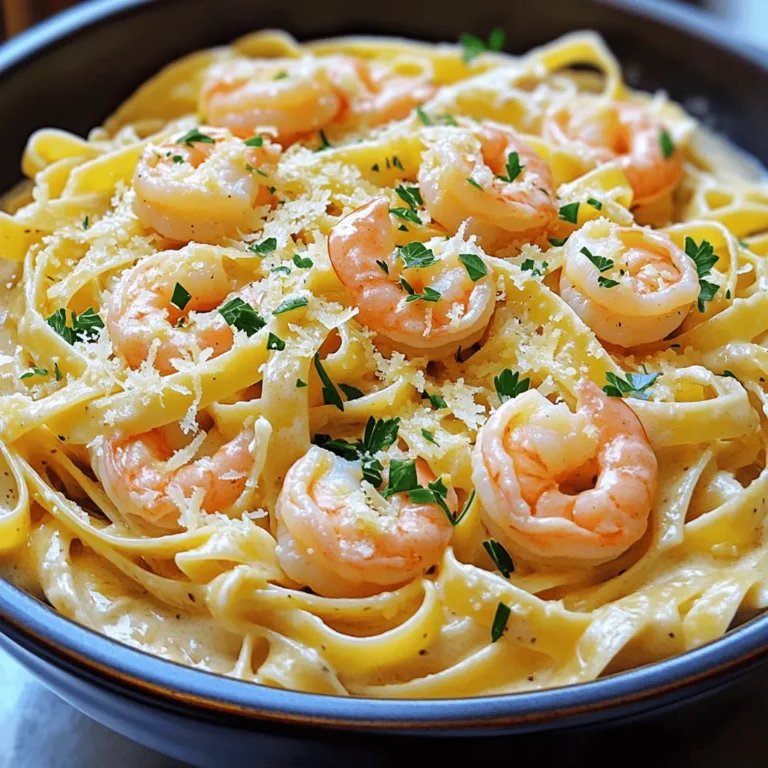
Garlic Parmesan Shrimp Alfredo 15 Minutes Recipe
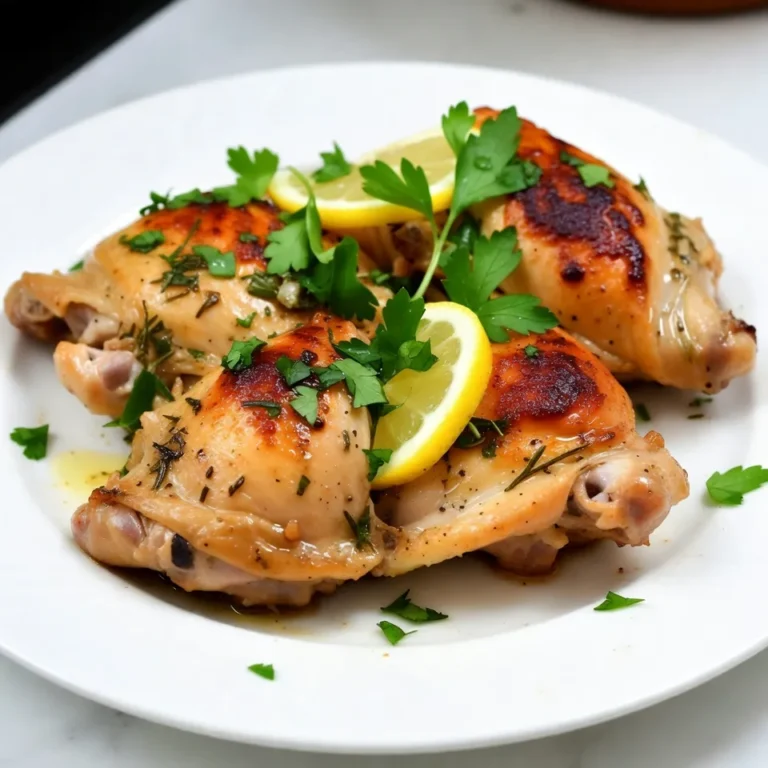
Lemon Herb Roasted Chicken Thighs Simple and Flavorful
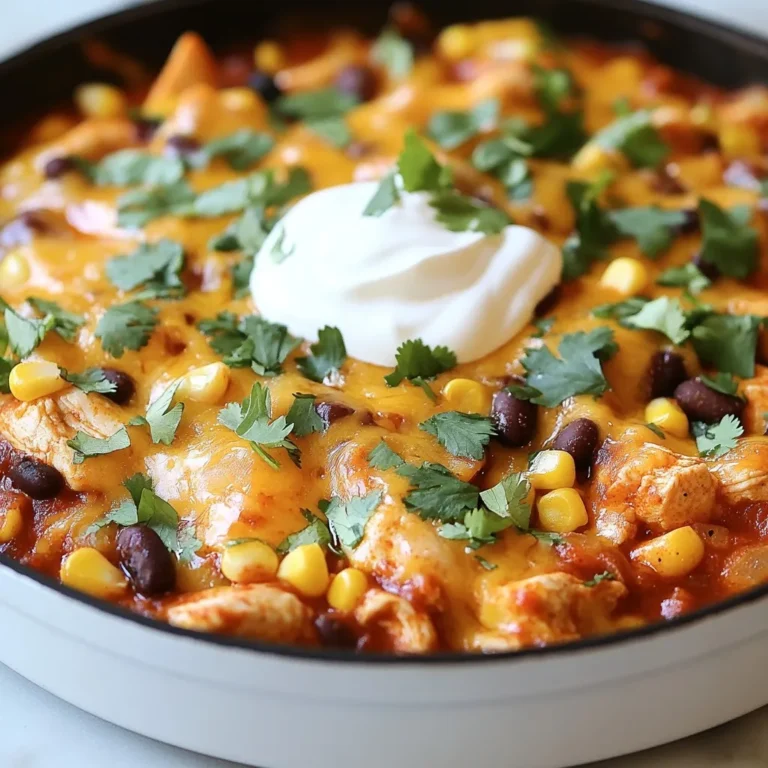
Cheesy Chicken Enchilada Skillet Flavorful Family Meal
Page navigation
Previous Page
Previous
1
…
4
5
6
7
8
…
38
Next Page
Next
Home
Dinner
Appetizer
Desserts
Drinks
About
Contact
Privacy Policy
Toggle Menu Close
Search for:
Search