Skip to content
About
Contact
Cookie Policy
Copyright Policy
Disclaimer
Search
Home
Dinner
Appetizer
Desserts
Drinks
About
Contact
Privacy Policy
Toggle Menu
Home
/
Dinner
- Page 5
Dinner
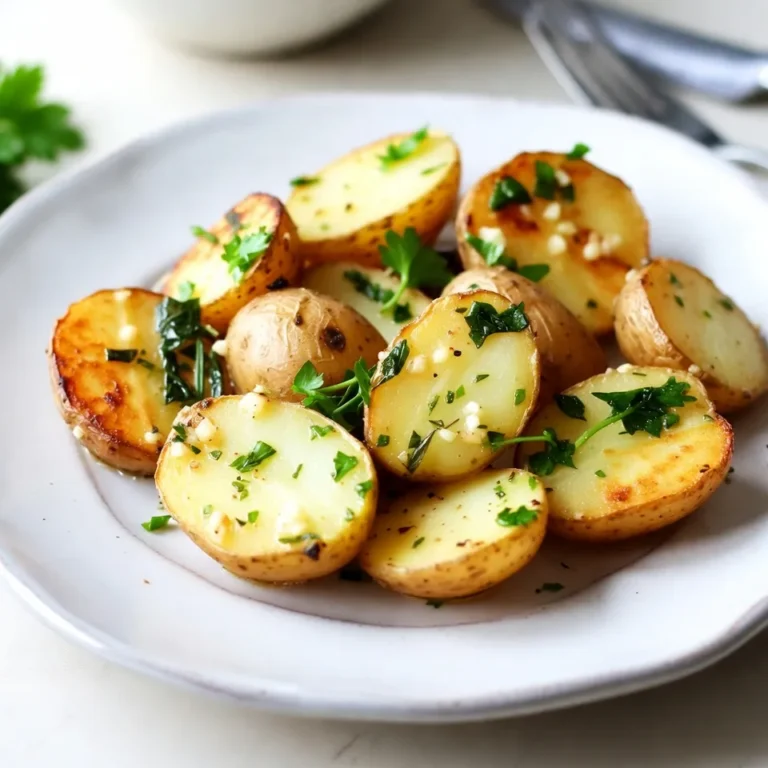
Garlic Herb Butter Roasted Potatoes Easy and Tasty Dish
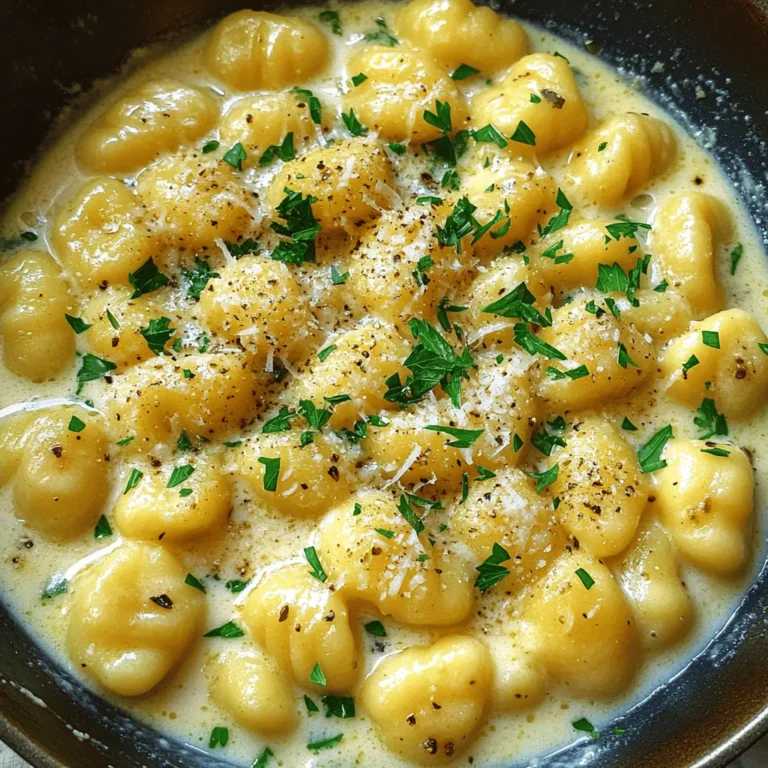
Creamy Garlic Parmesan Gnocchi Easy Delightful Meal
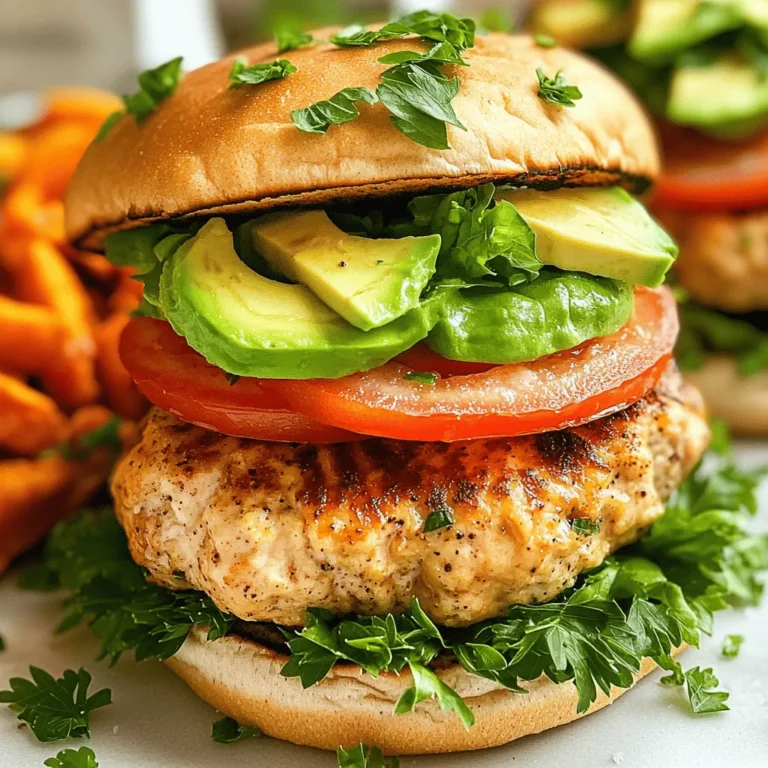
Air Fryer Chicken Burgers Delicious and Simple Meal
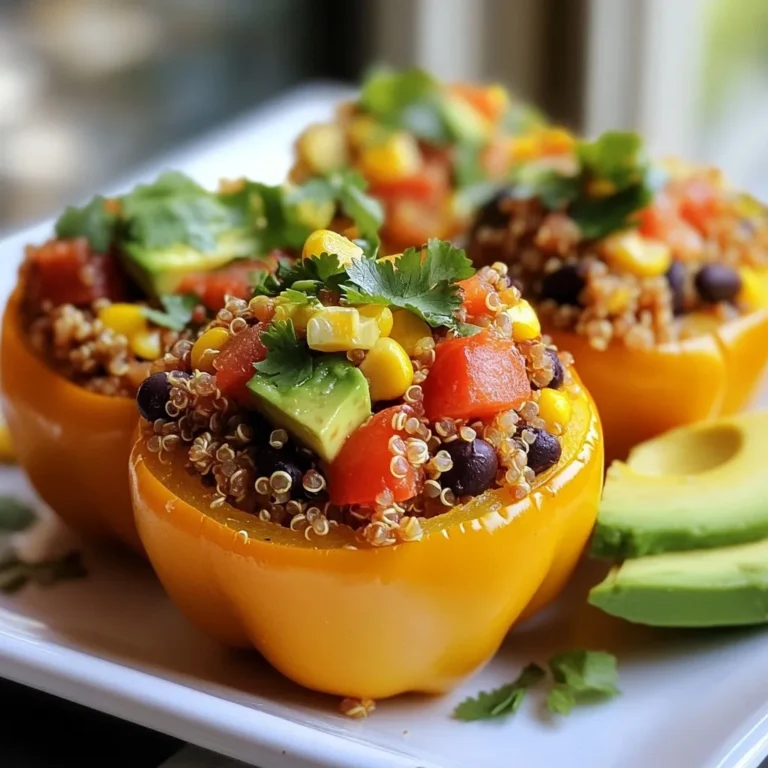
Vegan Stuffed Bell Peppers Nutritious and Tasty Dish
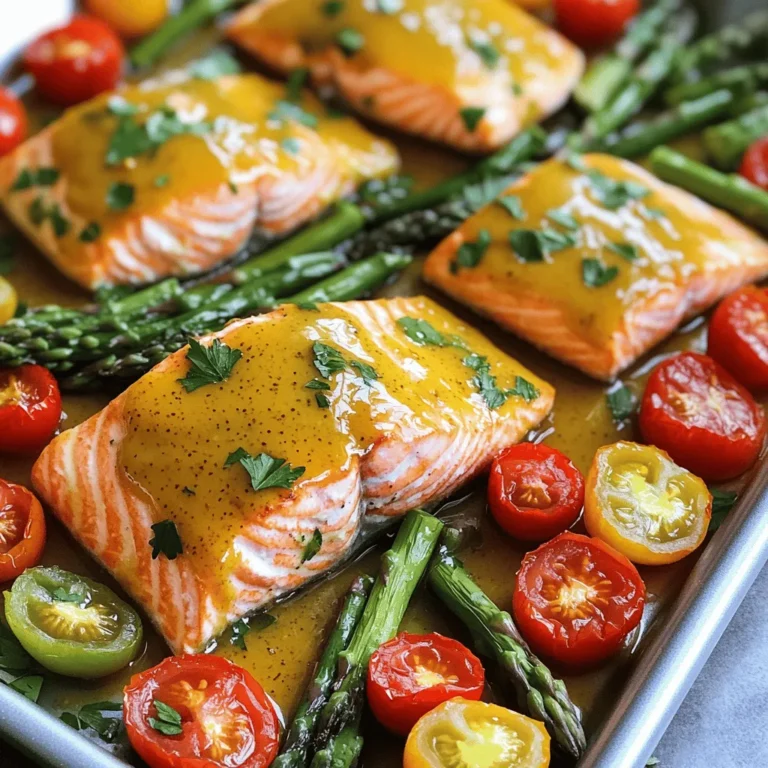
Sheet Pan Honey Mustard Salmon Flavorful and Simple
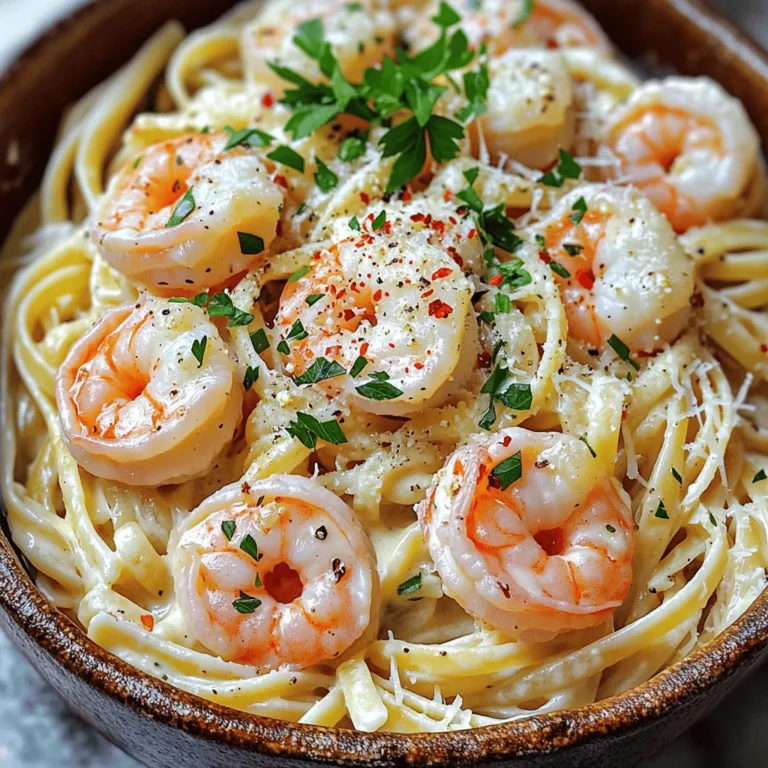
Creamy Garlic Shrimp Linguine Delicious Dinner Idea
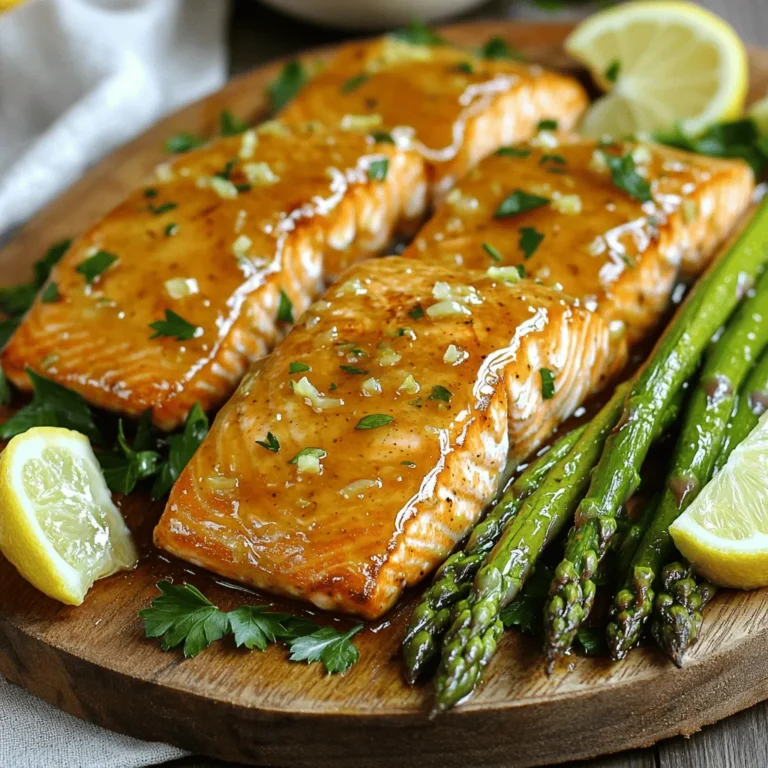
Honey Garlic Salmon Asparagus Sheet Pan Delight
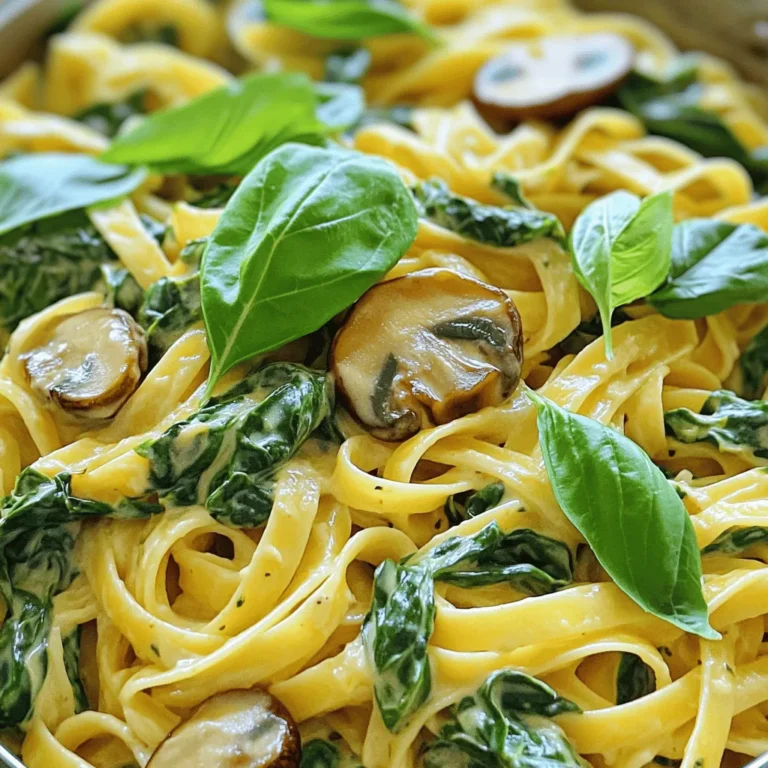
Creamy Spinach Mushroom Pasta Irresistible Delight
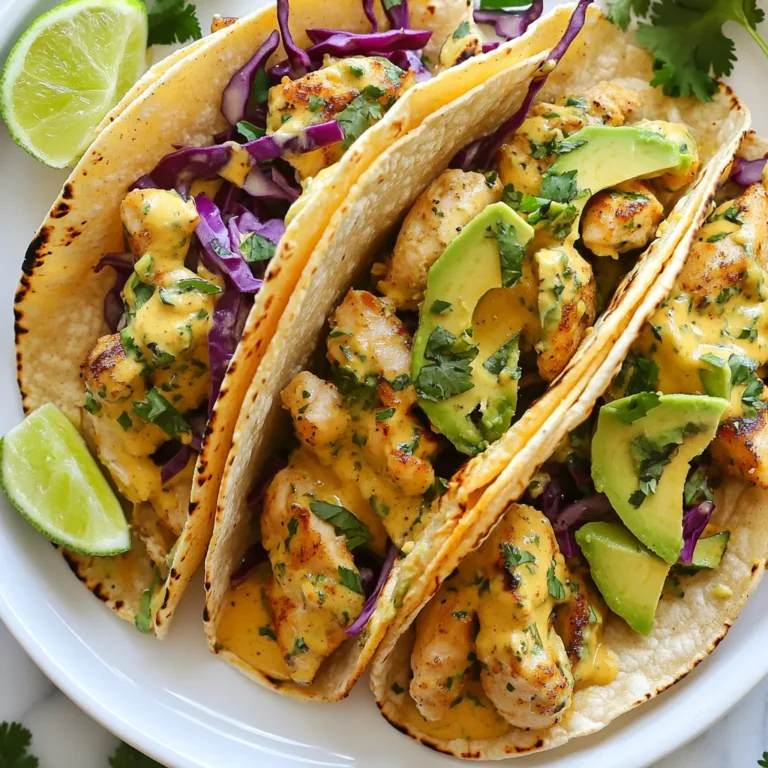
Coconut Lime Chicken Tacos Bold and Flavorful Meal
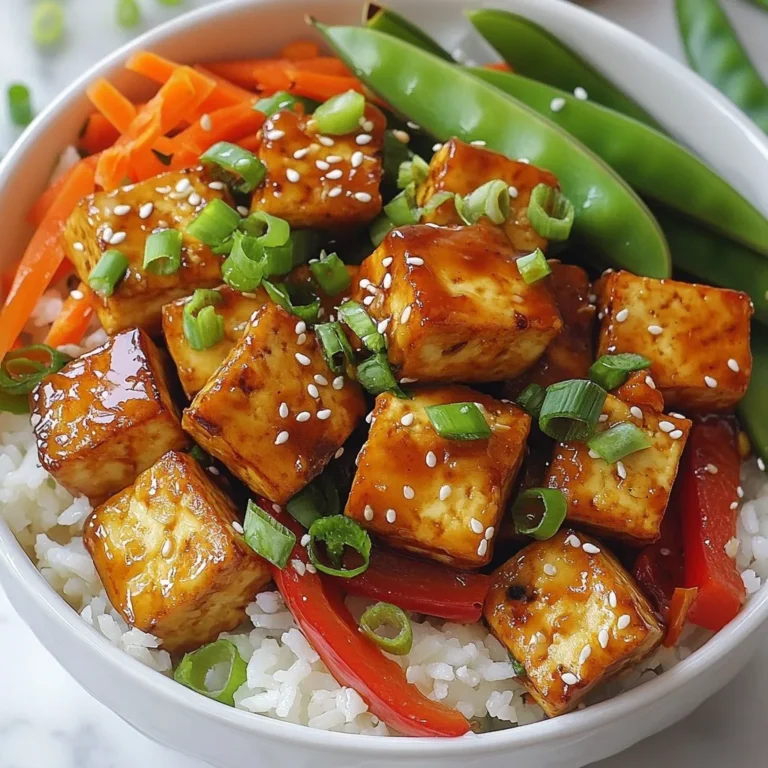
Chili Garlic Tofu Bowls Crisp and Flavorful Delight
Page navigation
Previous Page
Previous
1
…
3
4
5
6
7
…
38
Next Page
Next
Home
Dinner
Appetizer
Desserts
Drinks
About
Contact
Privacy Policy
Toggle Menu Close
Search for:
Search