Skip to content
About
Contact
Cookie Policy
Copyright Policy
Disclaimer
Search
Home
Dinner
Appetizer
Desserts
Drinks
About
Contact
Privacy Policy
Toggle Menu
Home
/
Dinner
- Page 4
Dinner
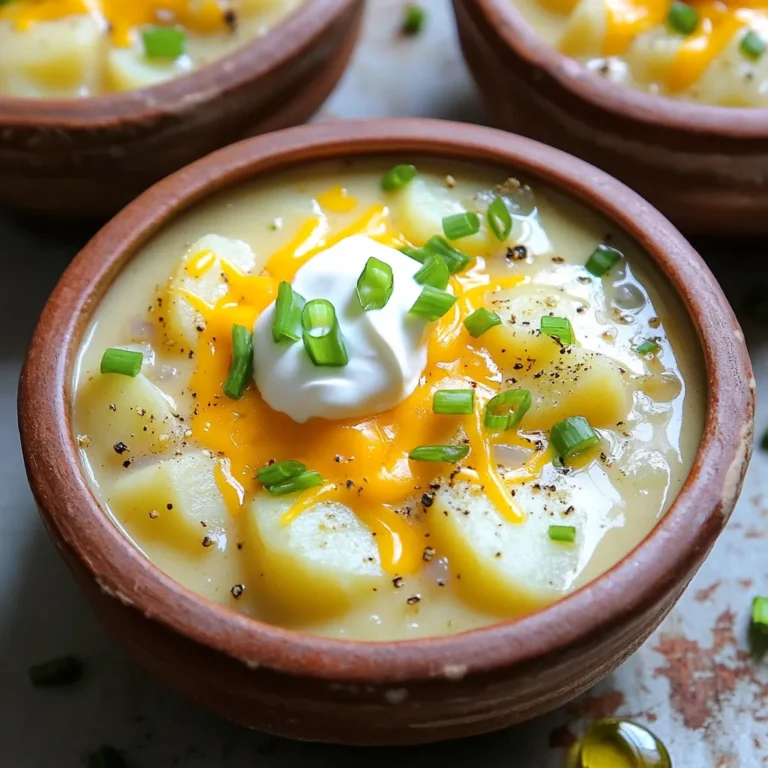
Slow Cooker Loaded Potato Soup Creamy and Comforting
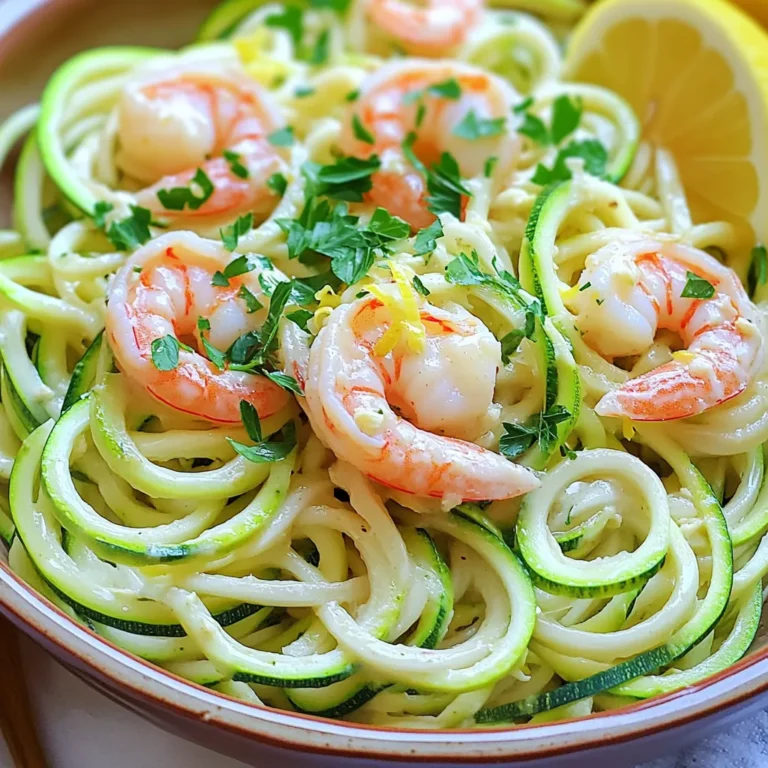
Garlic Butter Shrimp Zoodle Noodles Flavorful Delight
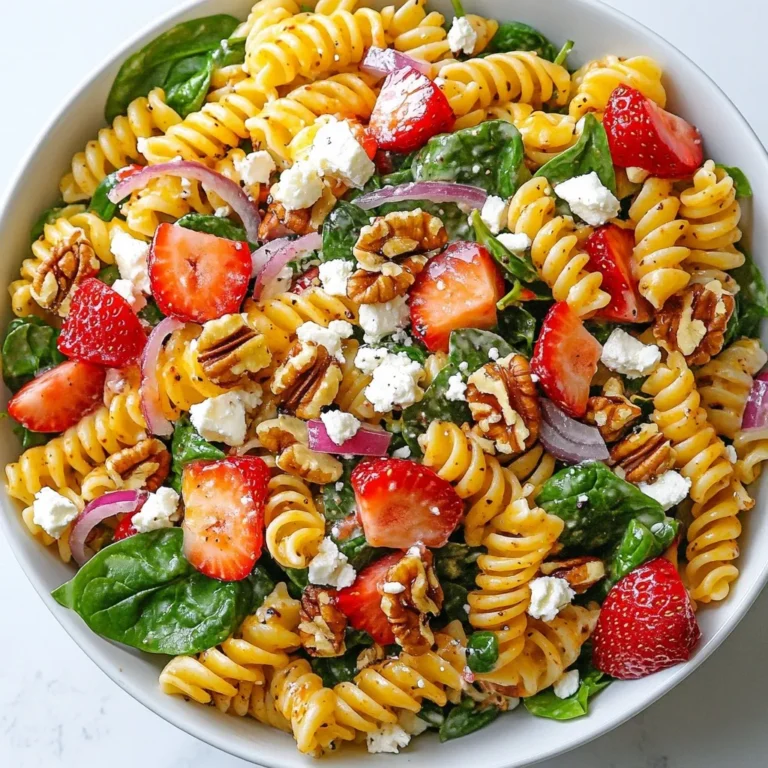
Strawberry Spinach Pasta Salad Fresh and Flavorful Dish
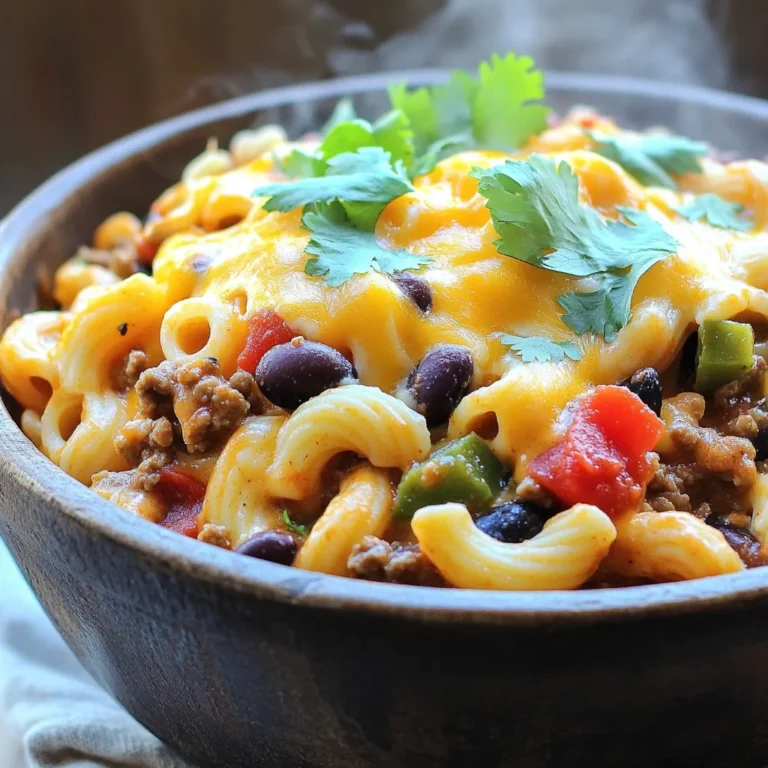
Slow Cooker Chili Mac and Cheese Comfort Dish
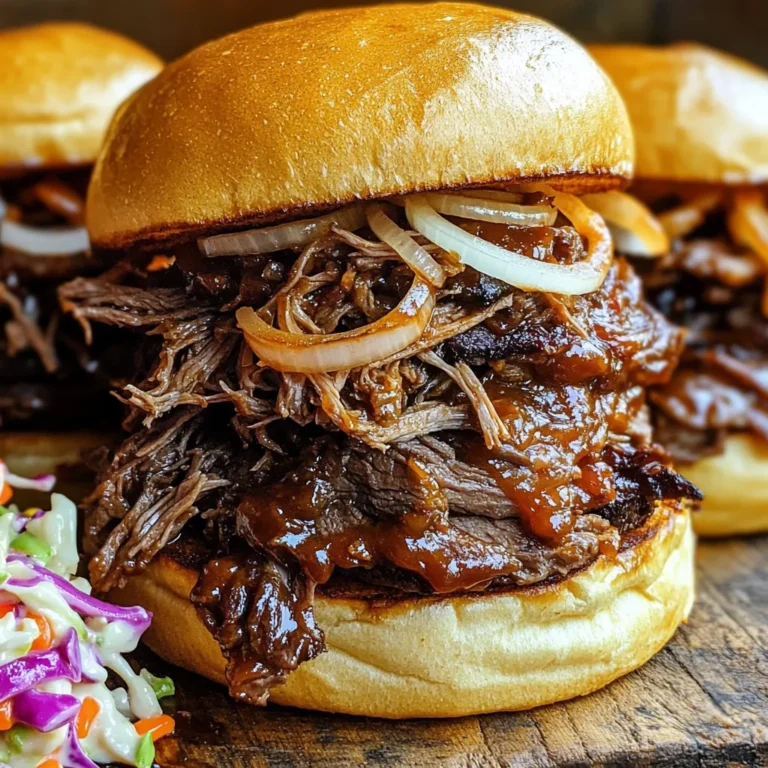
BBQ Pulled Beef Sandwiches Slow Cooker Delight
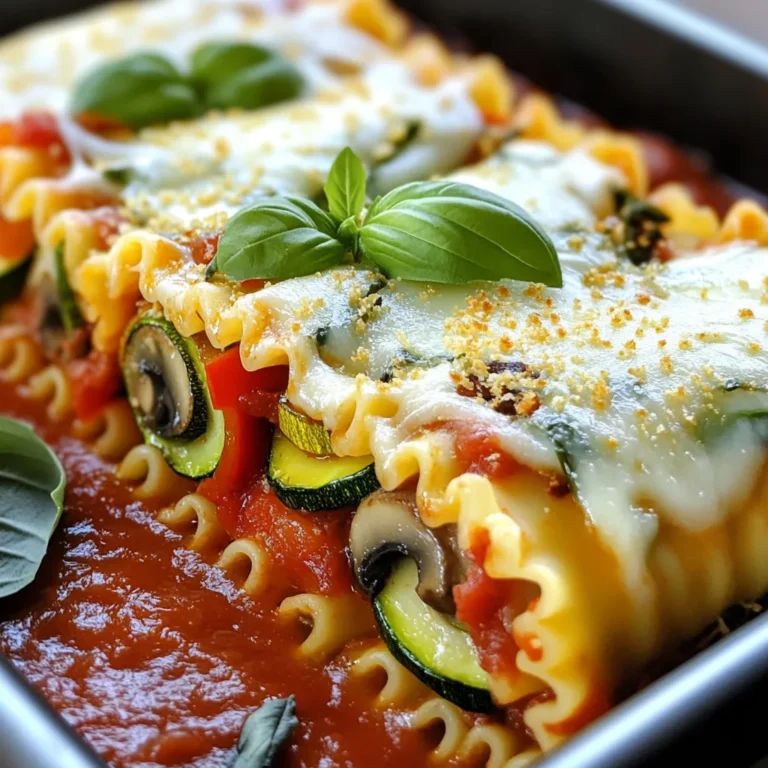
Cozy Roasted Veggie Lasagna Roll-Ups Delightful Dish
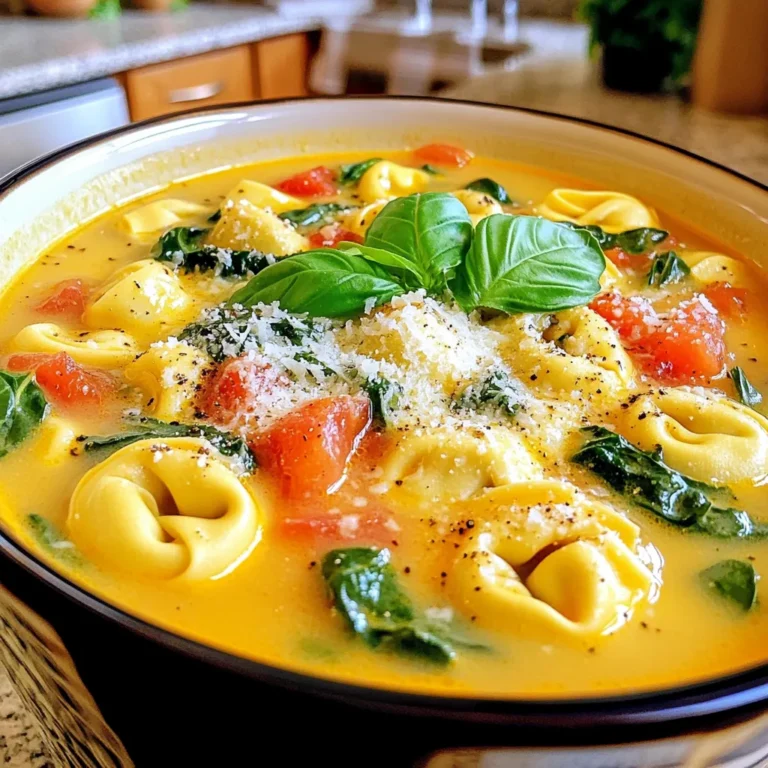
Slow Cooker Creamy Tortellini Soup Rich and Easy Meal
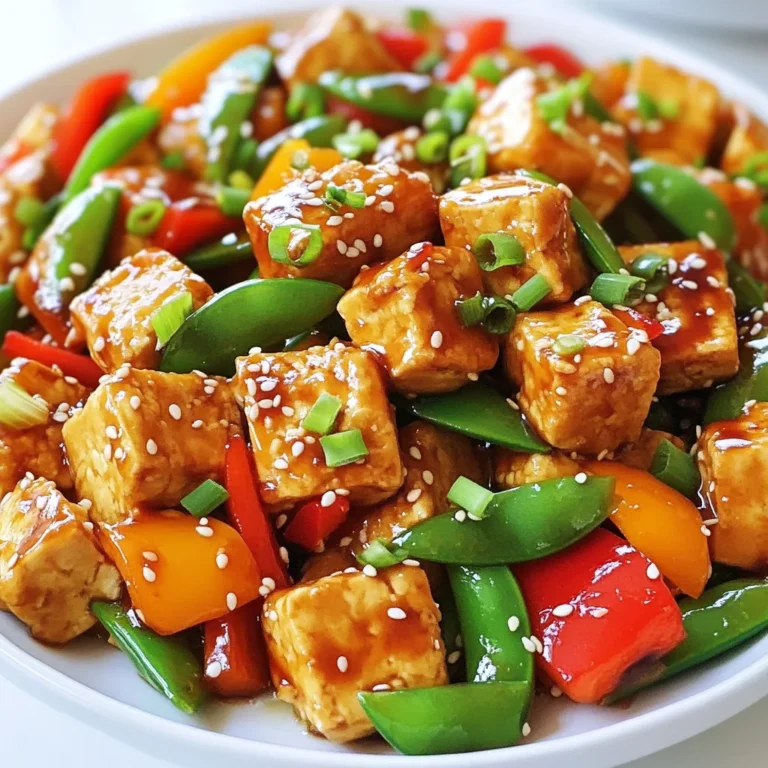
Teriyaki Tofu Stir-Fry Quick and Flavorful Meal
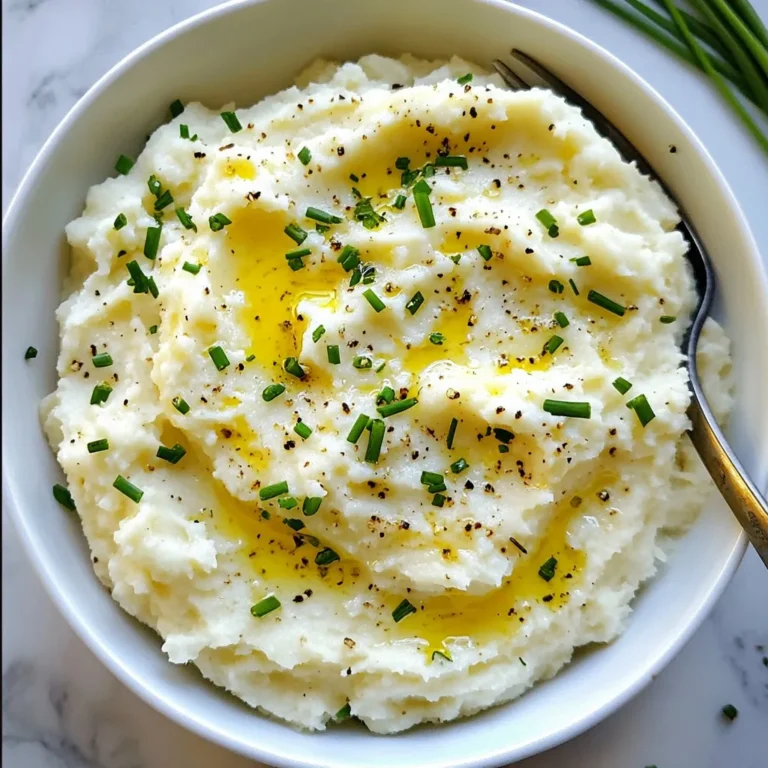
Garlic Herb Mashed Cauliflower Creamy and Flavorful
Slow Cooker Creamy Butternut Squash Soup Delight
Page navigation
Previous Page
Previous
1
2
3
4
5
6
…
38
Next Page
Next
Home
Dinner
Appetizer
Desserts
Drinks
About
Contact
Privacy Policy
Toggle Menu Close
Search for:
Search