Skip to content
About
Contact
Cookie Policy
Copyright Policy
Disclaimer
Search
Home
Dinner
Appetizer
Desserts
Drinks
About
Contact
Privacy Policy
Toggle Menu
Home
/
Dinner
- Page 37
Dinner
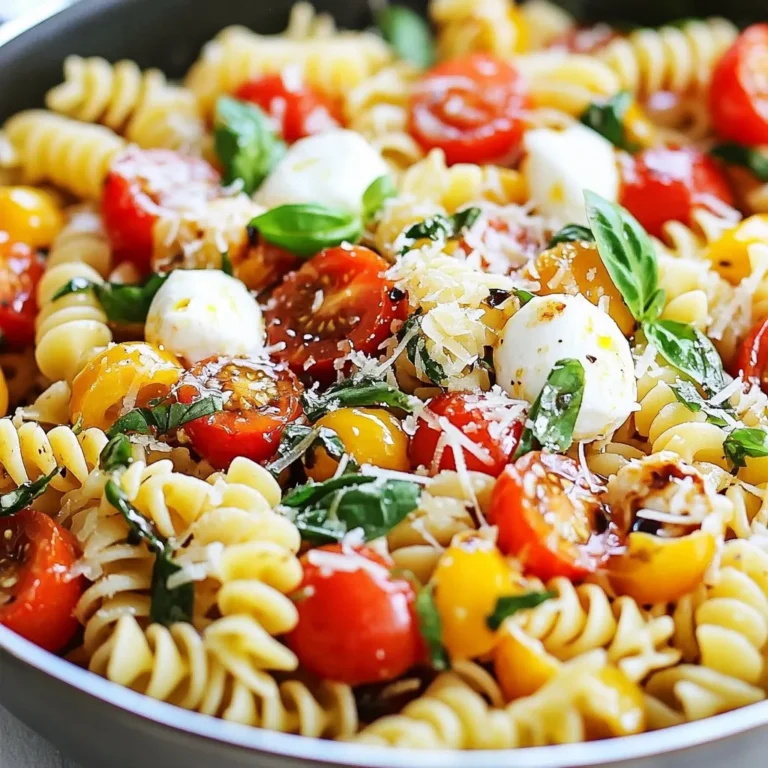
Caprese Pasta Skillet Flavorful One-Pan Meal
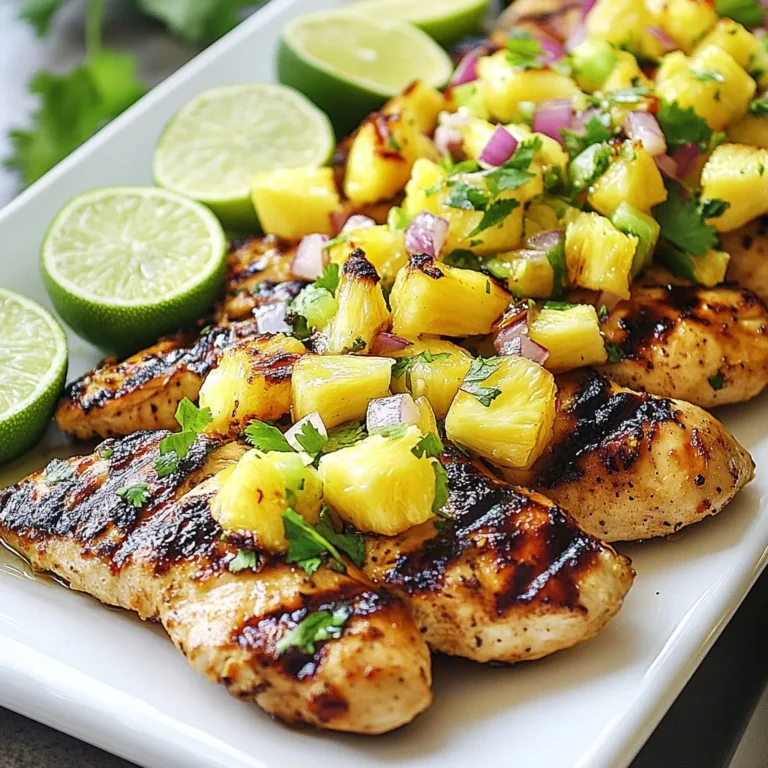
Pineapple Salsa Chicken Fresh and Flavorful Delight
Roasted Garlic Parmesan Spaghetti Squash Delight
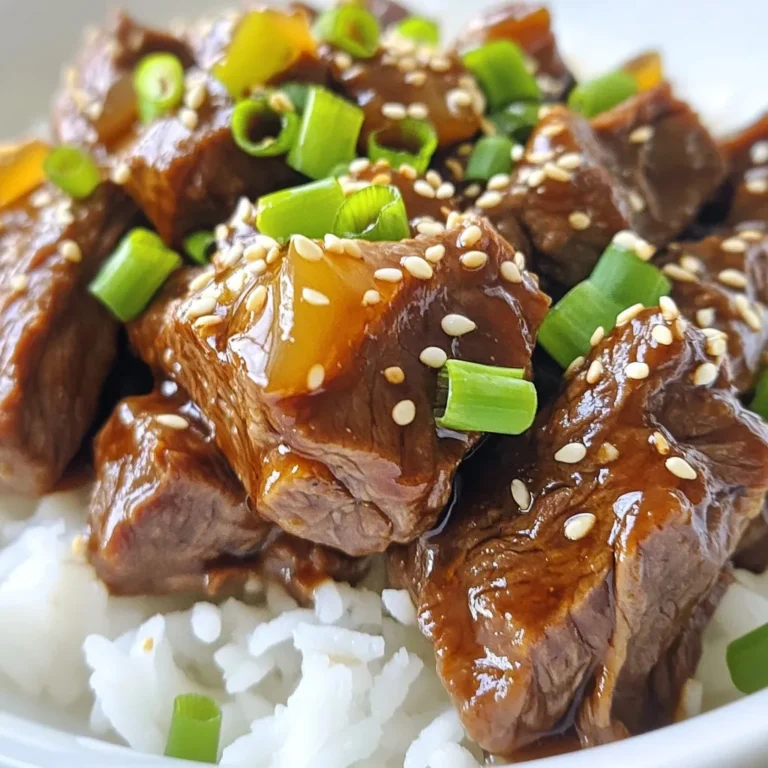
Instant Pot Teriyaki Beef Flavorful and Easy Recipe
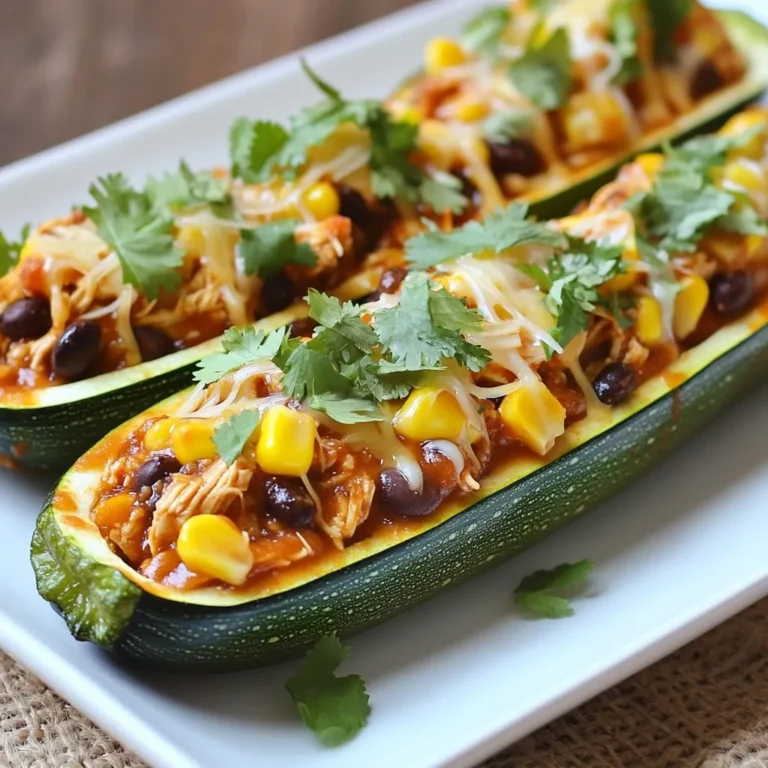
BBQ Chicken Stuffed Zucchini Flavor-Packed Delight
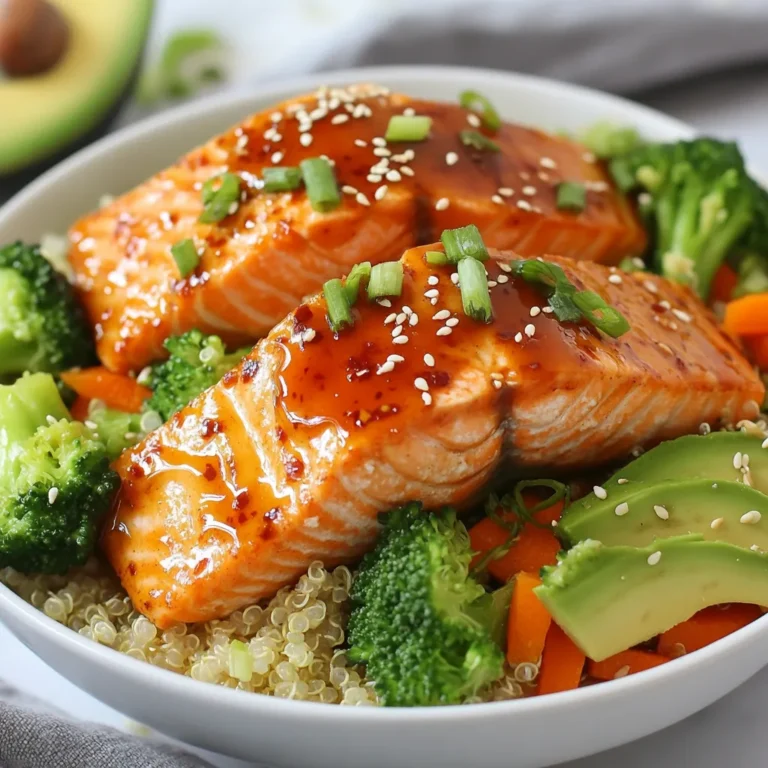
Teriyaki Salmon Bowls Flavorful and Easy Dinner Guide
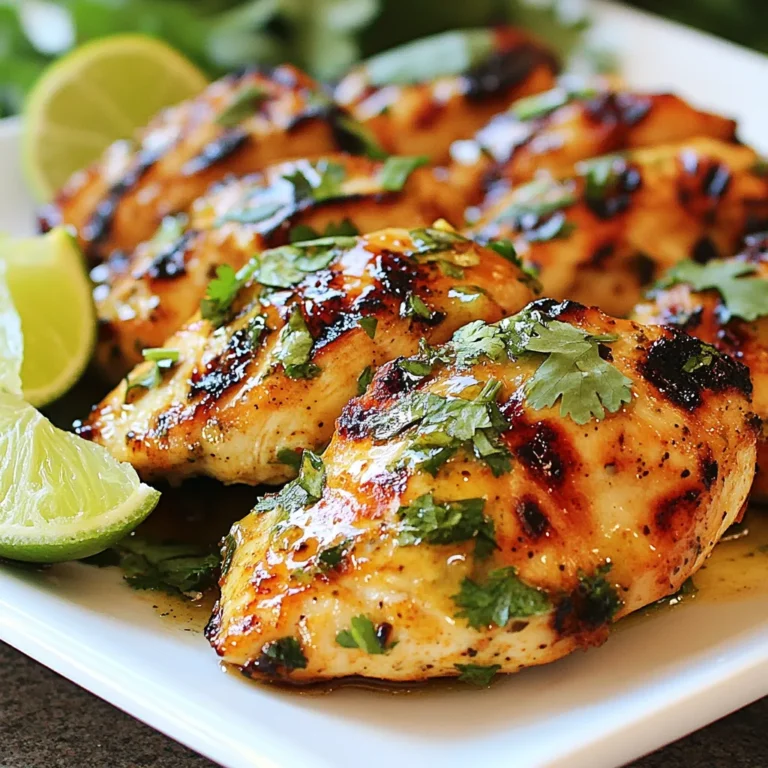
Chili Lime Grilled Chicken Simple and Tasty Recipe
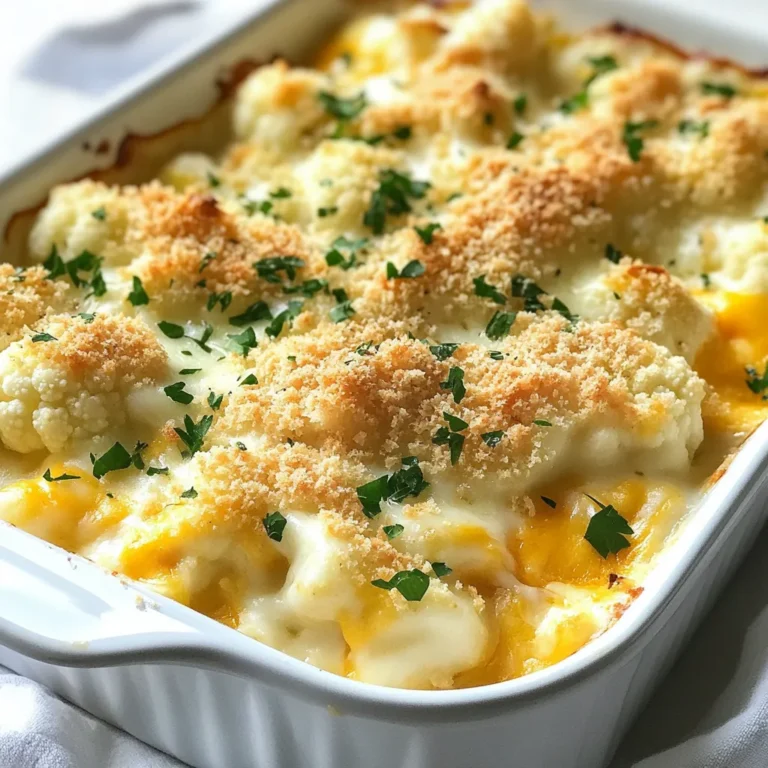
Cheesy Cauliflower Gratin Creamy and Flavorful Dish
Buffalo Chicken Pasta Bake Flavorful Easy Meal
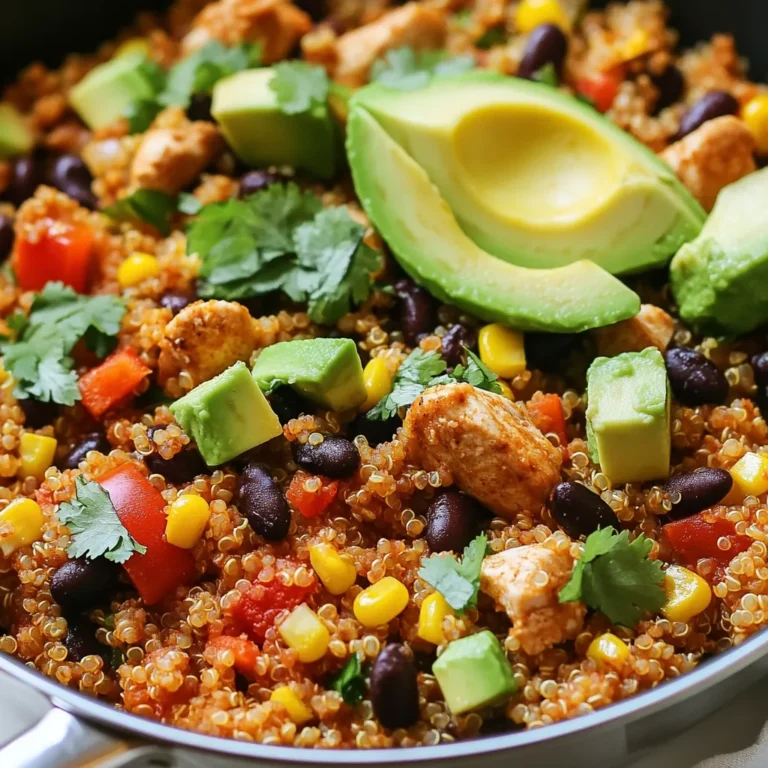
Southwest Chicken Quinoa Skillet Flavorful Power Meal
Page navigation
Previous Page
Previous
1
…
35
36
37
38
Next Page
Next
Home
Dinner
Appetizer
Desserts
Drinks
About
Contact
Privacy Policy
Toggle Menu Close
Search for:
Search