Skip to content
About
Contact
Cookie Policy
Copyright Policy
Disclaimer
Search
Home
Dinner
Appetizer
Desserts
Drinks
About
Contact
Privacy Policy
Toggle Menu
Home
/
Dinner
- Page 36
Dinner
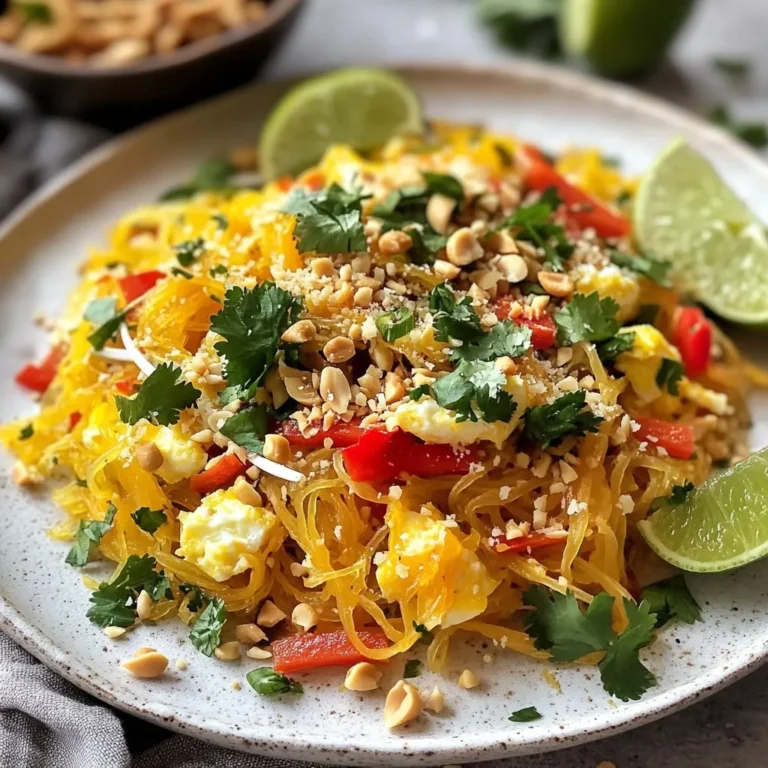
Spaghetti Squash Pad Thai Flavorful and Easy Recipe
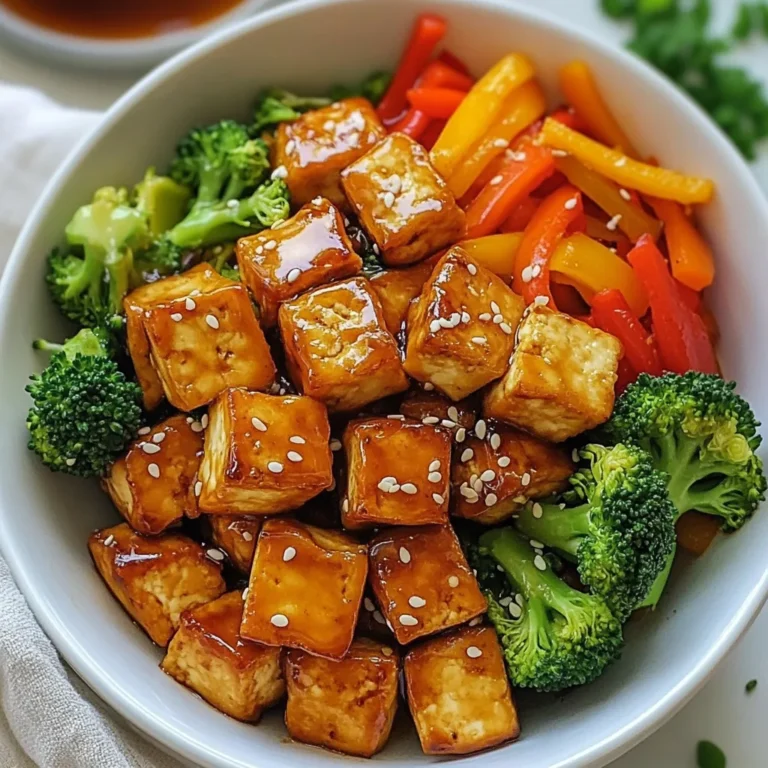
Air Fryer Teriyaki Tofu Bowls Easy and Flavorful Meal
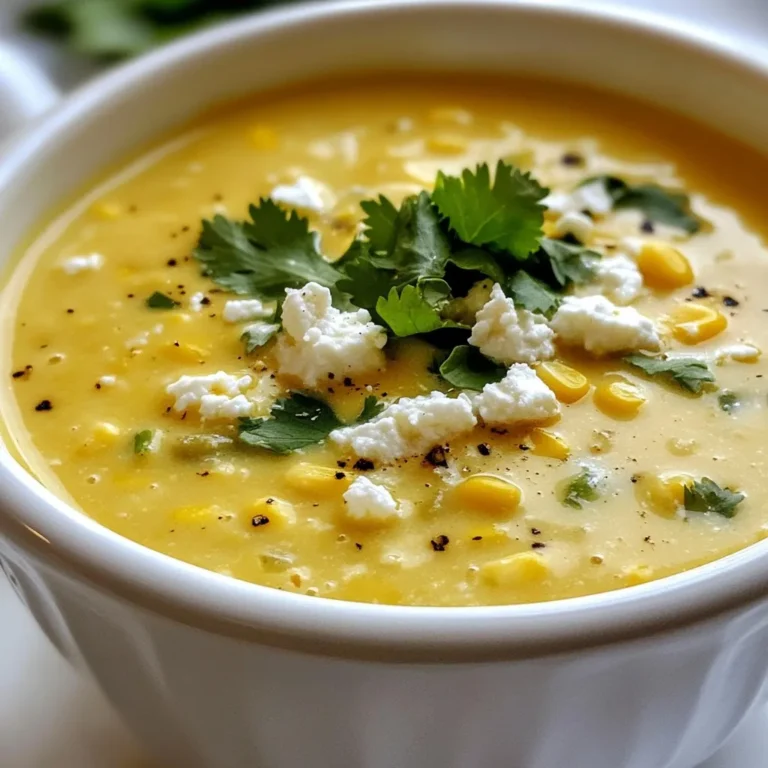
Creamy Poblano Corn Chowder Simple Comfort Meal
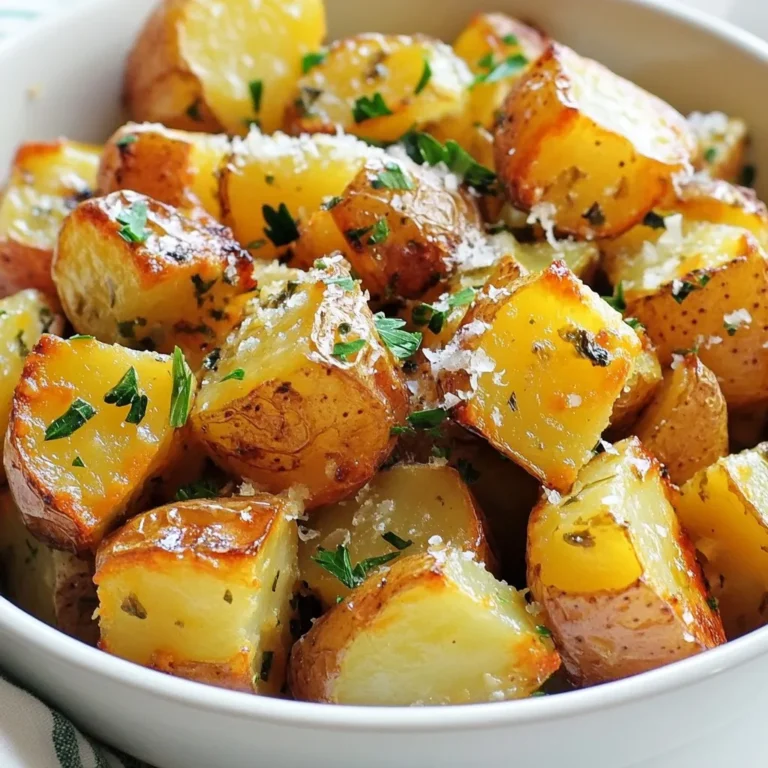
Parmesan Herb Roasted Potatoes Crisp and Flavorful Dish
Honey Garlic Tofu Stir Fry Quick and Tasty Meal
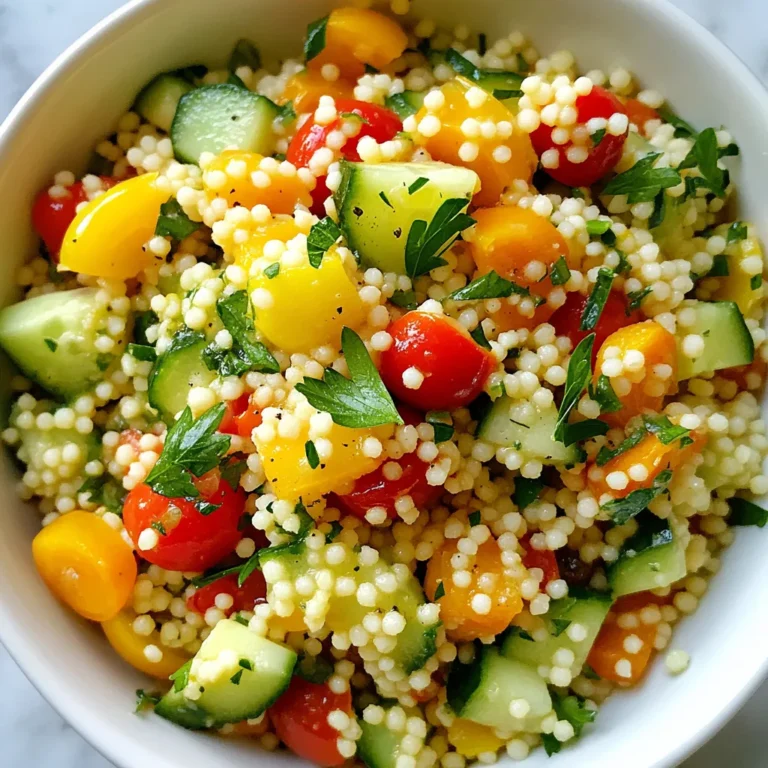
Lemon Herb Couscous Salad Fresh and Flavorful Delight
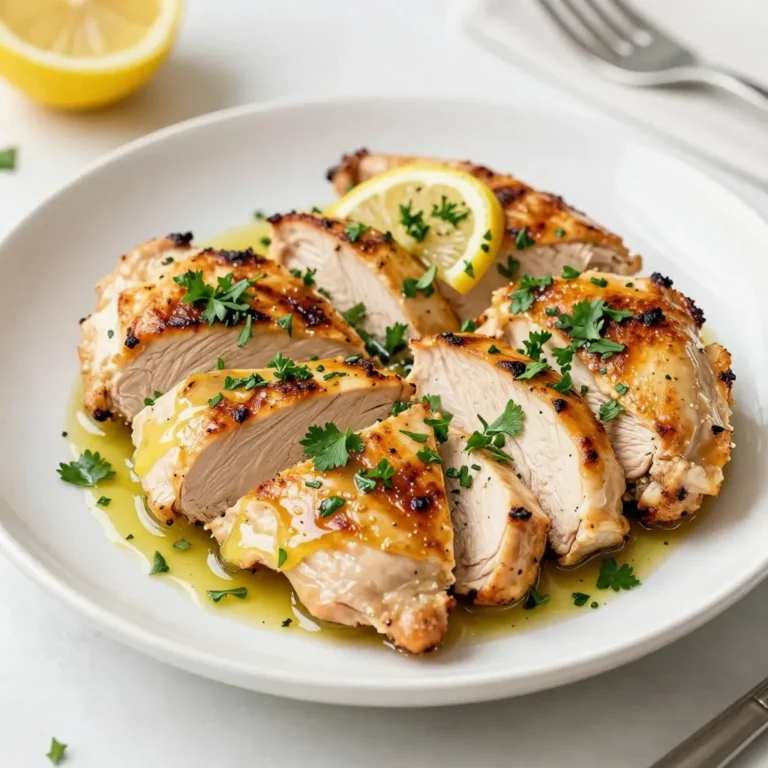
Lemon Herb Grilled Chicken Juicy and Flavorful Recipe
Chipotle Chicken Enchilada Skillet Flavorful Recipe
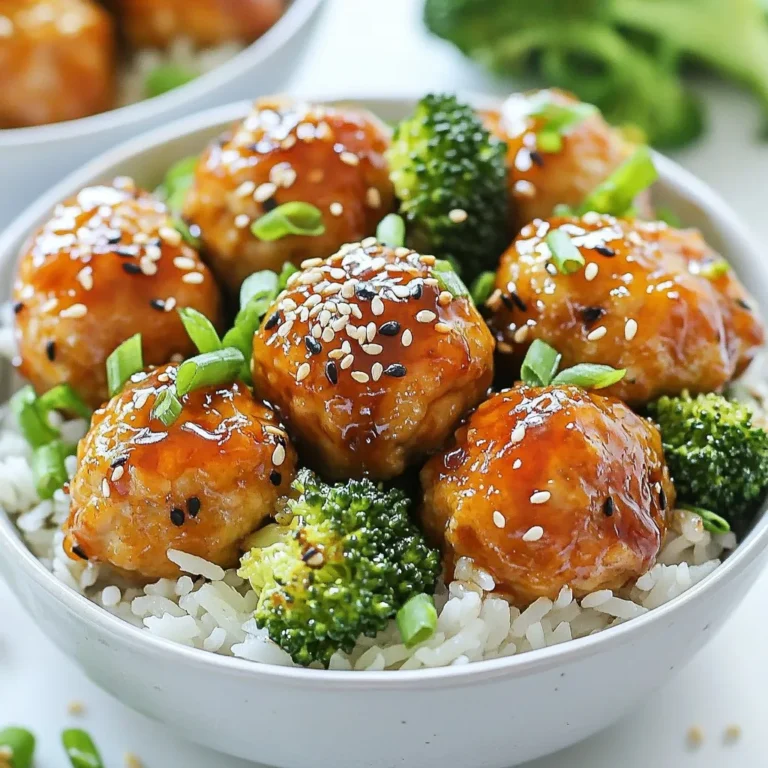
Teriyaki Chicken Meatball Bowls Healthy Family Meal
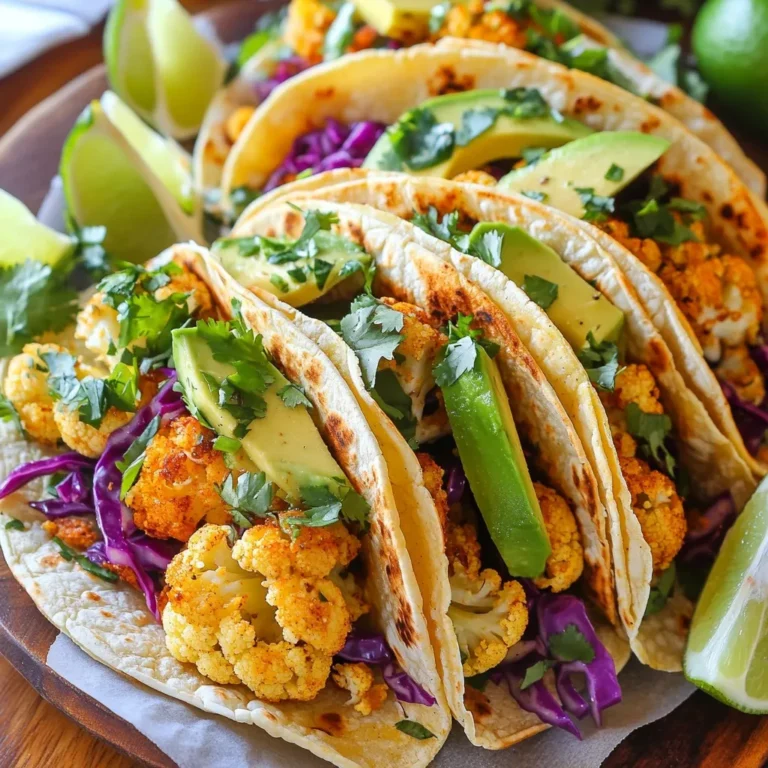
Roasted Cauliflower Tacos Flavorful and Simple Meal
Page navigation
Previous Page
Previous
1
…
34
35
36
37
38
Next Page
Next
Home
Dinner
Appetizer
Desserts
Drinks
About
Contact
Privacy Policy
Toggle Menu Close
Search for:
Search