Skip to content
About
Contact
Cookie Policy
Copyright Policy
Disclaimer
Search
Home
Dinner
Appetizer
Desserts
Drinks
About
Contact
Privacy Policy
Toggle Menu
Home
/
Dinner
- Page 34
Dinner
Slow Cooker Butter Chicken Easy Flavorful Recipe
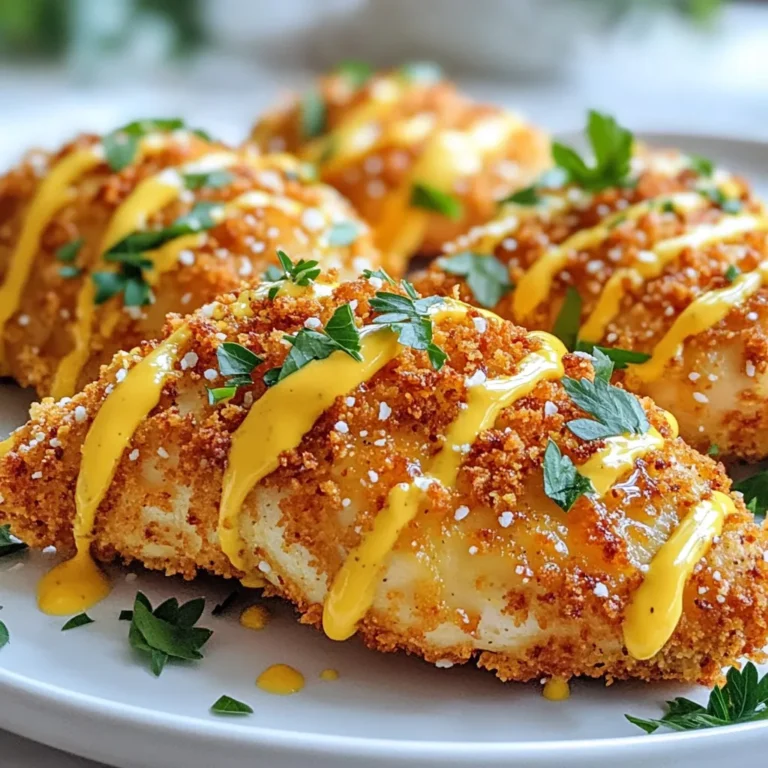
Honey Mustard Pretzel Chicken Crunchy and Tasty Meal
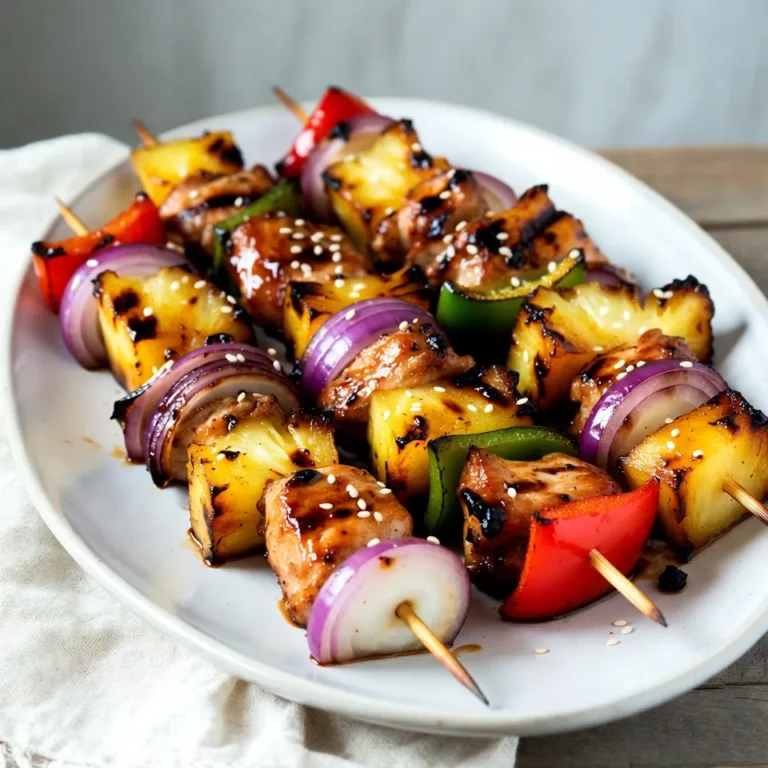
Teriyaki Chicken Pineapple Skewers Tasty and Easy Meal
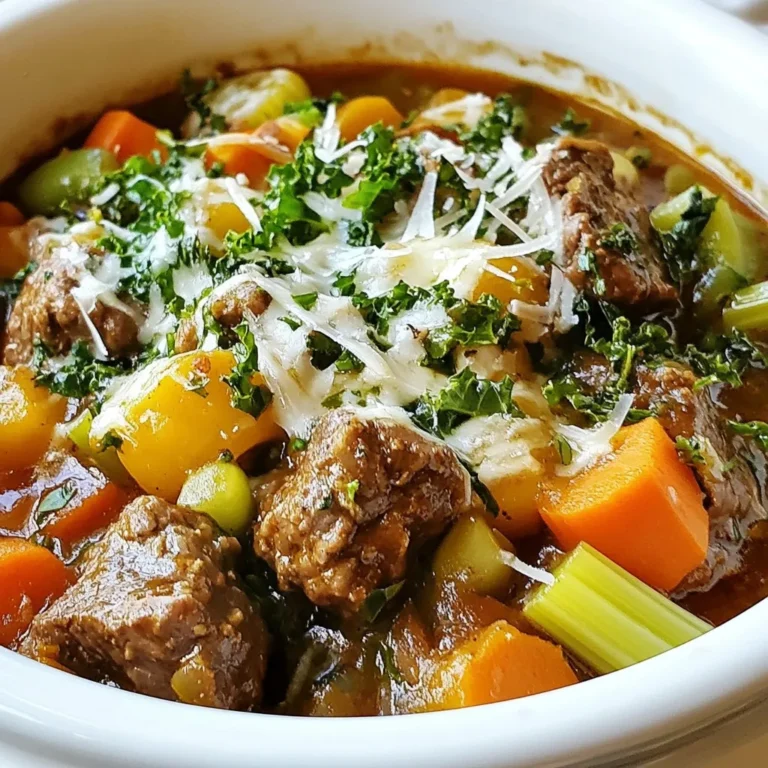
Tuscan Beef Casserole Hearty and Flavorful Meal
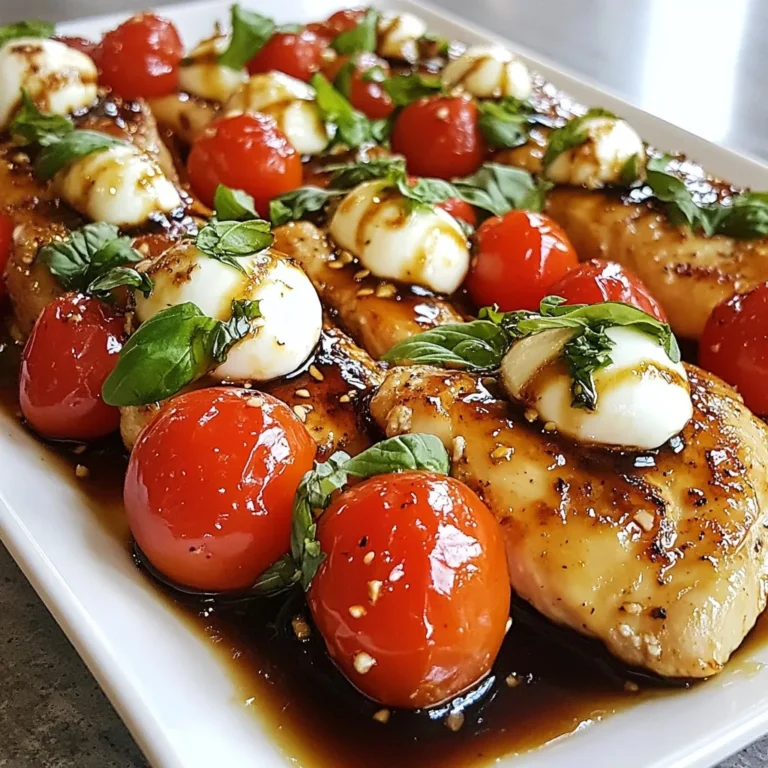
Balsamic Glazed Caprese Chicken Delightful Dinner Recipe
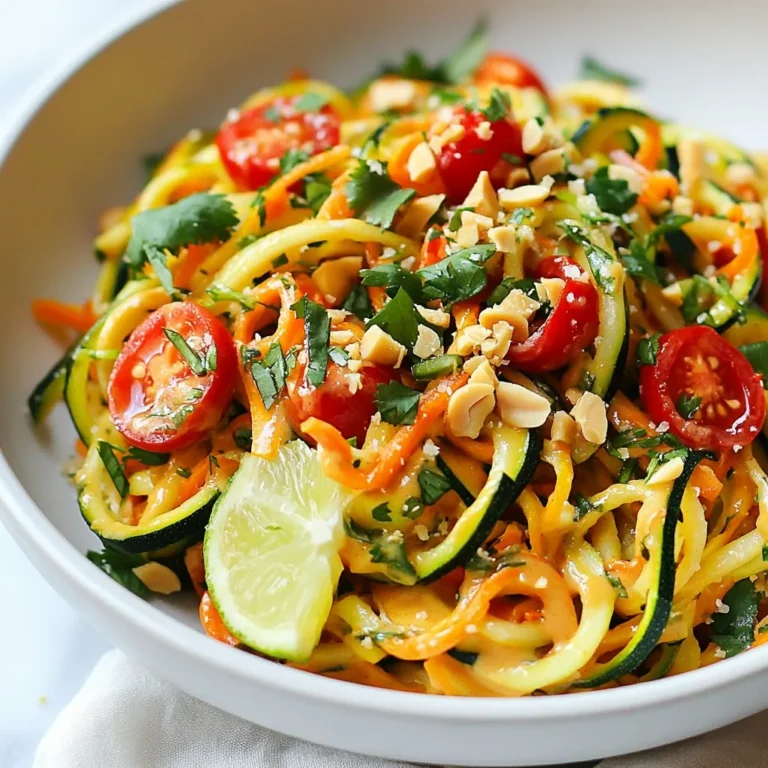
Spicy Thai Peanut Zucchini Noodles Flavorful Delight
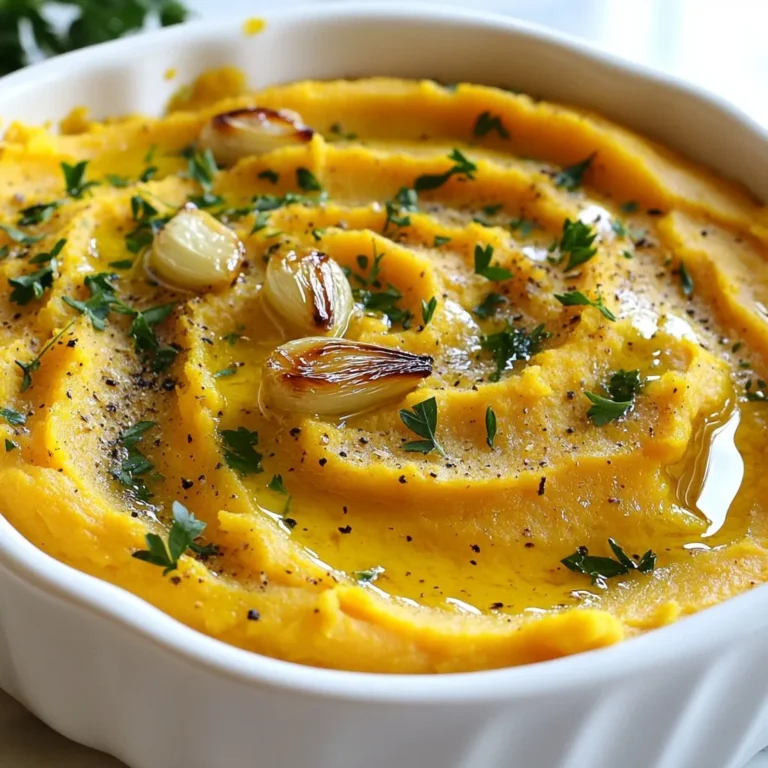
Roasted Garlic Sweet Potato Mash Flavorful Comfort Dish
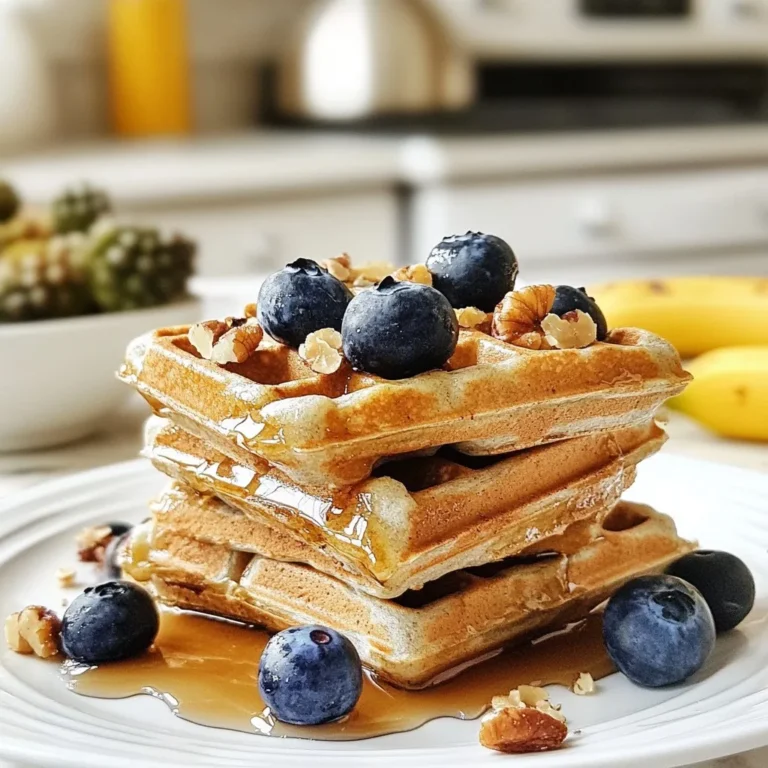
Blueberry Banana Protein Waffles Nutritious and Easy
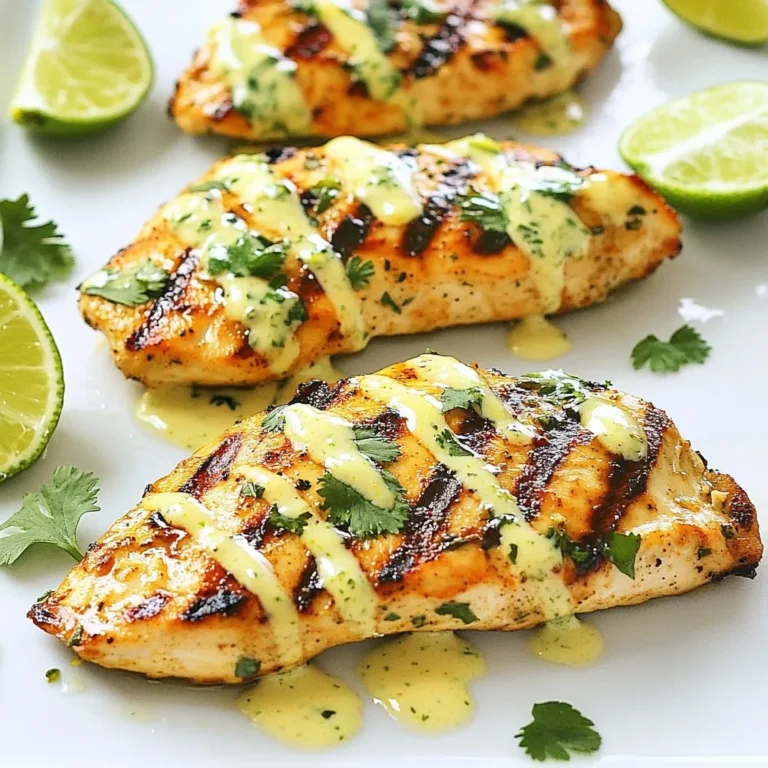
Coconut Lime Chicken Flavorful and Easy Dinner Recipe
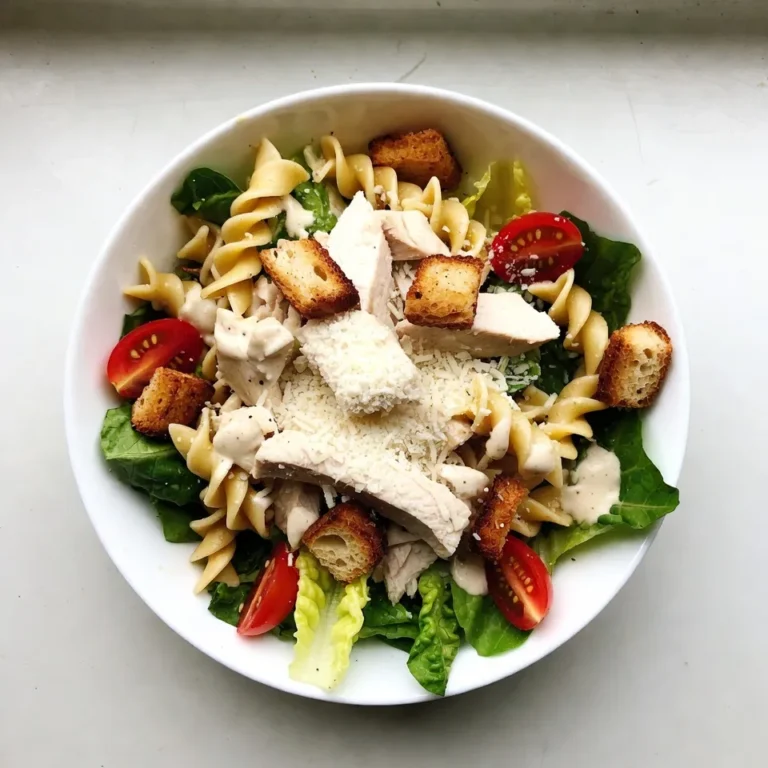
Classic Chicken Caesar Pasta Salad Easy and Tasty Dish
Page navigation
Previous Page
Previous
1
…
32
33
34
35
36
…
38
Next Page
Next
Home
Dinner
Appetizer
Desserts
Drinks
About
Contact
Privacy Policy
Toggle Menu Close
Search for:
Search