Skip to content
About
Contact
Cookie Policy
Copyright Policy
Disclaimer
Search
Home
Dinner
Appetizer
Desserts
Drinks
About
Contact
Privacy Policy
Toggle Menu
Home
/
Dinner
- Page 19
Dinner
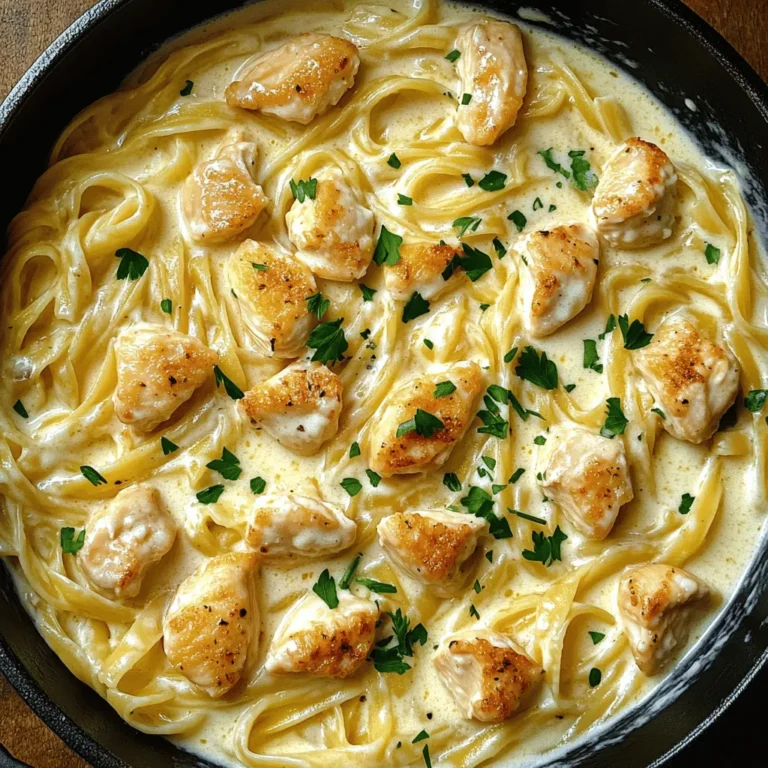
One Pot Chicken Alfredo Easy Creamy Comfort Meal
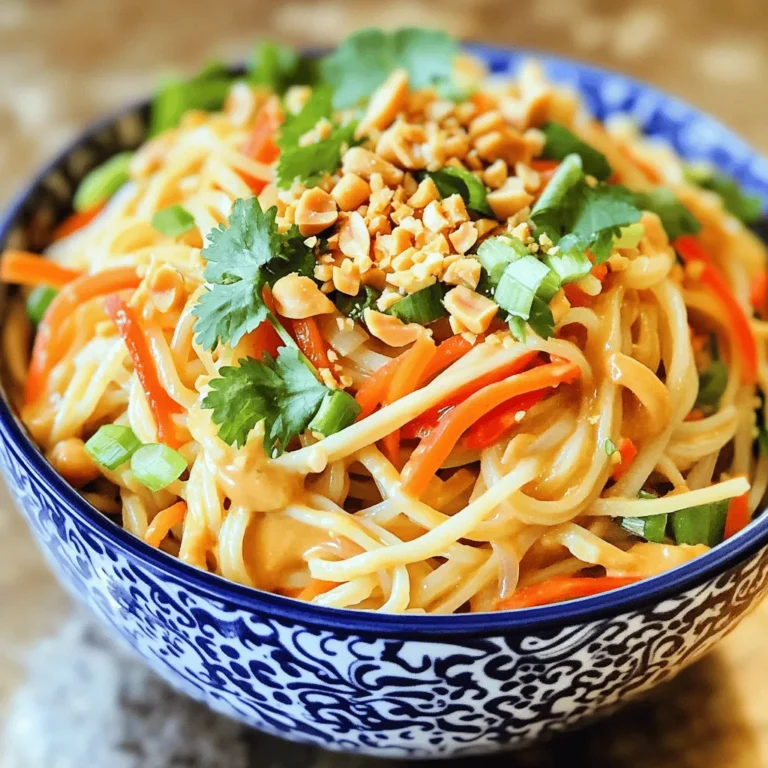
Easy Thai Peanut Noodles Simple and Flavorful Dish
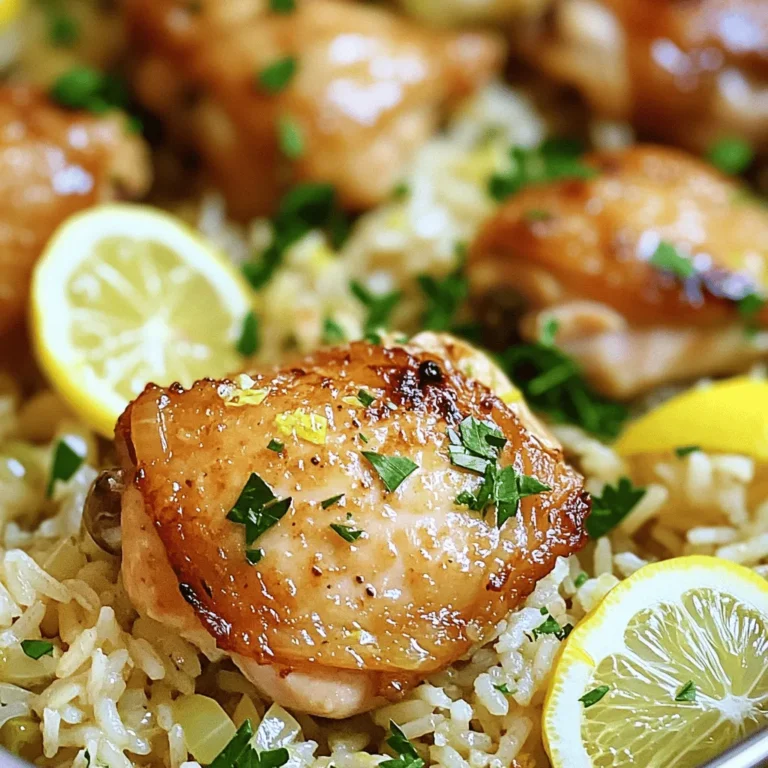
One Pot Lemon Chicken Rice Flavorful Dinner Delight
Garlic Herb Roasted Potatoes Flavorful and Easy Dish
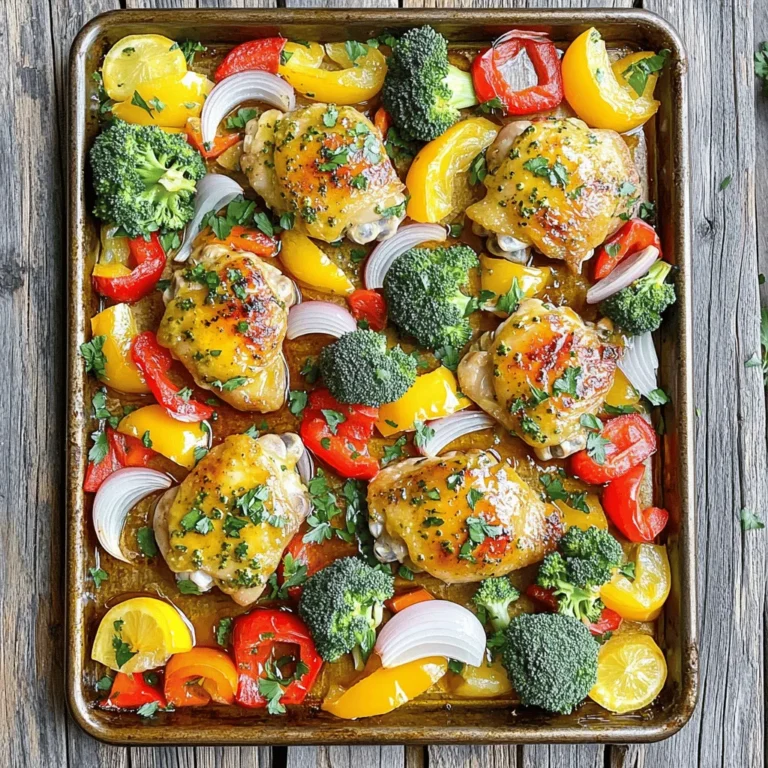
Sheet Pan Chicken and Veggies Flavorful One-Pan Meal
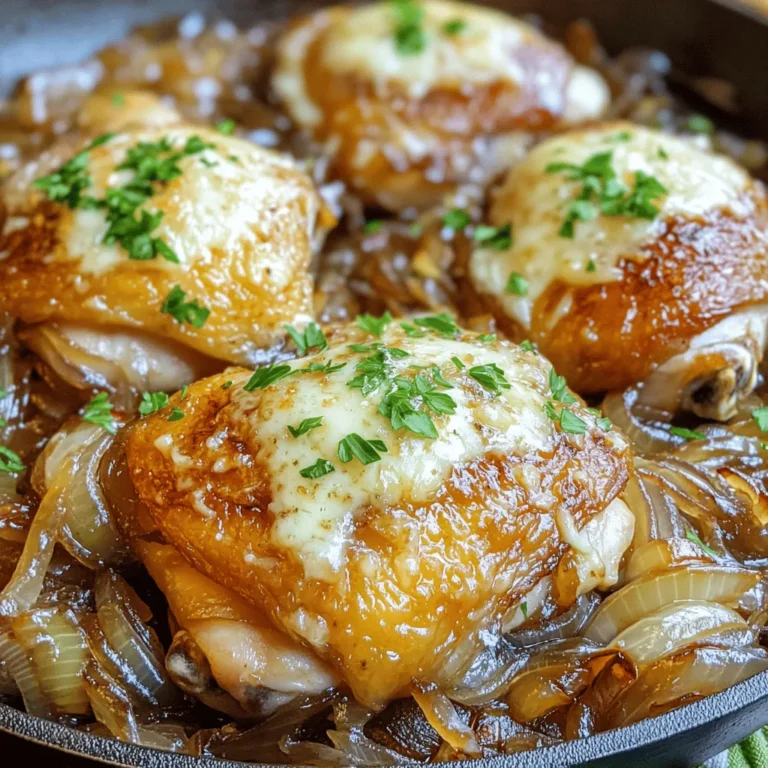
French Onion Chicken Skillet Flavorful Dinner Delight
Egg Roll in a Bowl Tasty and Simple Weeknight Meal
Loaded Breakfast Burritos Tasty and Filling Meal
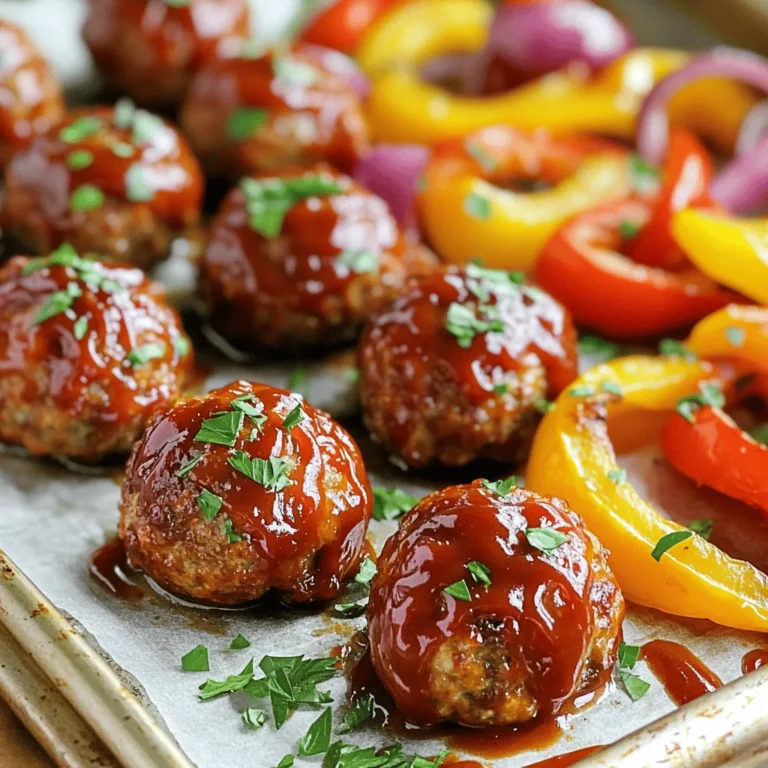
Sheet Pan BBQ Meatballs Flavorful and Easy Dish
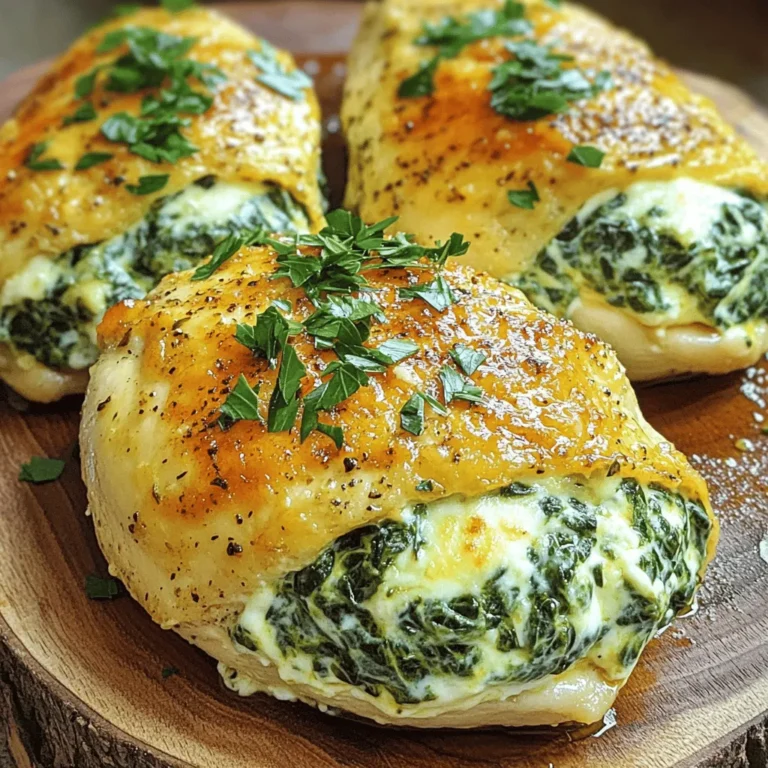
Creamy Spinach Stuffed Chicken Delightful and Easy Dish
Page navigation
Previous Page
Previous
1
…
17
18
19
20
21
…
30
Next Page
Next
Home
Dinner
Appetizer
Desserts
Drinks
About
Contact
Privacy Policy
Toggle Menu Close
Search for:
Search

. It includes detailed steps and all the ingredients needed for this dish. Enjoy your cooking! We explored the best ingredients for Garlic Herb Roasted Potatoes and detailed how to prepare them. I shared step-by-step instructions and helpful tips for perfect roasting. We also discussed variations to keep your dishes exciting and how to store leftovers effectively. Remember, the right techniques can make your roasted potatoes shine. With practice, you can impress friends and family with your cooking. Enjoy your culinary adventure!](https://goldendishy.com/wp-content/uploads/2025/06/ecc3322d-c379-4f60-a513-14af97ee26fb-768x768.webp)