Skip to content
About
Contact
Cookie Policy
Copyright Policy
Disclaimer
Search
Home
Dinner
Appetizer
Desserts
Drinks
About
Contact
Privacy Policy
Toggle Menu
Home
/
Dinner
- Page 16
Dinner
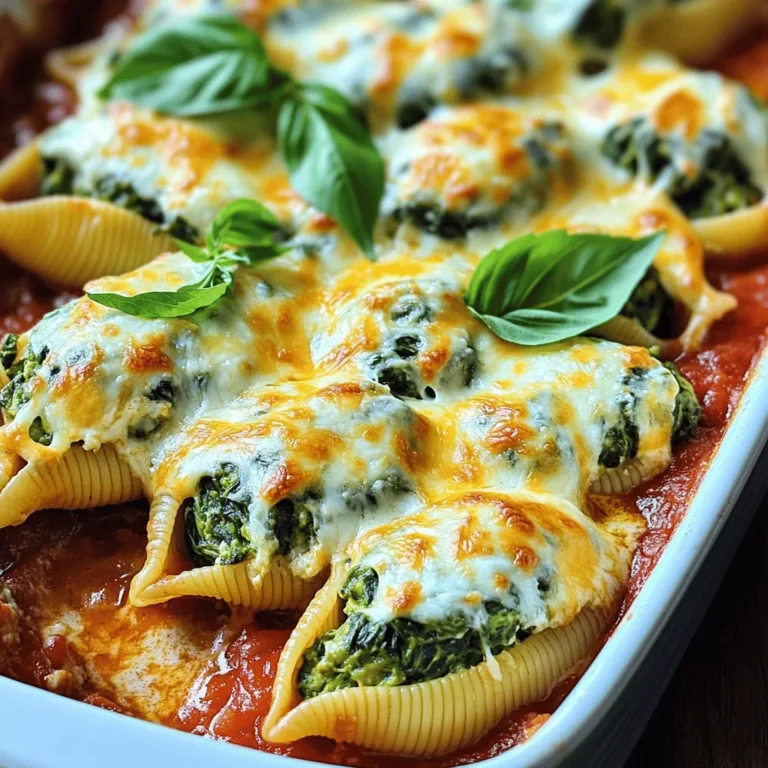
Cheesy Spinach Stuffed Shells Simple and Savory Dish
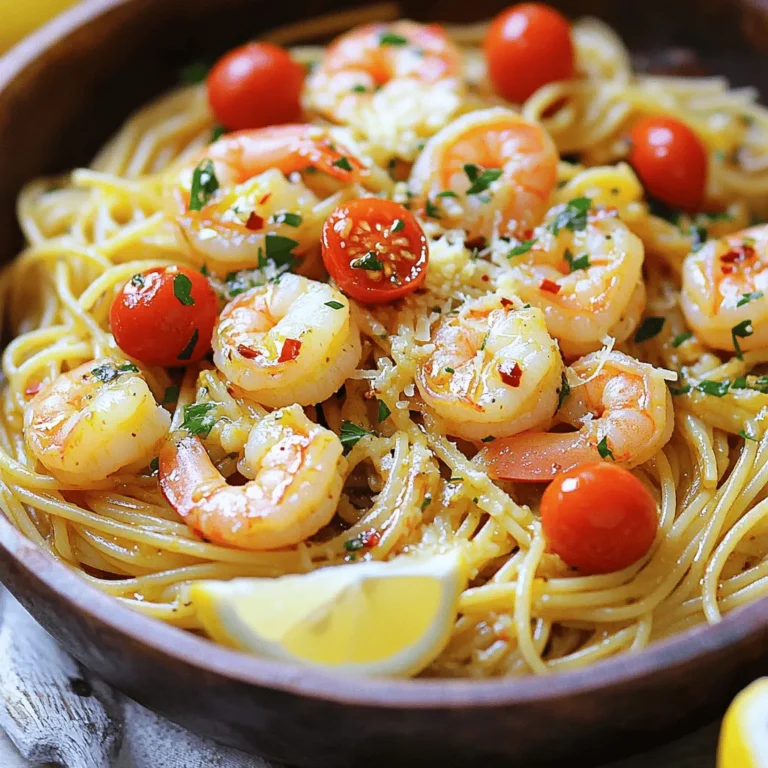
Spicy Garlic Shrimp Pasta Flavorful Weeknight Meal
Crispy Tofu Buddha Bowl Nutritious and Flavorful Meal
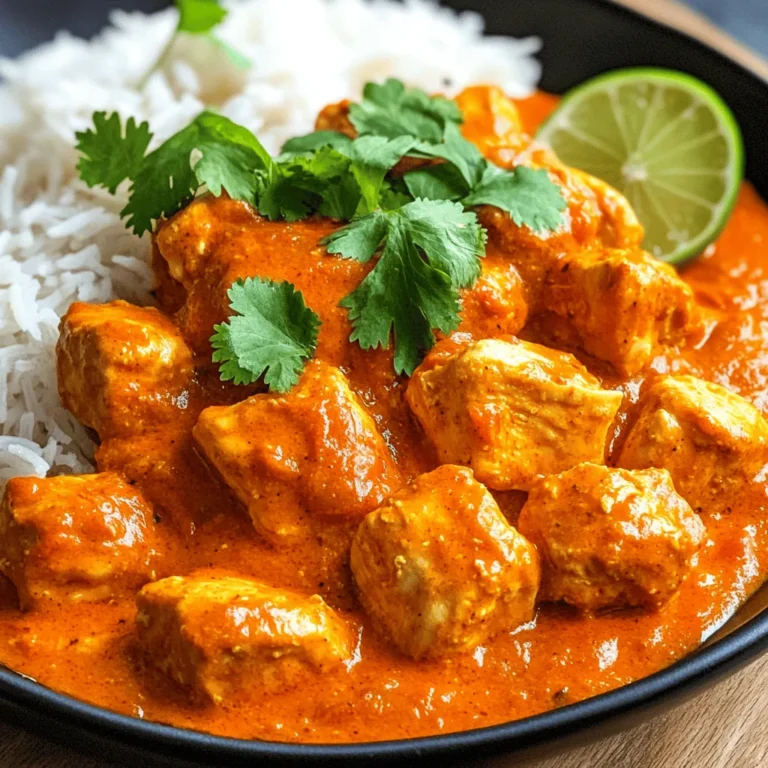
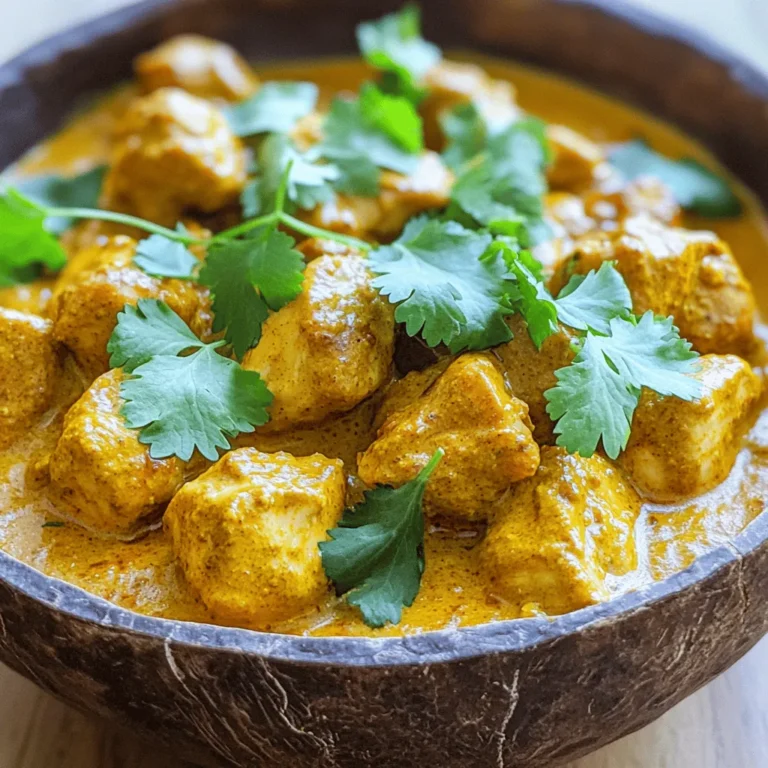
Easy Chicken Tikka Masala Flavorful and Simple Dish
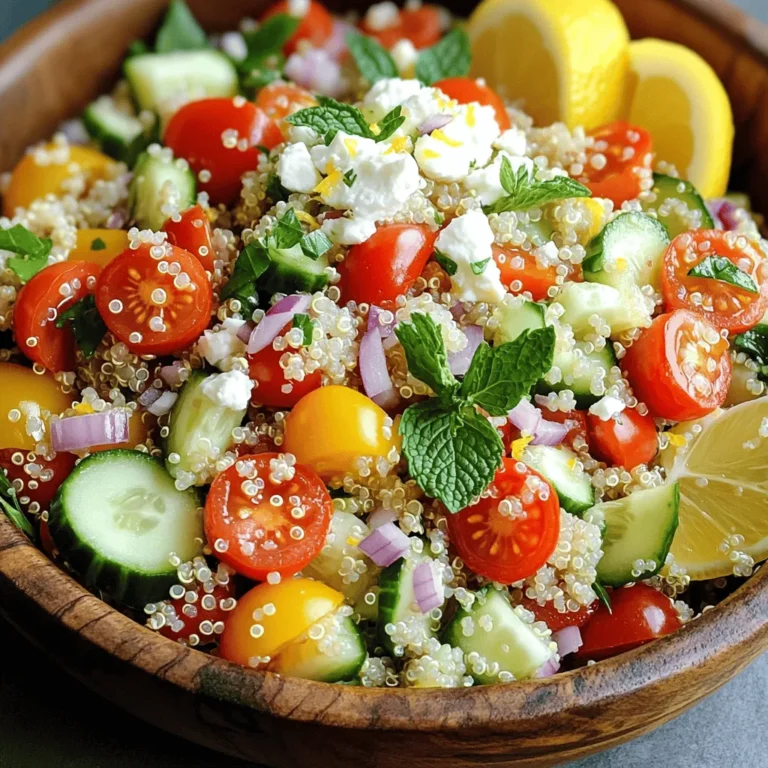
Lemon Herb Quinoa Salad Fresh and Flavorful Recipe
Easy Chicken Tikka Masala Flavorful and Simple Recipe
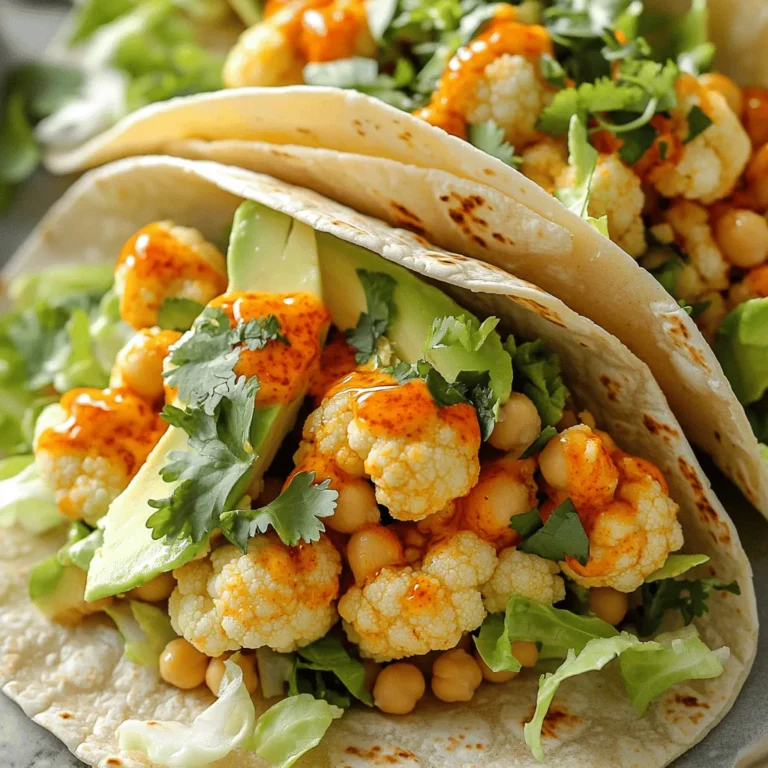
Vegan Crispy Buffalo Tacos Flavorful and Easy Recipe
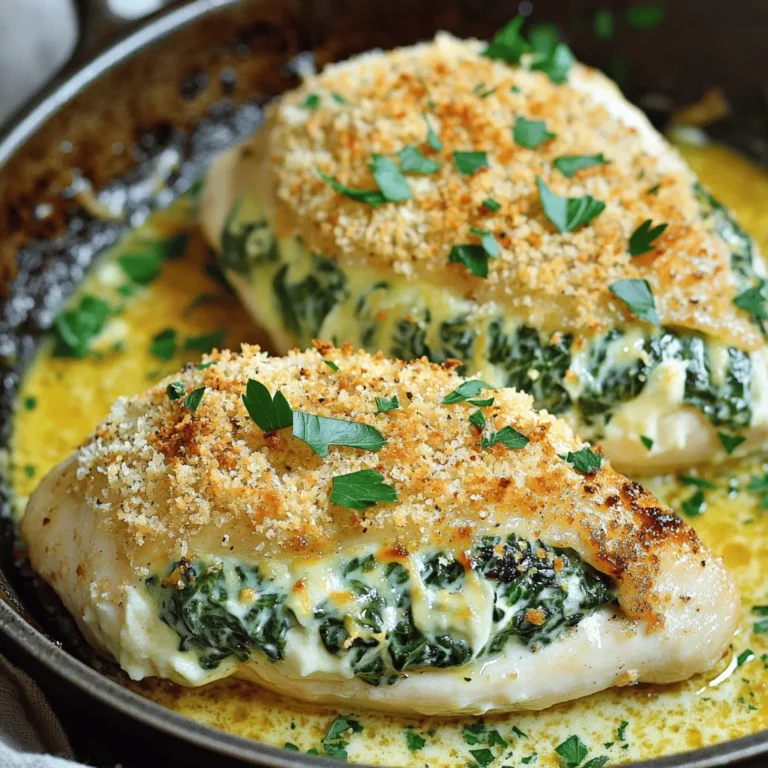
Creamy Spinach Stuffed Chicken Delightful Dinner Idea
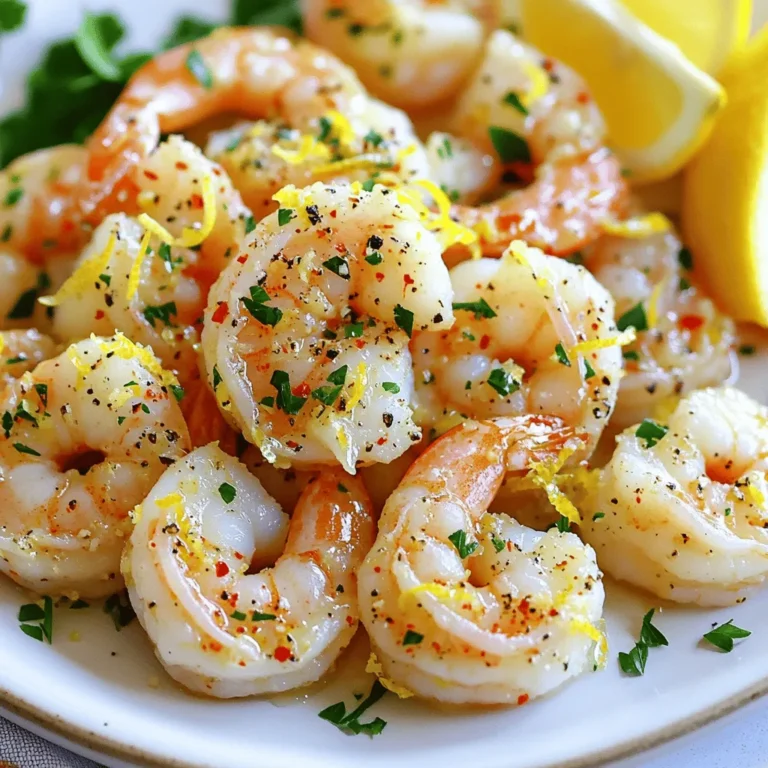
Zesty Lemon Garlic Shrimp Flavorful and Simple Dish
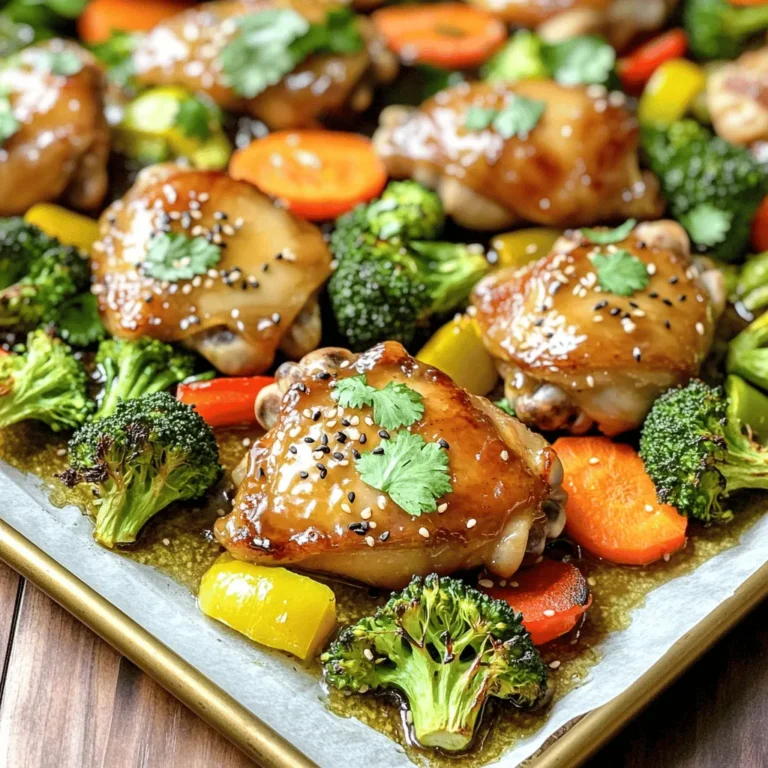
Honey Garlic Sheet Pan Chicken Flavorful Family Meal
Page navigation
Previous Page
Previous
1
…
14
15
16
17
18
…
30
Next Page
Next
Home
Dinner
Appetizer
Desserts
Drinks
About
Contact
Privacy Policy
Toggle Menu Close
Search for:
Search

. This Buddha bowl recipe highlights the joy of crispy tofu and fresh veggies. You learned about key ingredients like firm tofu, quinoa, and avocado. I shared tips for prepping and baking tofu to keep it crispy. Customize your bowl with different grains and seasonal veggies for variety. Lastly, my storage tips help you enjoy leftovers later. Make this dish your own, and enjoy healthy eating!](https://goldendishy.com/wp-content/uploads/2025/06/f58aaf25-4393-4431-ab1e-3aeff1cd4ada-768x768.webp)