Skip to content
About
Contact
Cookie Policy
Copyright Policy
Disclaimer
Search
Home
Dinner
Appetizer
Desserts
Drinks
About
Contact
Privacy Policy
Toggle Menu
Home
/
Dinner
Dinner
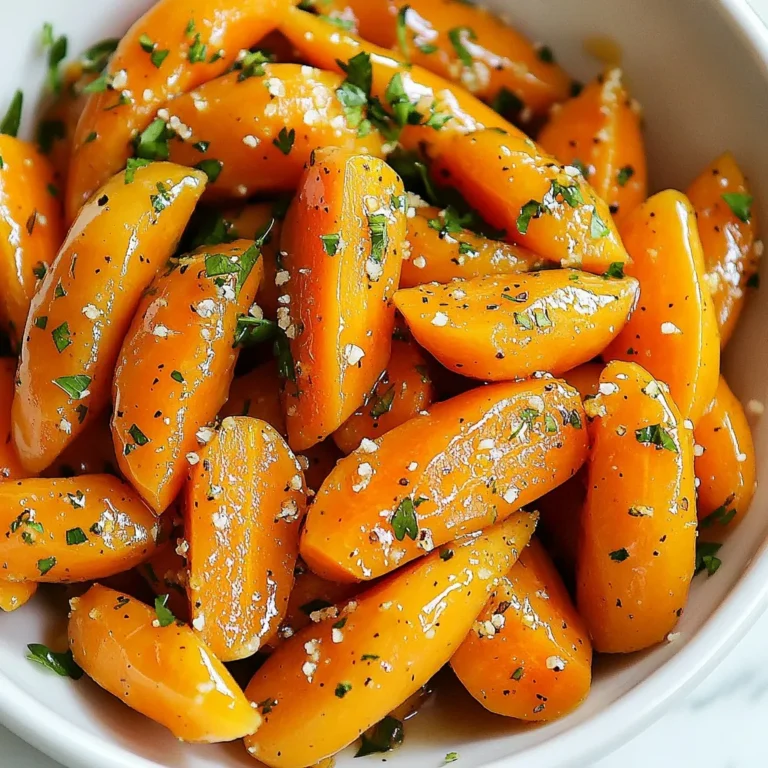
Orange Glazed Carrots Delicious and Simple Recipe
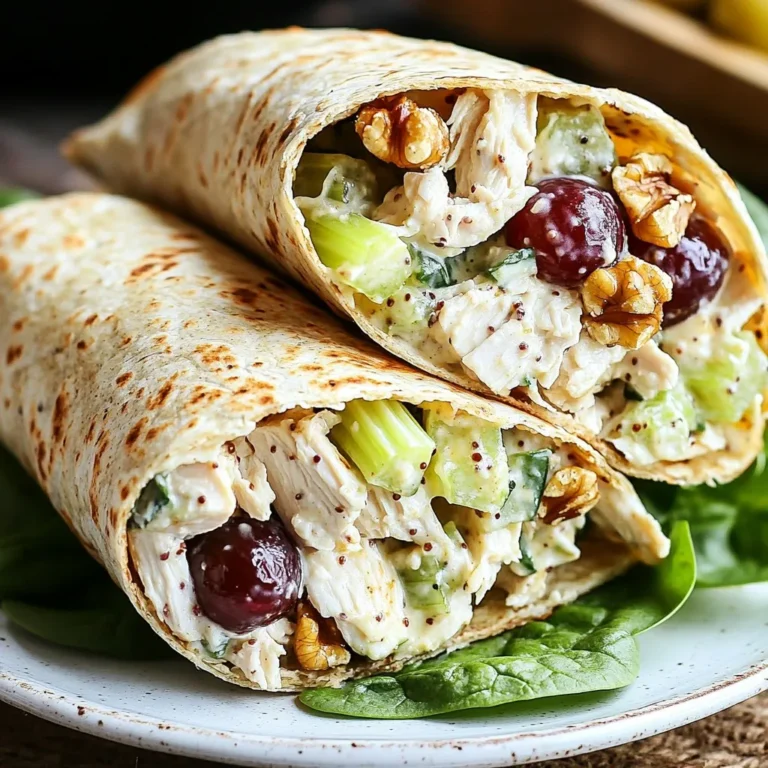
Greek Yogurt Chicken Salad Wraps Easy and Healthy Meal
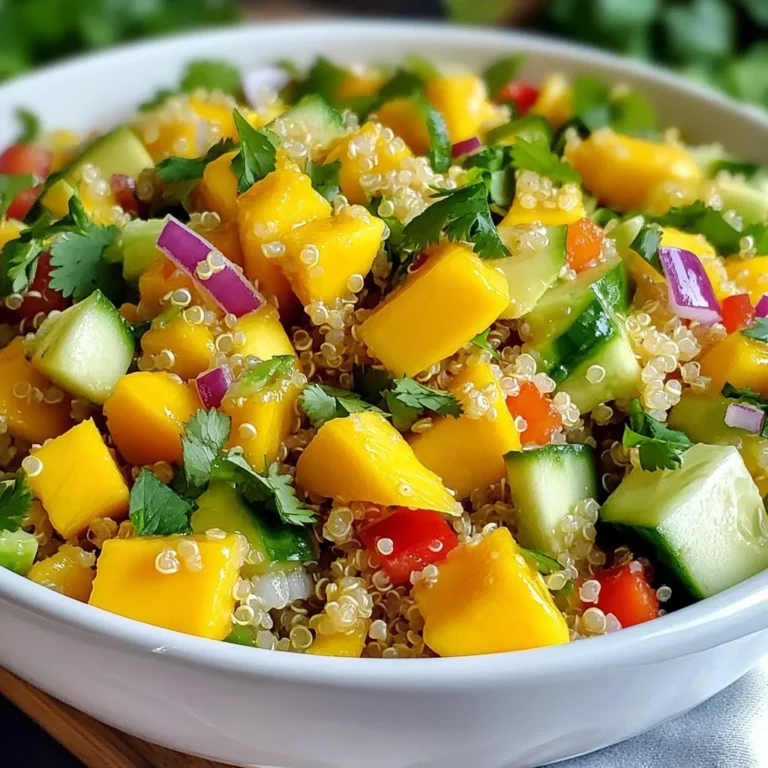
Mango Avocado Quinoa Salad Fresh and Nutritious Mix
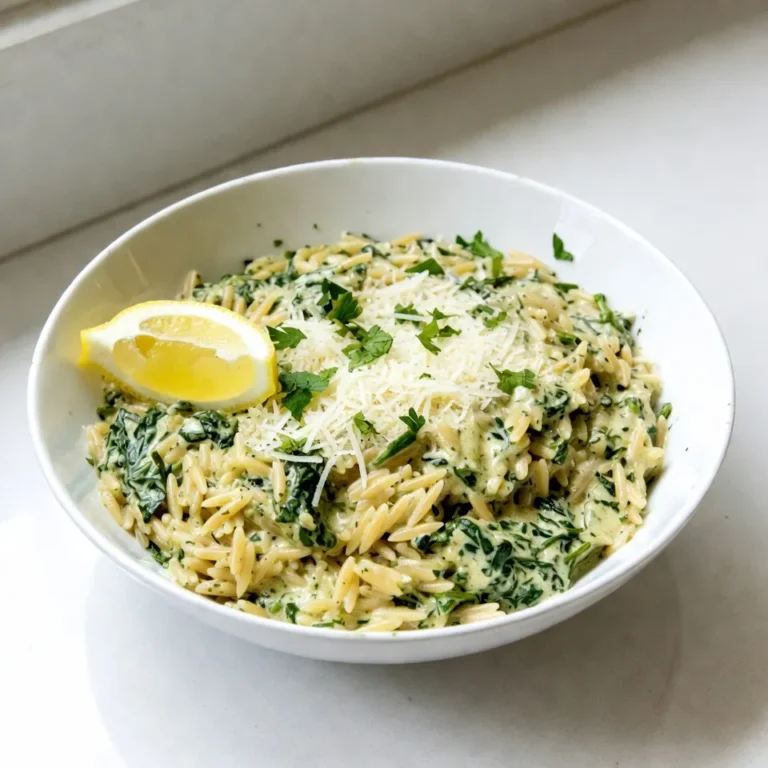
One-Pot Creamy Spinach Orzo Flavorful and Easy Meal
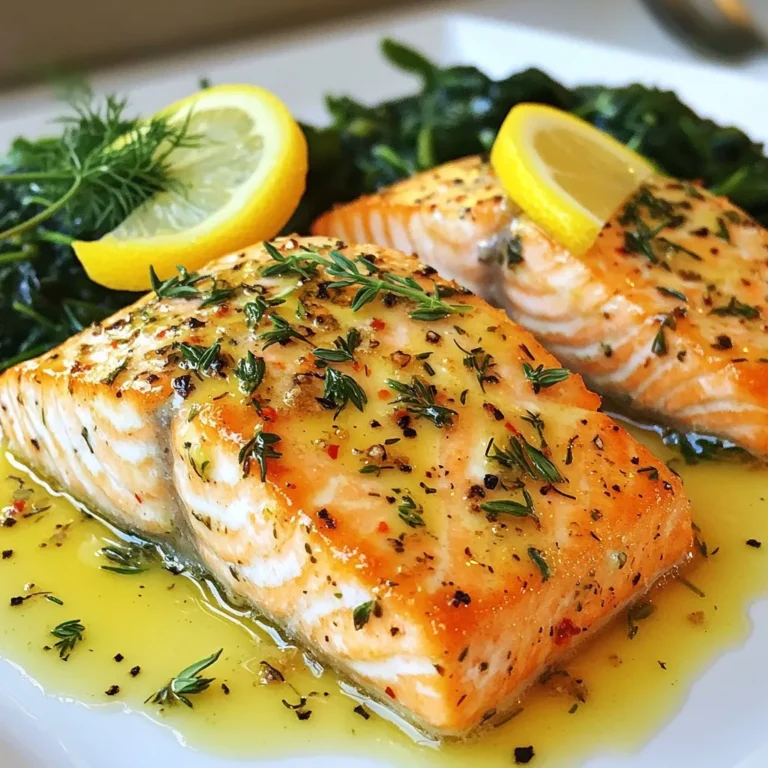
Garlic Butter Herb Salmon Juicy and Flavorful Dish
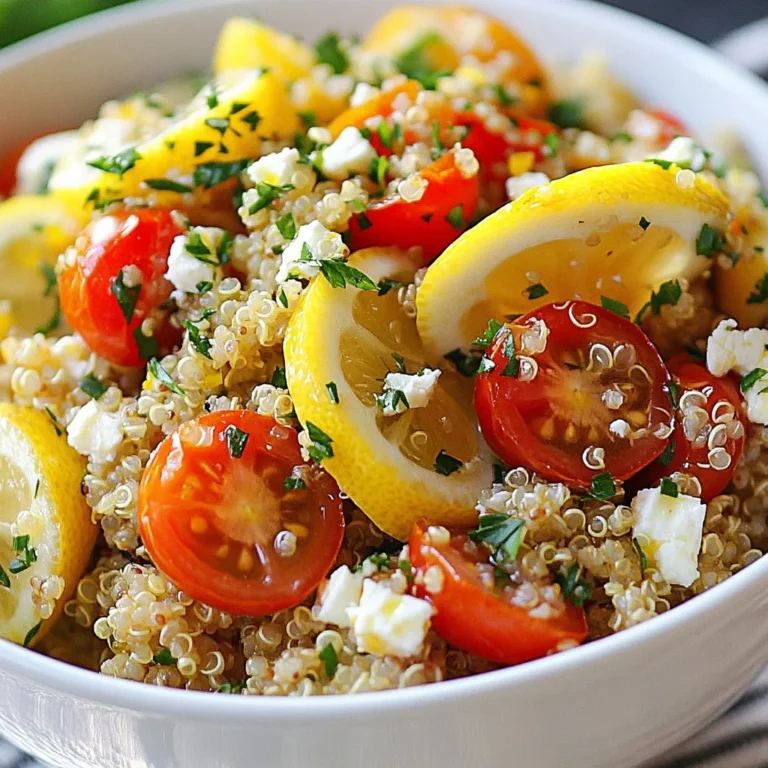
Lemon Herb Quinoa Vibrant and Flavorful Dish
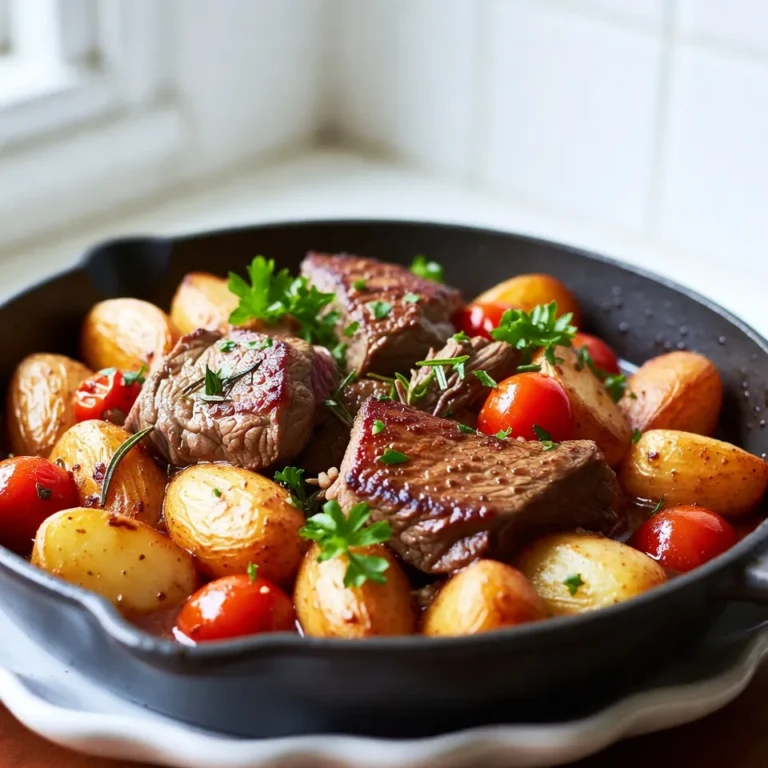
Garlic Butter Steak And Potatoes Skillet Delight
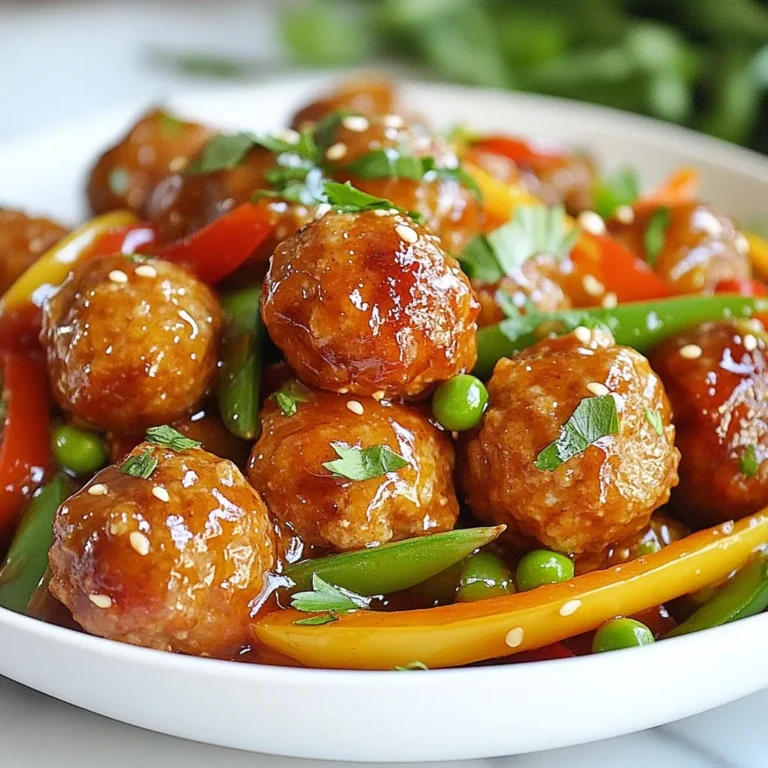
Honey Garlic Meatball Skillet Easy and Hearty Meal
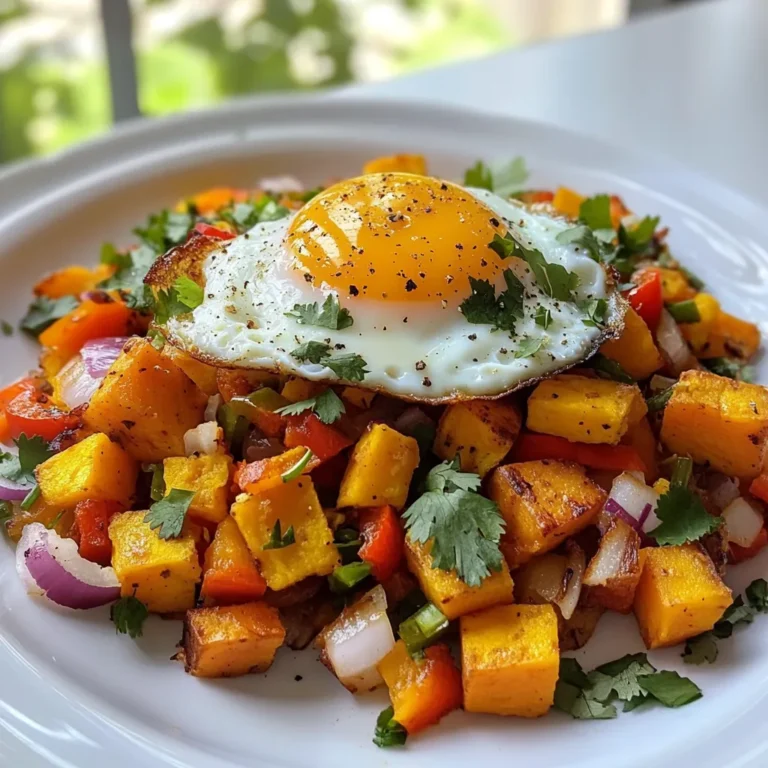
Sweet Potato Hash with Eggs Tasty Breakfast Treat
Cauliflower Fried Rice Flavorful and Healthy Recipe
Page navigation
1
2
3
…
38
Next Page
Next
Home
Dinner
Appetizer
Desserts
Drinks
About
Contact
Privacy Policy
Toggle Menu Close
Search for:
Search