Skip to content
About
Contact
Cookie Policy
Copyright Policy
Disclaimer
Search
Home
Dinner
Appetizer
Desserts
Drinks
About
Contact
Privacy Policy
Toggle Menu
Home
/
Desserts
- Page 8
Desserts
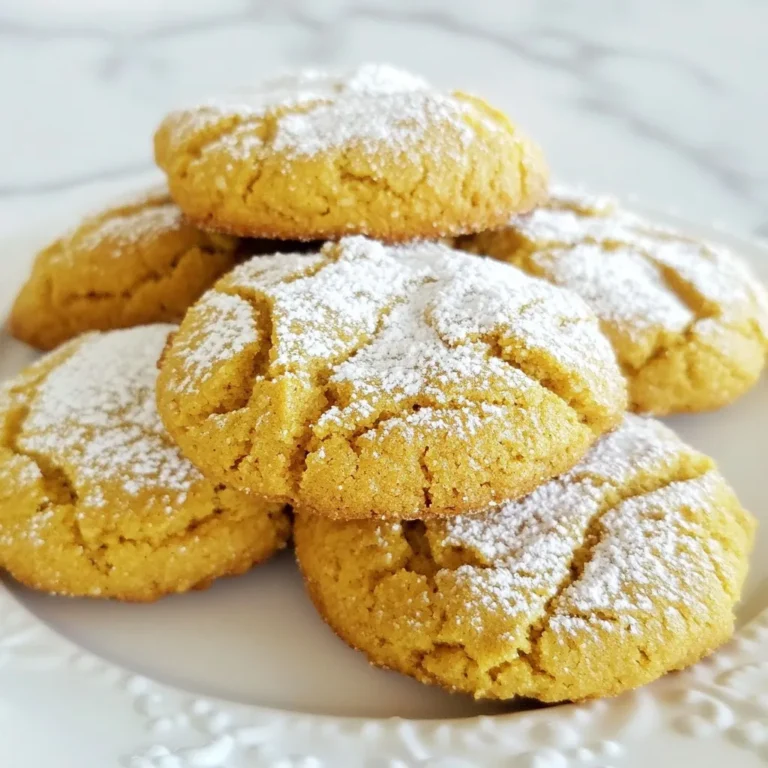
Gingerbread Crinkle Cookies Festive and Flavorful Treat
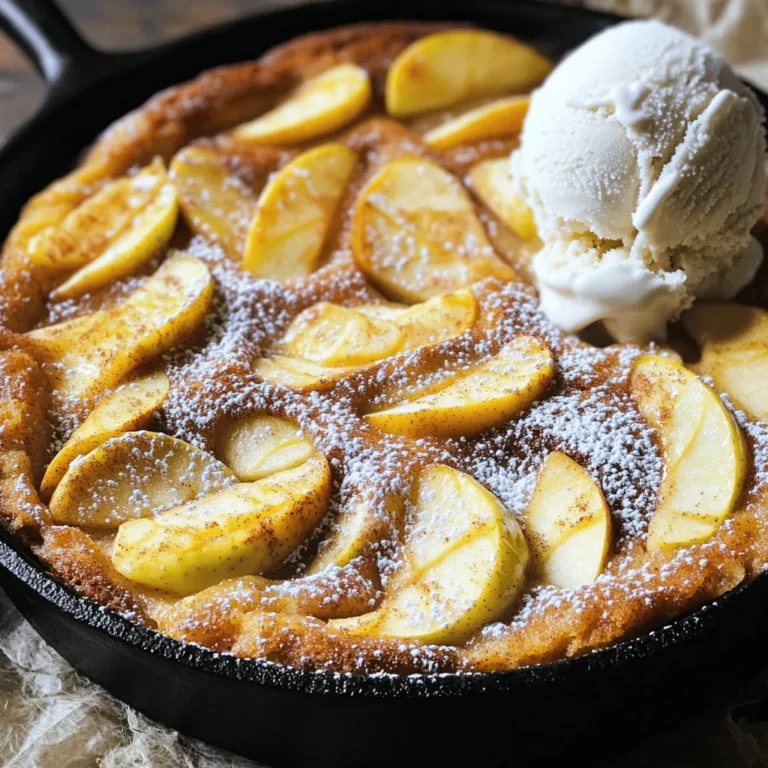
Cinnamon Sugar Apple Skillet Cake Irresistible Treat
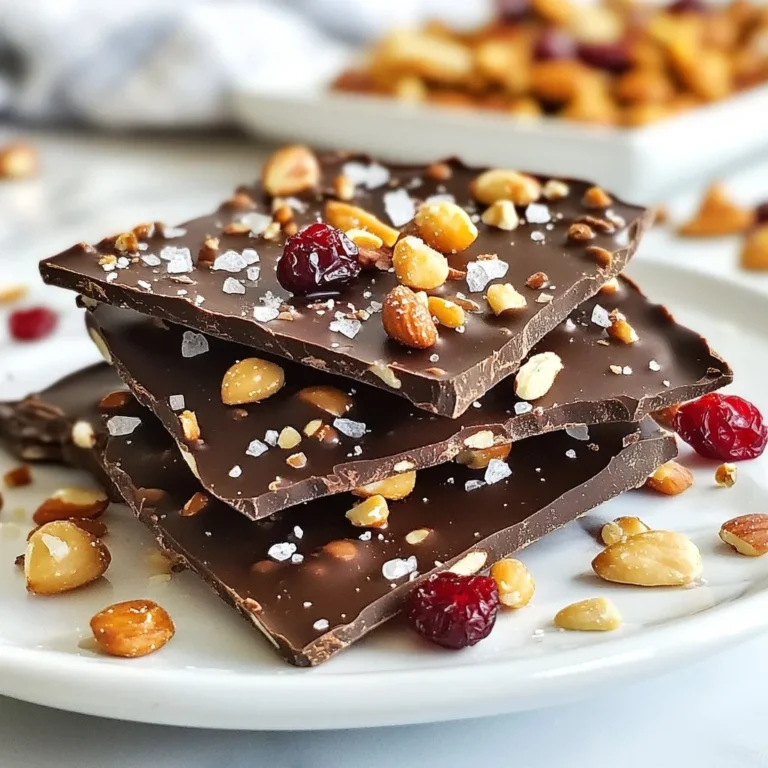
Dark Chocolate Sea Salt Bark Irresistible Sweet Treat
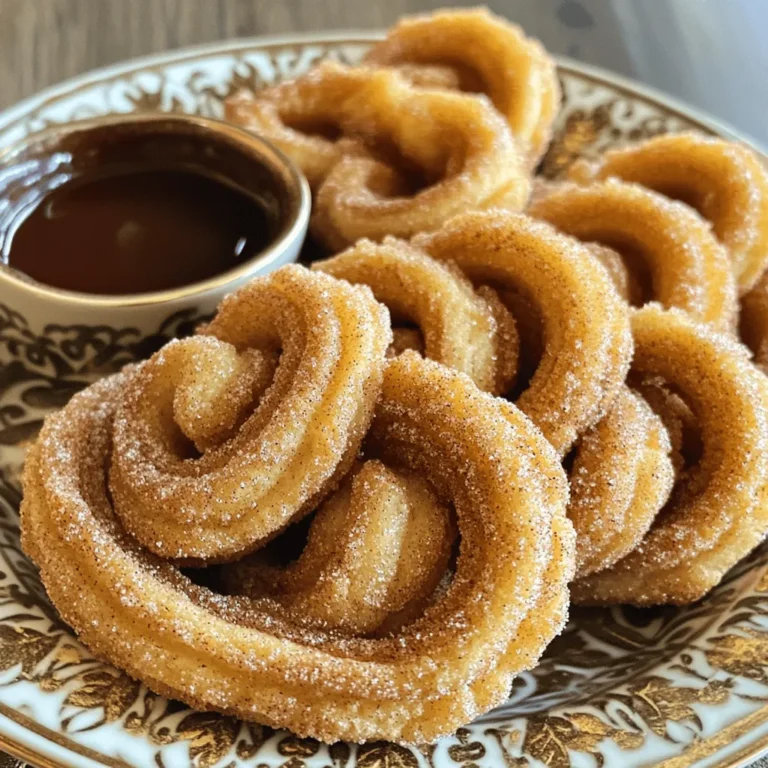
Cinnamon Sugar Churro Cookies Irresistibly Delicious
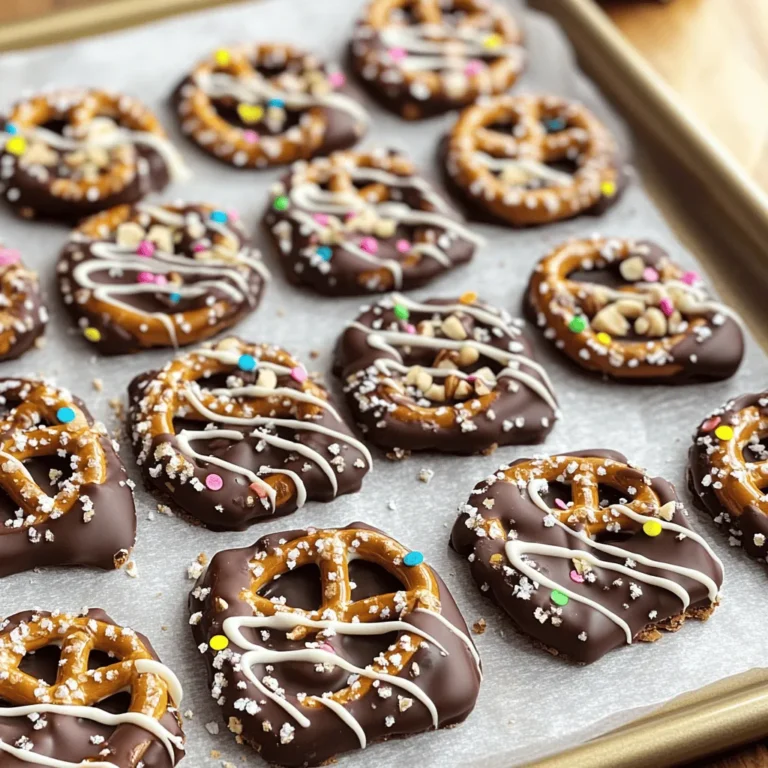
Chocolate Covered Pretzel Bark Delightful Easy Treat
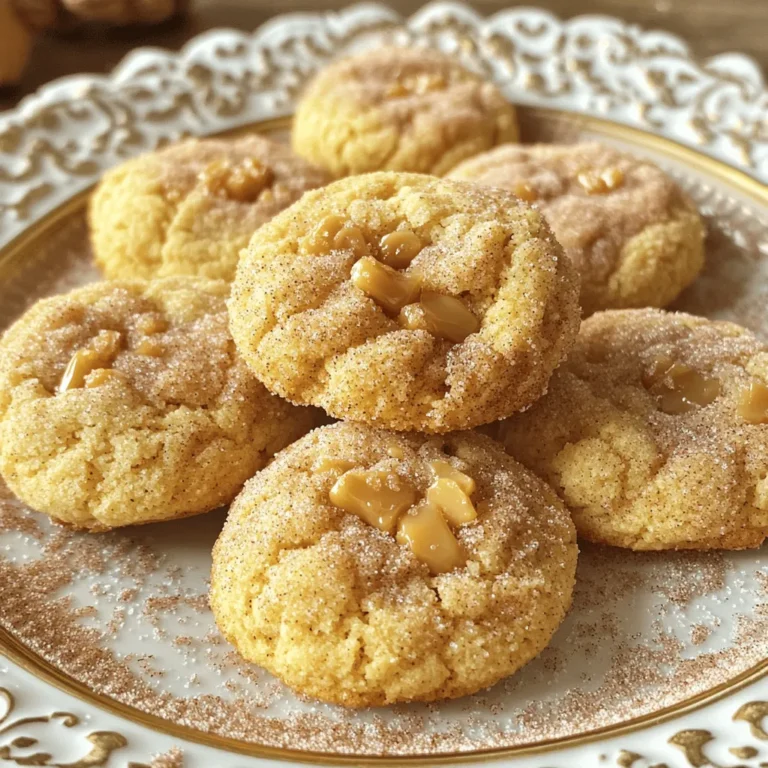
Chewy Caramel Snickerdoodles Simple and Delicious Treat
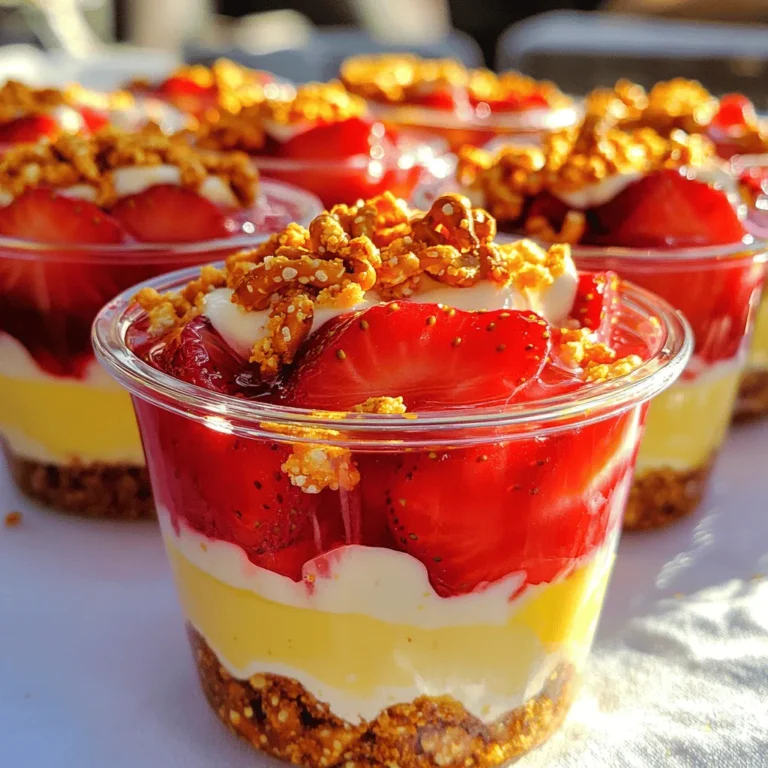
Strawberry Pretzel Salad Cups Delightful Dessert Treat
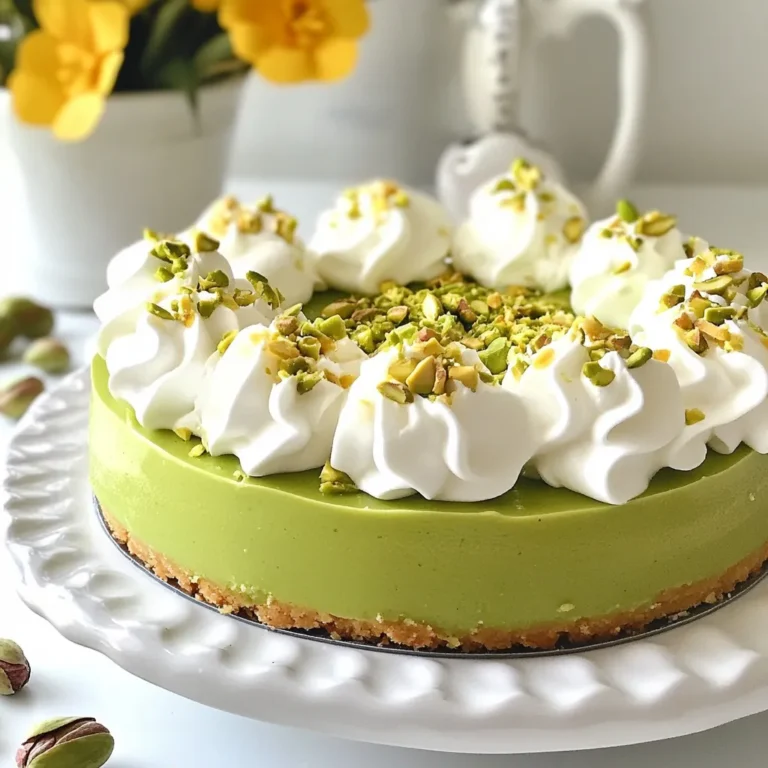
No-Bake Pistachio Cheesecake Delightful Easy Dessert
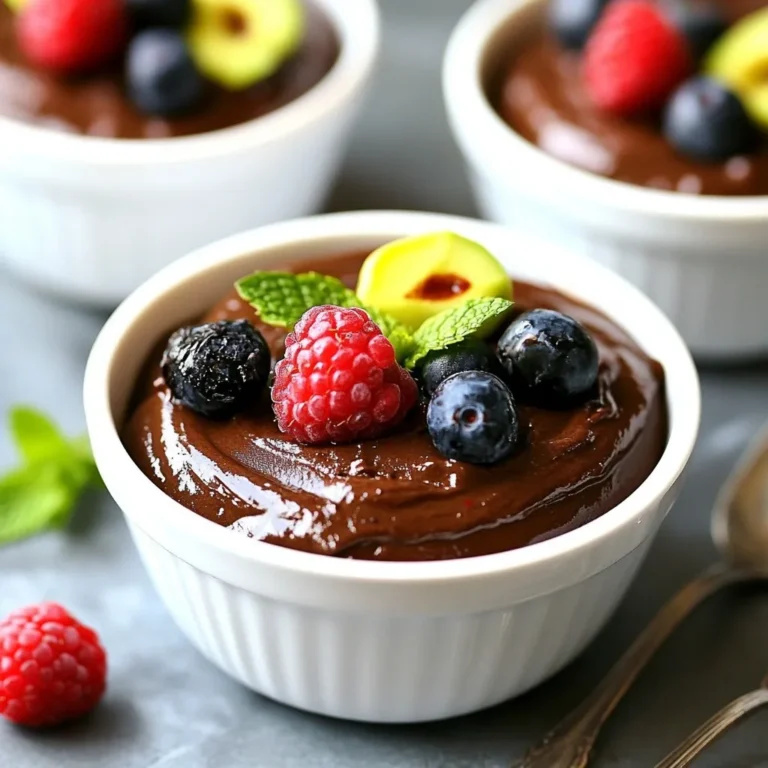
Dark Chocolate Avocado Mousse Rich and Creamy Dessert
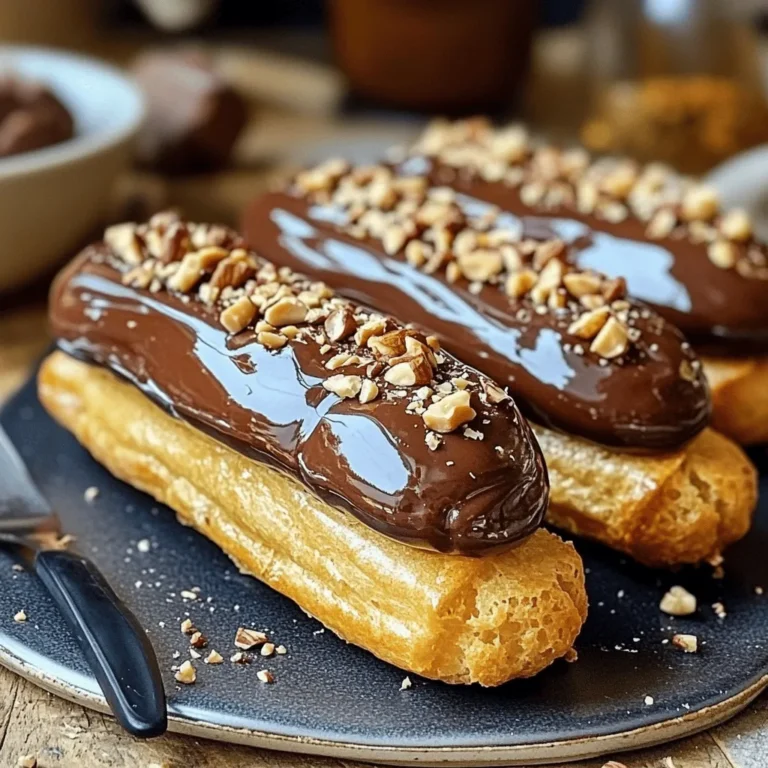
Chocolate Hazelnut Eclairs Irresistible Dessert Treat
Page navigation
Previous Page
Previous
1
…
6
7
8
9
10
…
22
Next Page
Next
Home
Dinner
Appetizer
Desserts
Drinks
About
Contact
Privacy Policy
Toggle Menu Close
Search for:
Search