Skip to content
About
Contact
Cookie Policy
Copyright Policy
Disclaimer
Search
Home
Dinner
Appetizer
Desserts
Drinks
About
Contact
Privacy Policy
Toggle Menu
Home
/
Desserts
- Page 7
Desserts
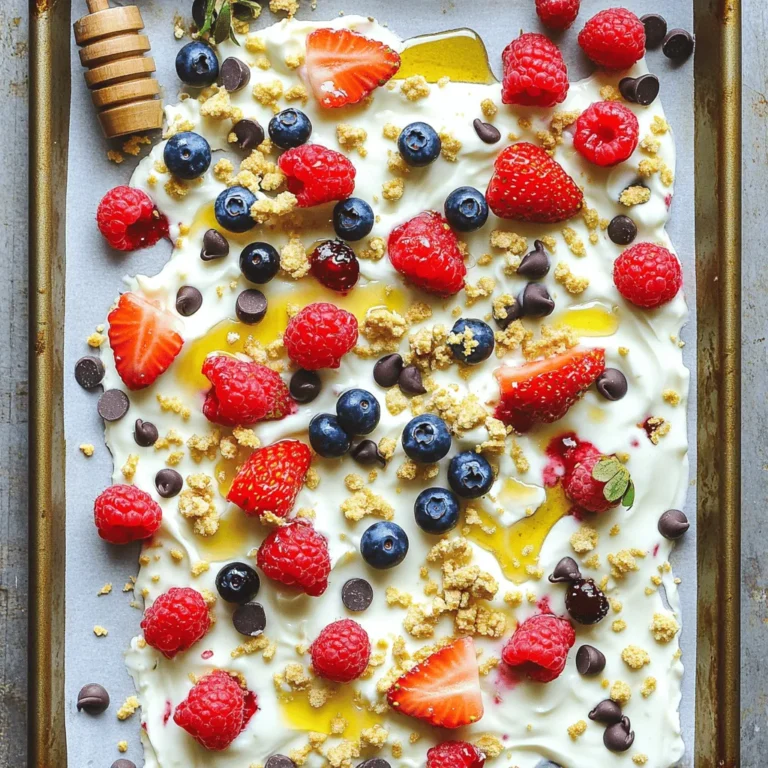
Berry Cheesecake Yogurt Bark Simple and Refreshing Snack
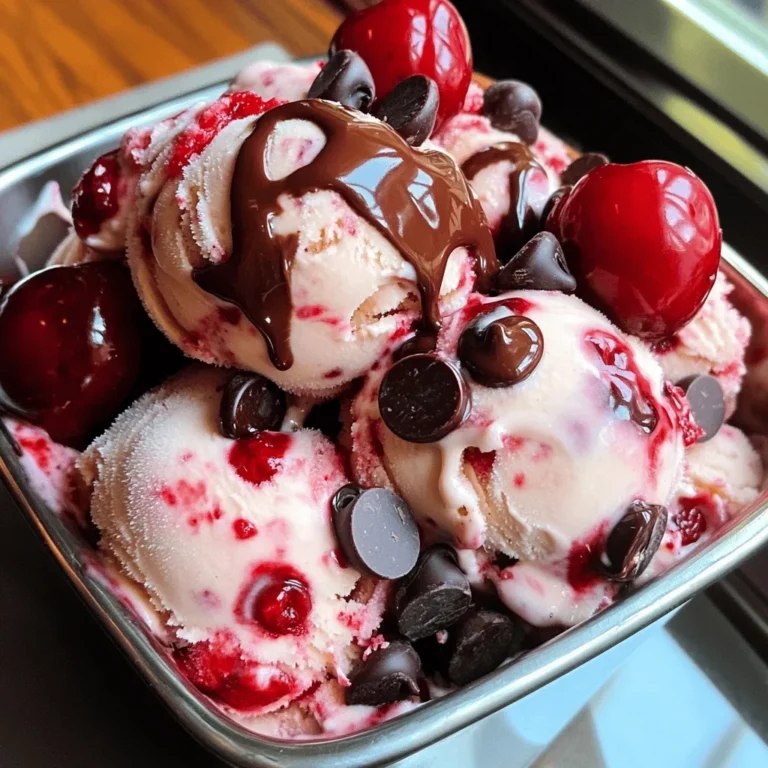
Cherry Chocolate Chip Ice Cream Delicious Homemade Treat
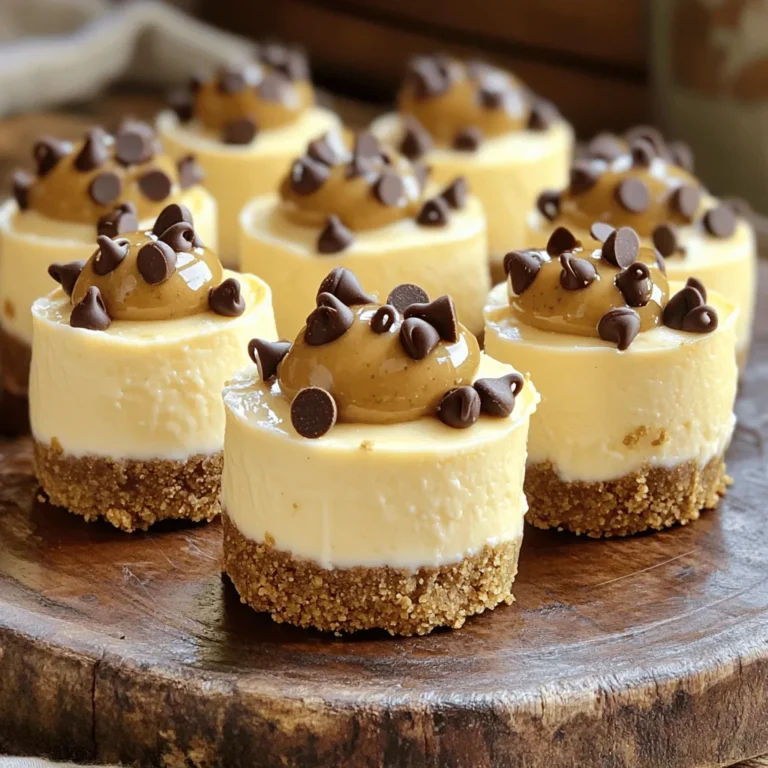
Cookie Butter Cheesecake Bites Irresistible Dessert Treat
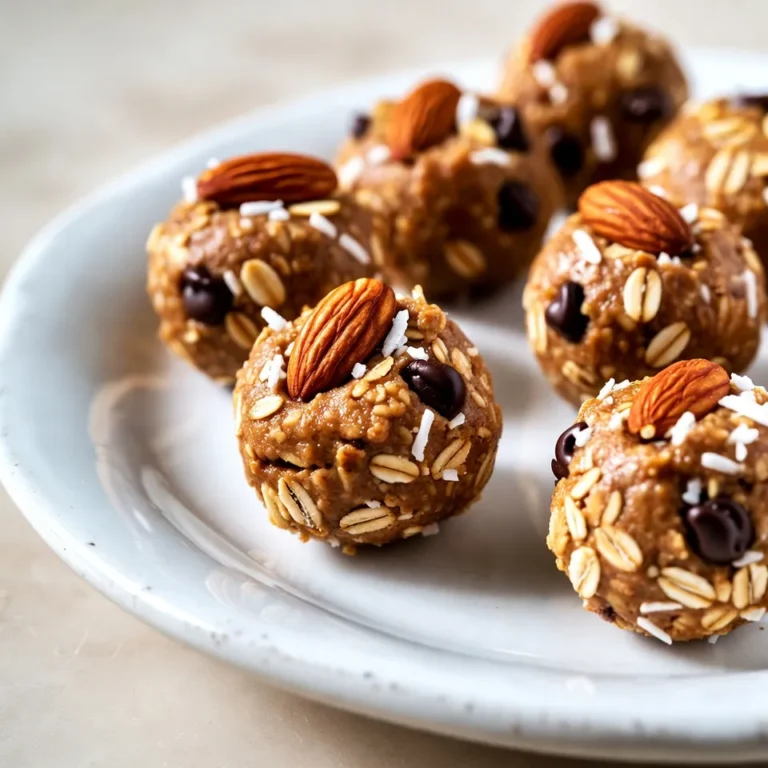
Almond Joy Energy Bites Tasty and Easy Snack Recipe
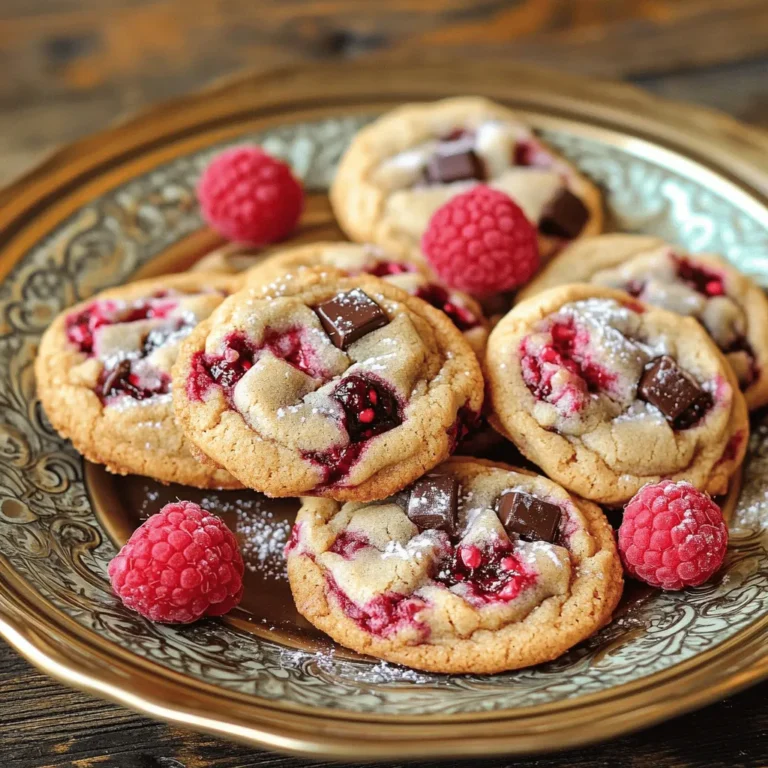
Raspberry Dark Chocolate Chunk Cookies Irresistible Treat
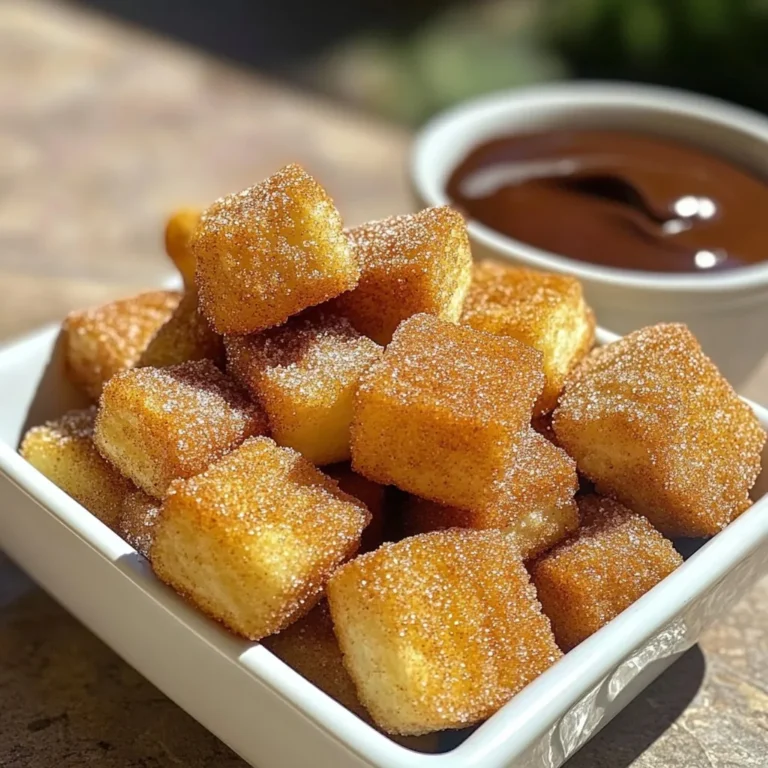
Cinnamon Sugar Churro Bites Delightful Snack Recipe
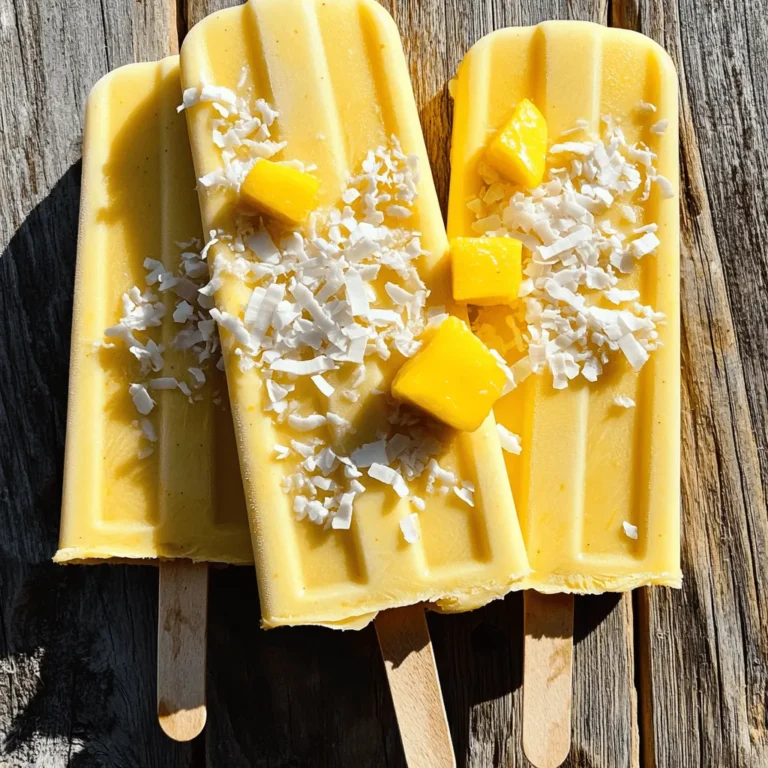
Creamy Coconut Mango Popsicles Refreshing Summer Treat
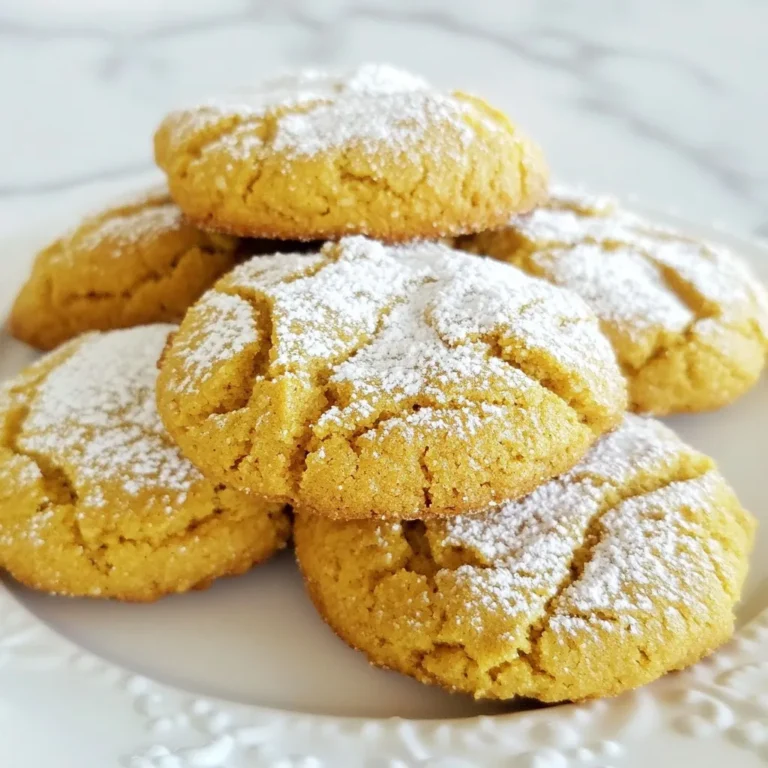
Gingerbread Crinkle Cookies Festive and Flavorful Treat
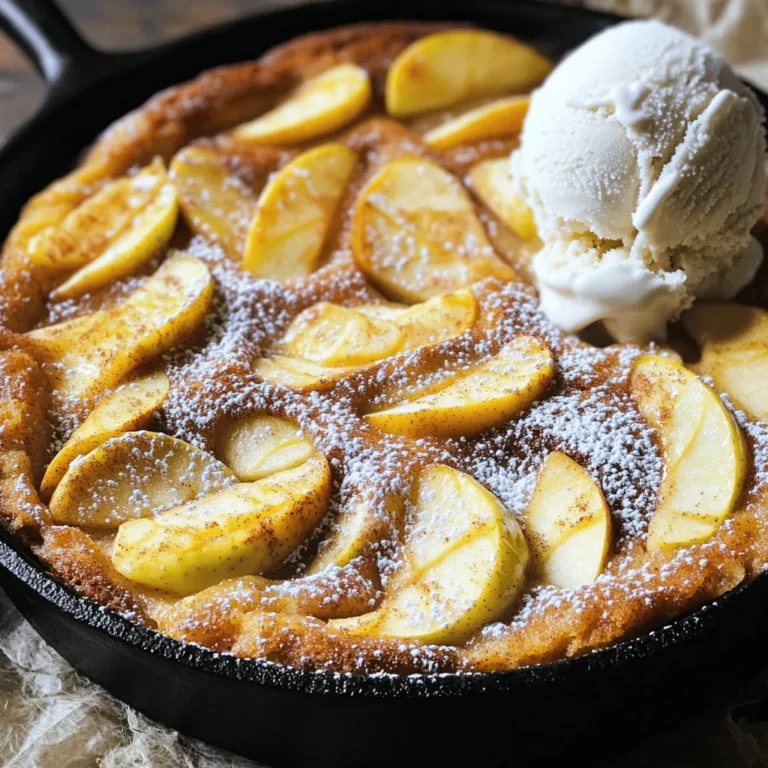
Cinnamon Sugar Apple Skillet Cake Irresistible Treat
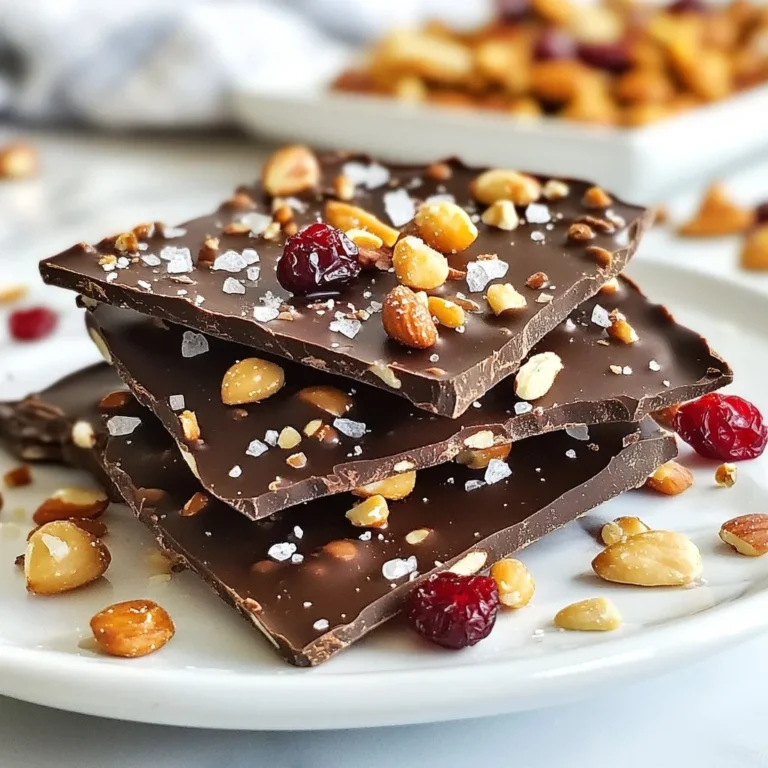
Dark Chocolate Sea Salt Bark Irresistible Sweet Treat
Page navigation
Previous Page
Previous
1
…
5
6
7
8
9
…
21
Next Page
Next
Home
Dinner
Appetizer
Desserts
Drinks
About
Contact
Privacy Policy
Toggle Menu Close
Search for:
Search