Skip to content
About
Contact
Cookie Policy
Copyright Policy
Disclaimer
Search
Home
Dinner
Appetizer
Desserts
Drinks
About
Contact
Privacy Policy
Toggle Menu
Home
/
Desserts
- Page 5
Desserts
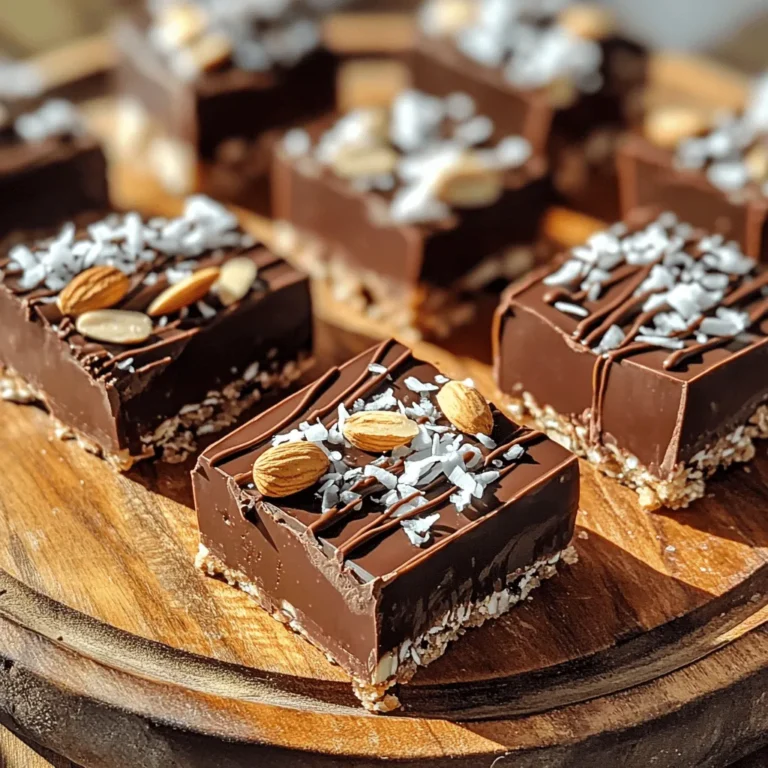
No Bake Chocolate Coconut Almond Bars Delicious Treat
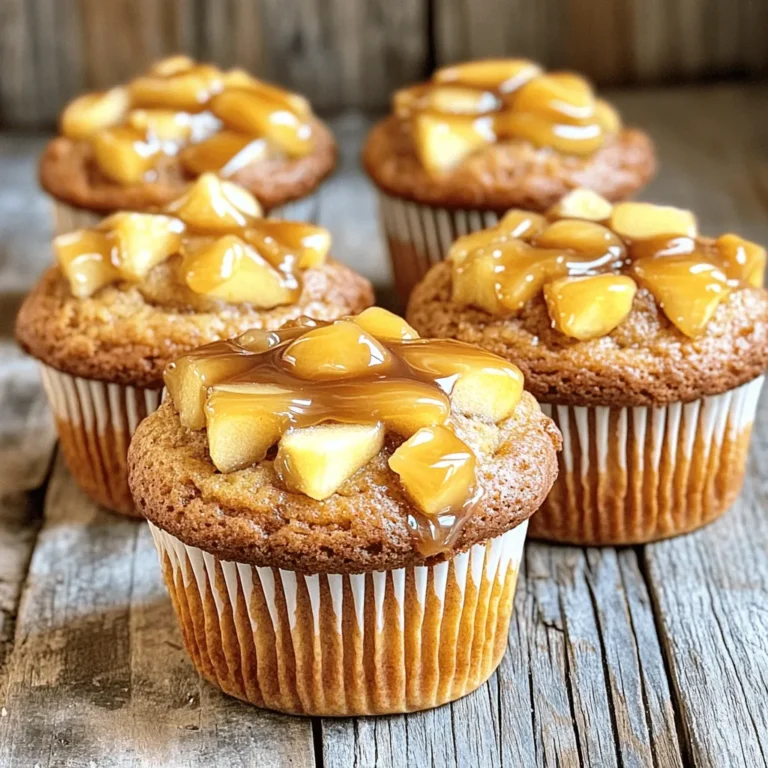
Delicious Apple Cider Caramel Coffee Cake Muffins
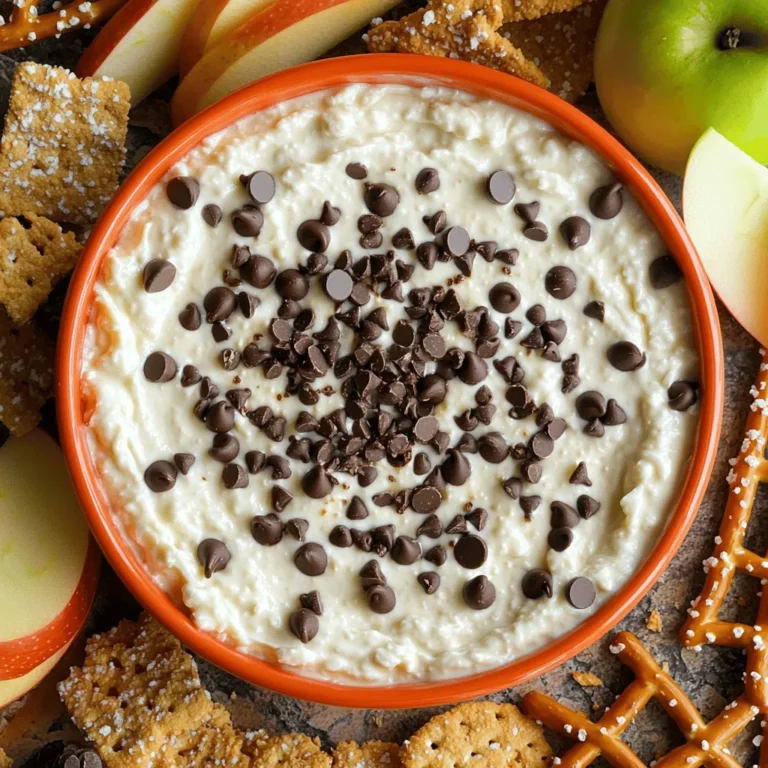
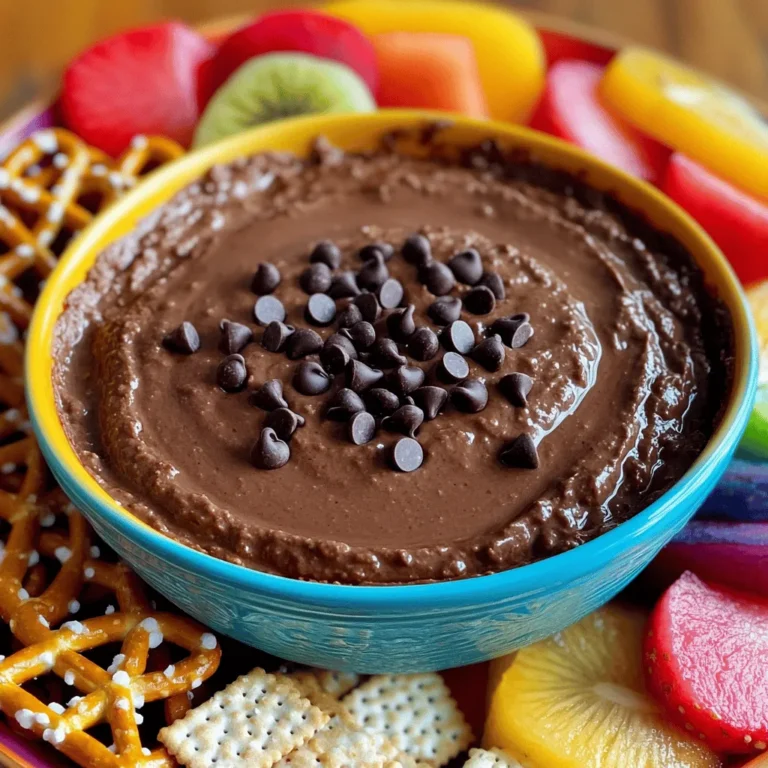
Cottage Cheese Chocolate Chip Cookie Dip Delight
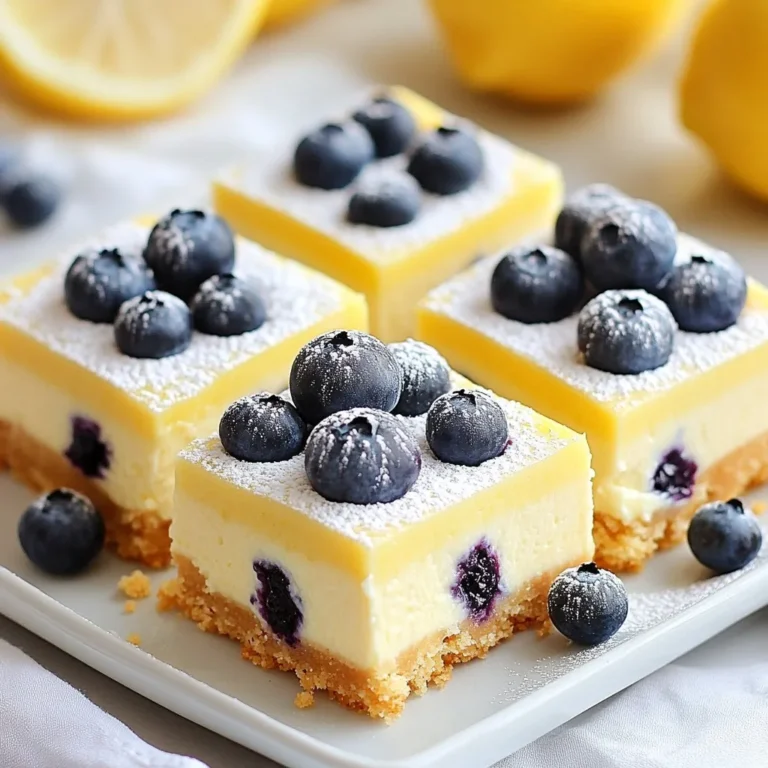
Lemon Blueberry Cheesecake Bars Delightful Dessert Treat
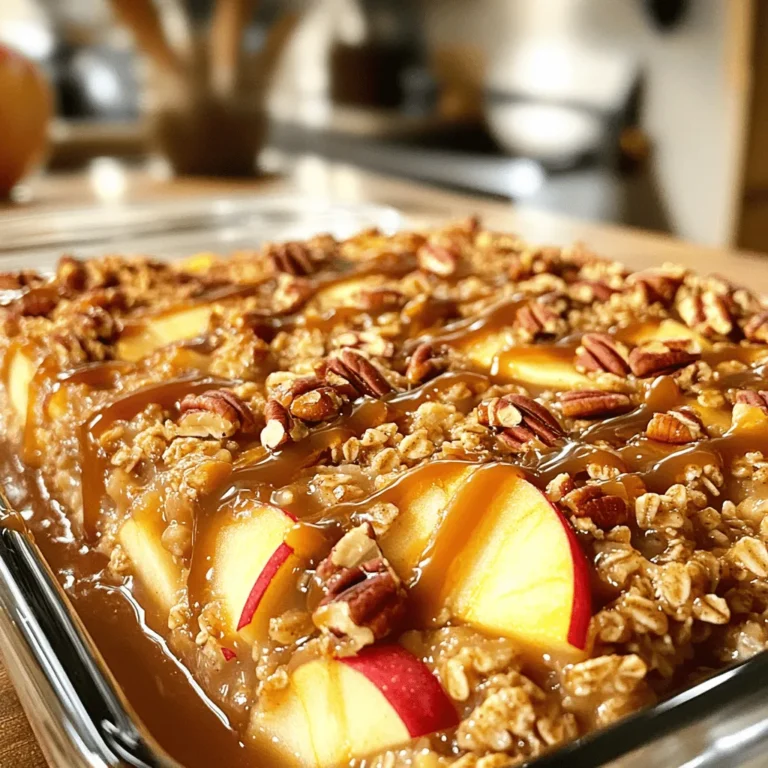
Caramel Apple Oatmeal Bake Hearty and Comforting Dish
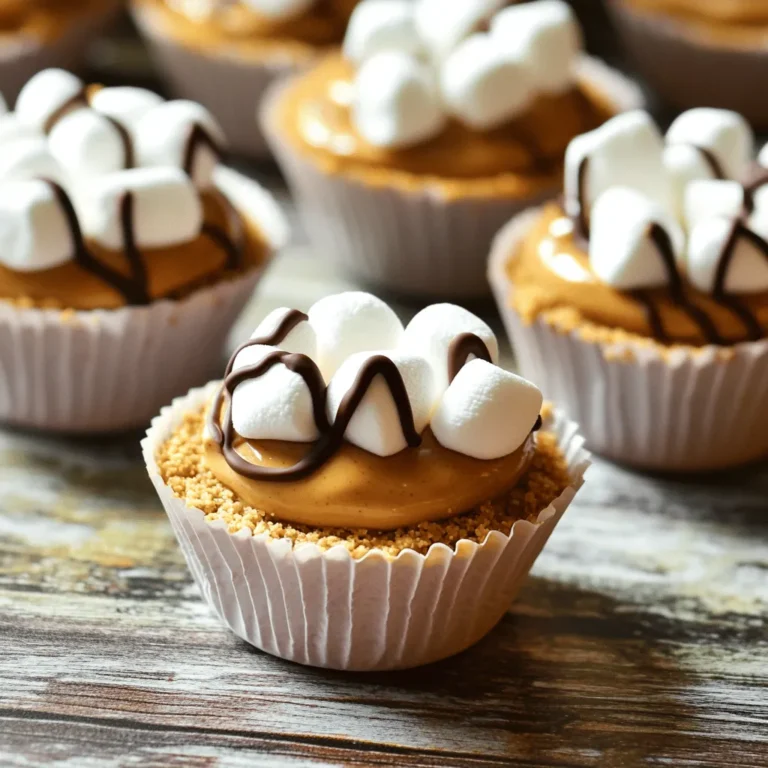
Peanut Butter S’mores Cups Irresistible Delight Treat
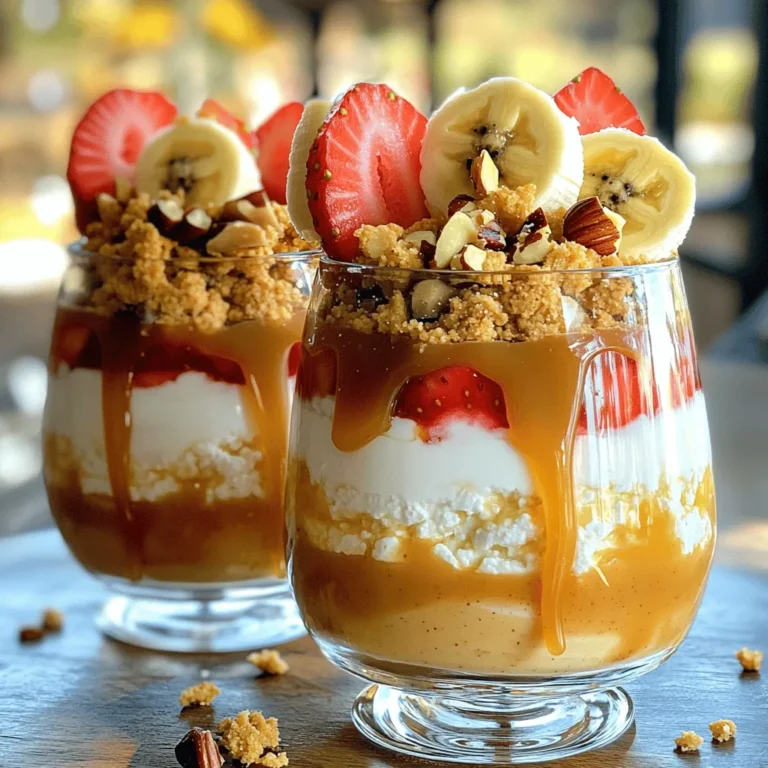
Salted Caramel Cottage Cheese Pudding Delight
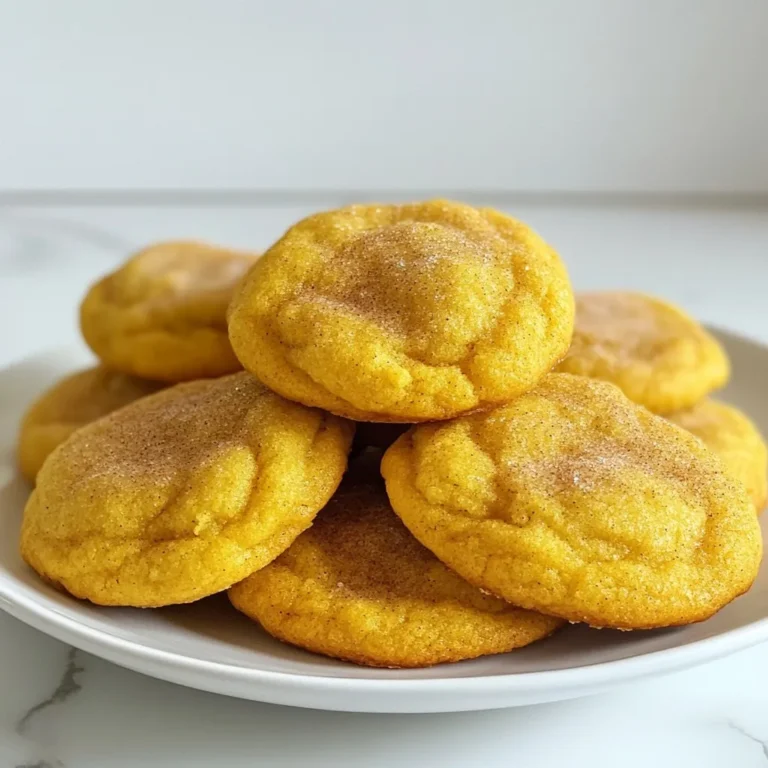
Snickerdoodle Pumpkin Cookies Flavorful Fall Treat
Cottage Cheese Brownie Batter Dip Protein Delight
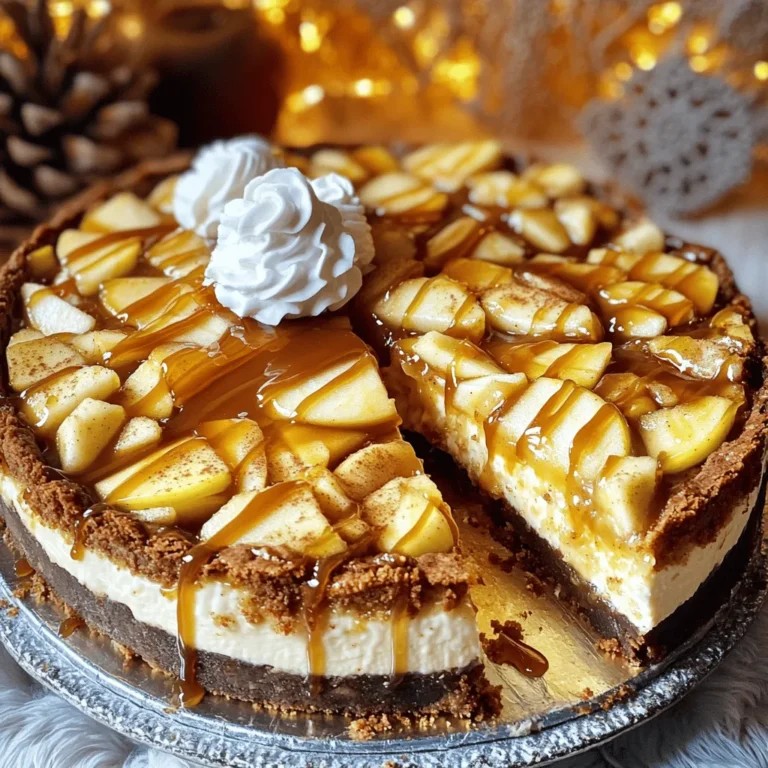
Caramel Apple Blondie Cheesecake Tasty Dessert Delight
Page navigation
Previous Page
Previous
1
…
3
4
5
6
7
…
21
Next Page
Next
Home
Dinner
Appetizer
Desserts
Drinks
About
Contact
Privacy Policy
Toggle Menu Close
Search for:
Search