Skip to content
About
Contact
Cookie Policy
Copyright Policy
Disclaimer
Search
Home
Dinner
Appetizer
Desserts
Drinks
About
Contact
Privacy Policy
Toggle Menu
Home
/
Desserts
- Page 4
Desserts
Peppermint Chocolate Rice Krispie Treats Delightful Treat
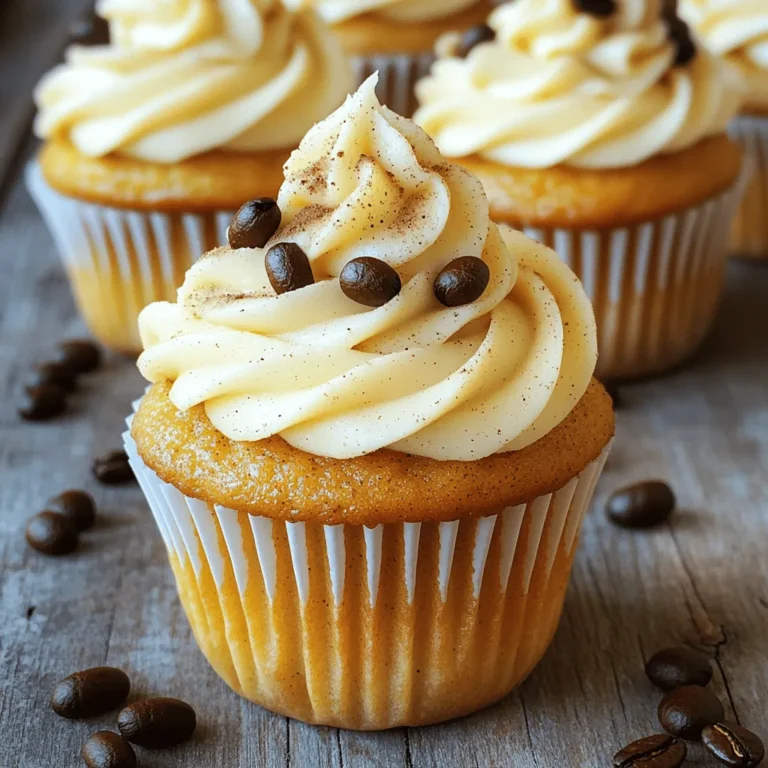
Pumpkin Spice Latte Cupcakes Delightful Fall Treat
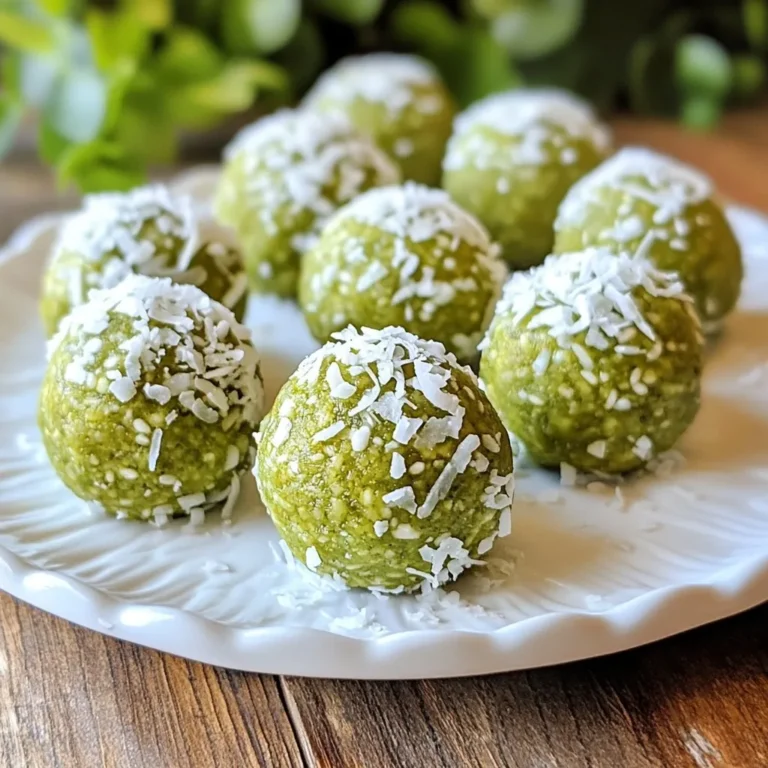
Matcha Coconut Energy Balls Nourishing Snack Idea
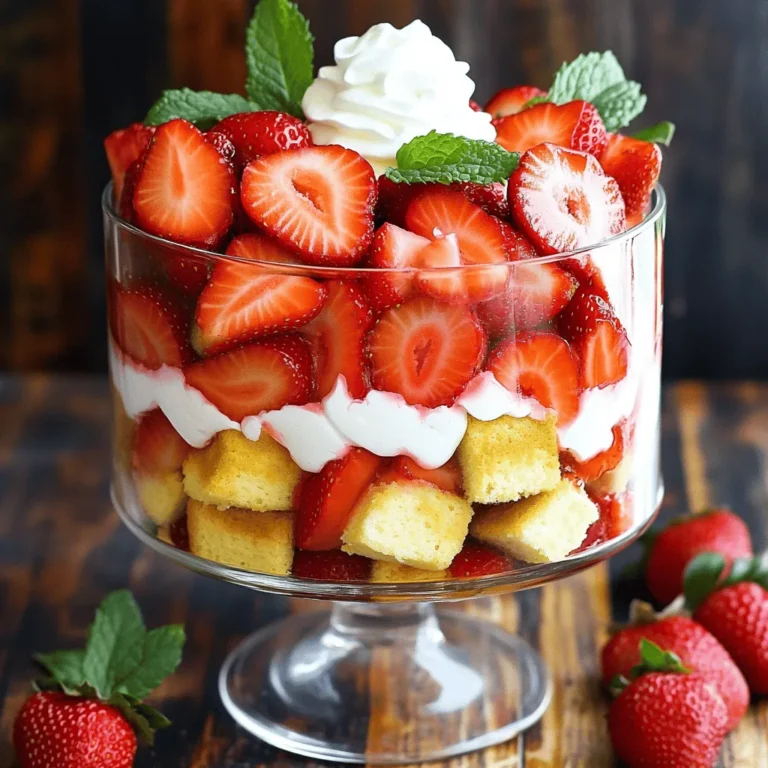
Strawberry Shortcake Trifle Fresh and Tasty Delight
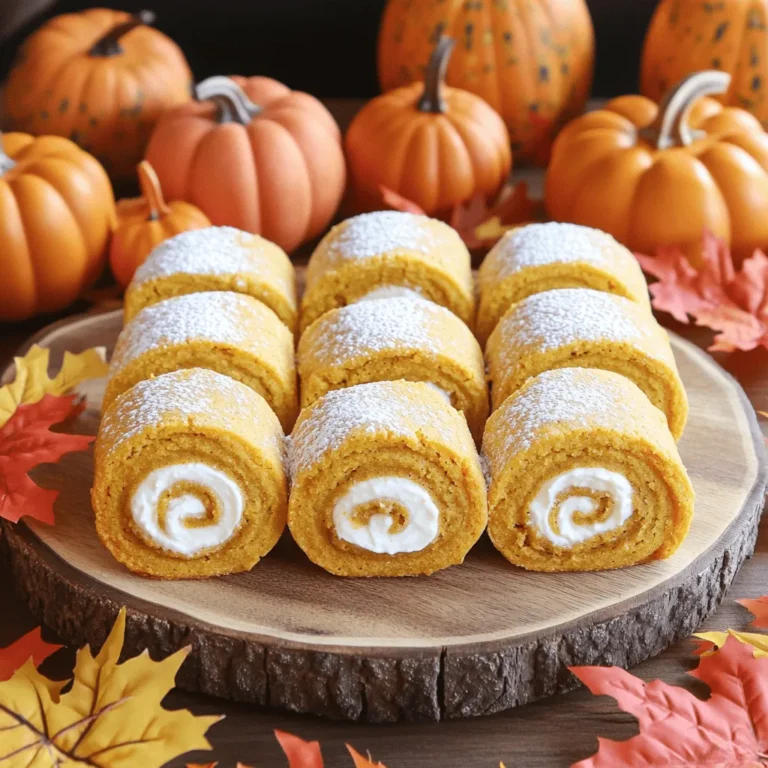
Pumpkin Roll Cookies Delightful Seasonal Treat
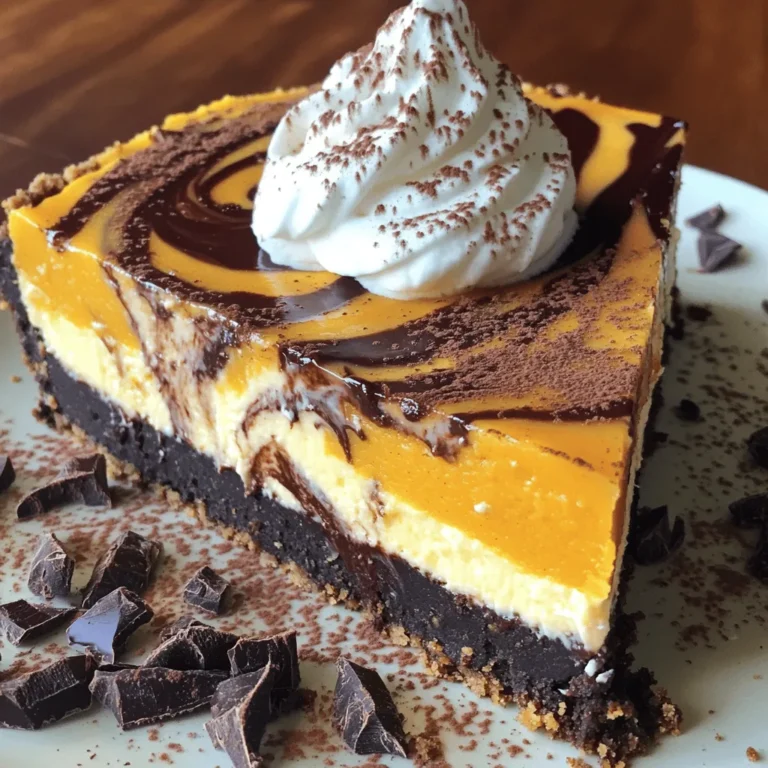
Pumpkin Chocolate Swirl Cheesecake Irresistible Treat
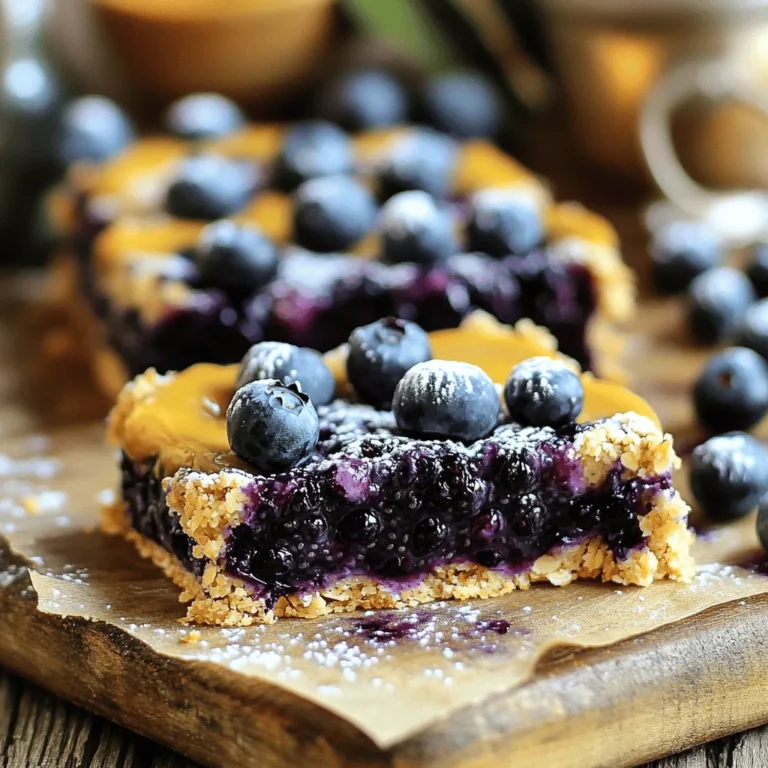
Blueberry Almond Chia Jam Bars Easy and Healthy Treat
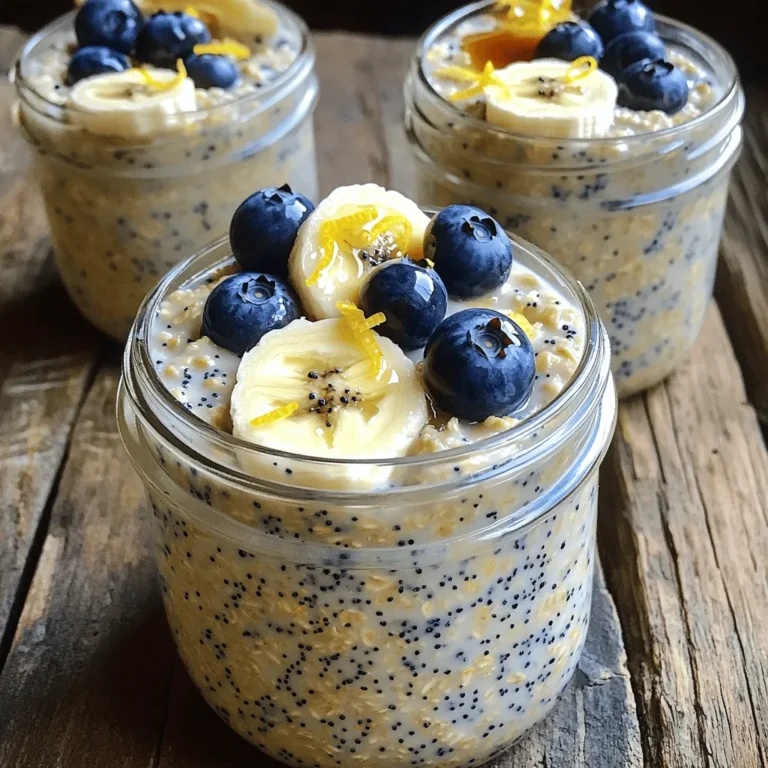
Lemon Poppy Seed Overnight Oats Simple and Quick Recipe
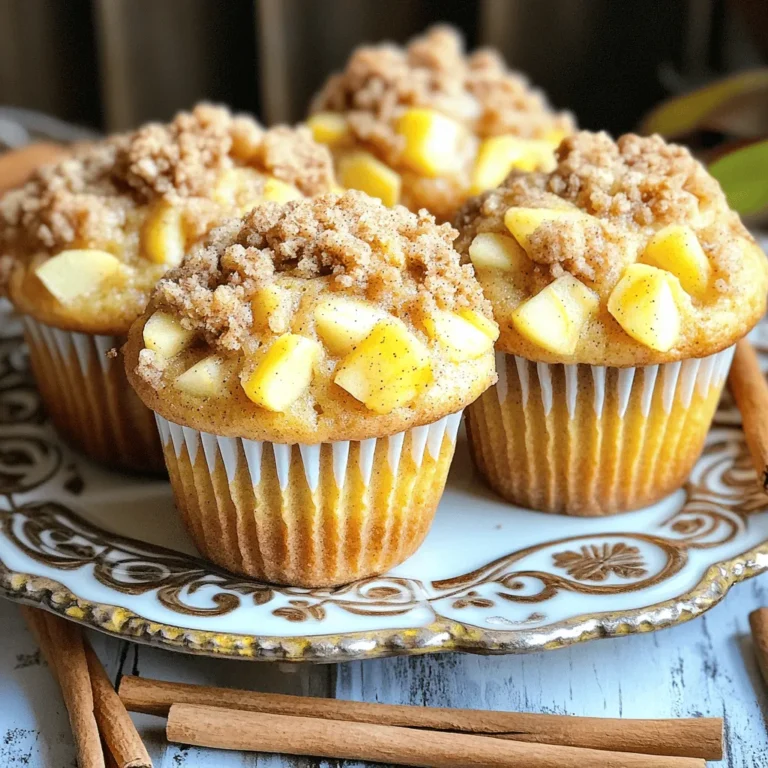
Cinnamon Apple Streusel Muffins Irresistible Delight
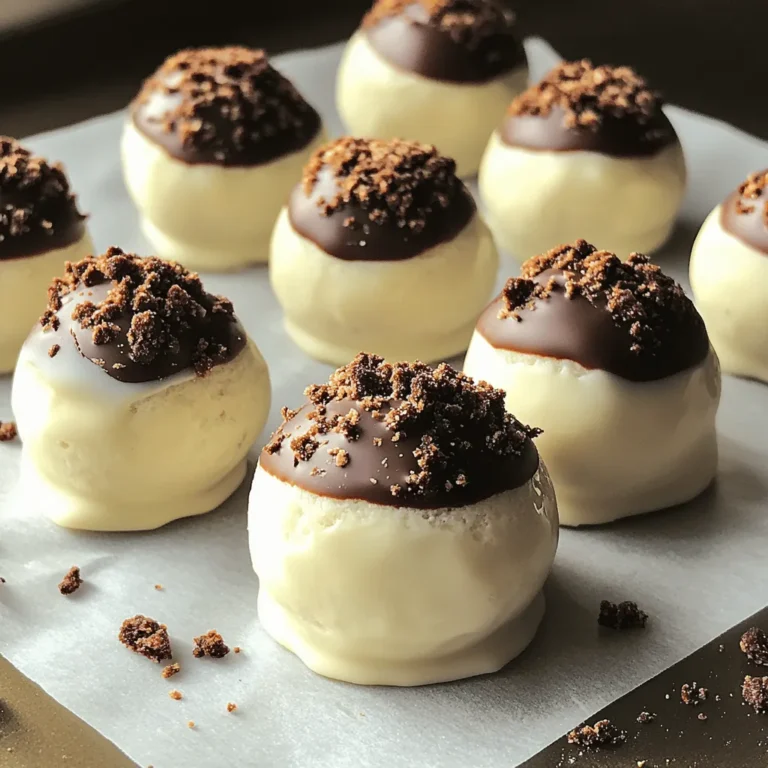
Cookies and Cream Cheesecake Truffles Easy Treat Recipe
Page navigation
Previous Page
Previous
1
2
3
4
5
6
…
21
Next Page
Next
Home
Dinner
Appetizer
Desserts
Drinks
About
Contact
Privacy Policy
Toggle Menu Close
Search for:
Search