Skip to content
About
Contact
Cookie Policy
Copyright Policy
Disclaimer
Search
Home
Dinner
Appetizer
Desserts
Drinks
About
Contact
Privacy Policy
Toggle Menu
Home
/
Desserts
- Page 21
Desserts
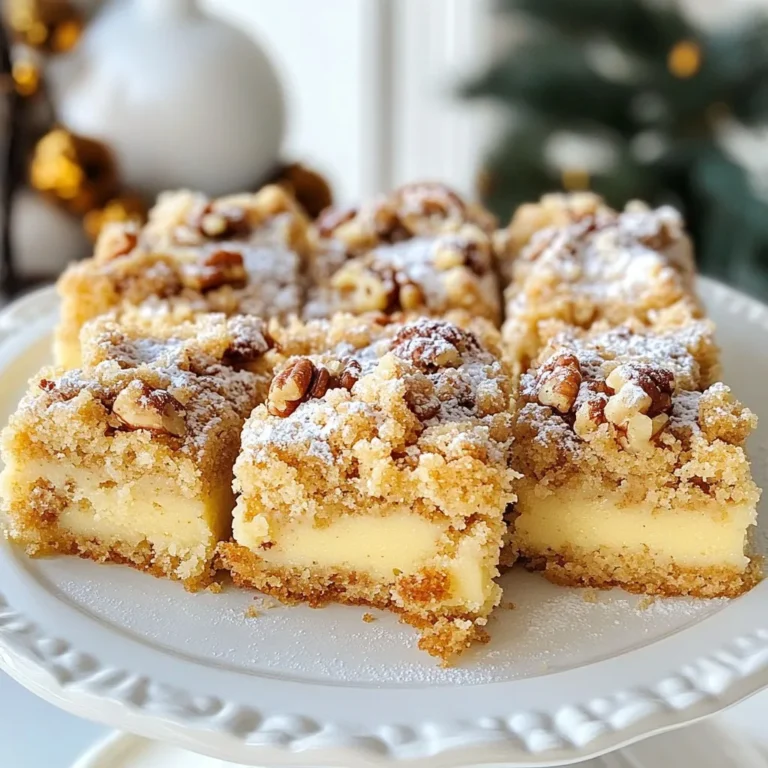
Eggnog Crumb Cake Delightful Holiday Treat to Savor
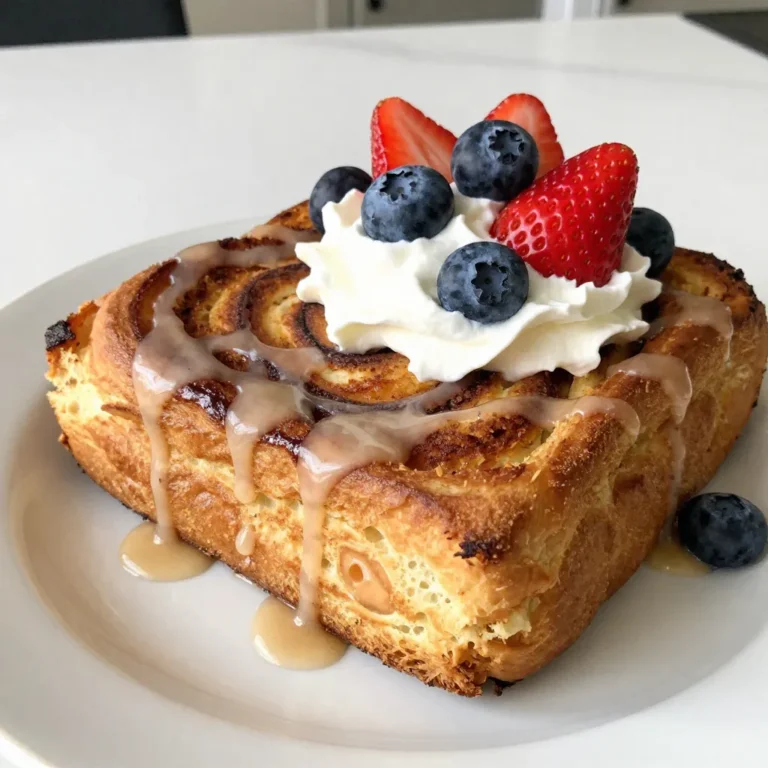
Cinnamon Roll French Toast Bake Easy and Tasty Recipe
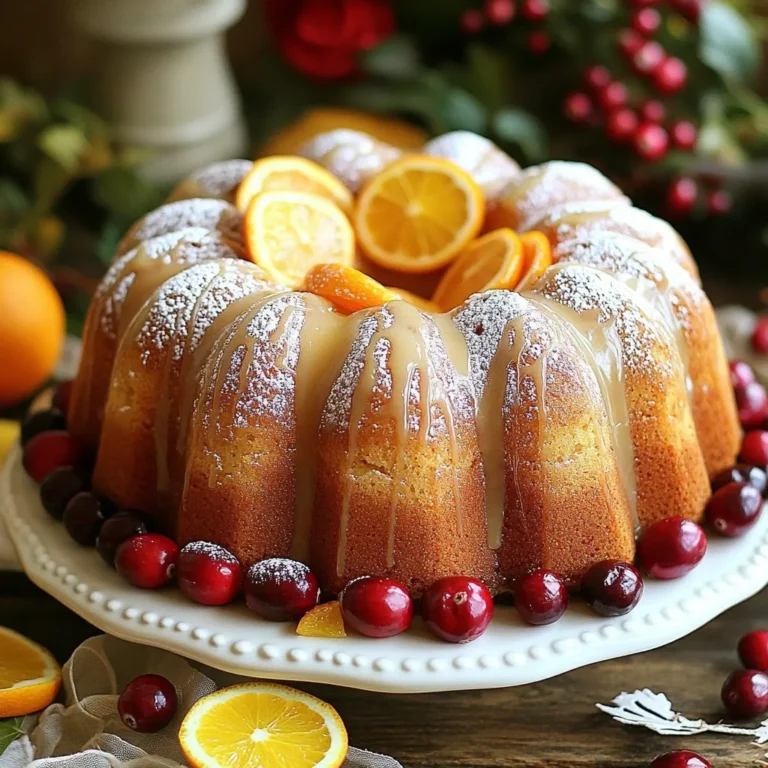
Cranberry Orange Bundt Cake Delightful and Easy Recipe
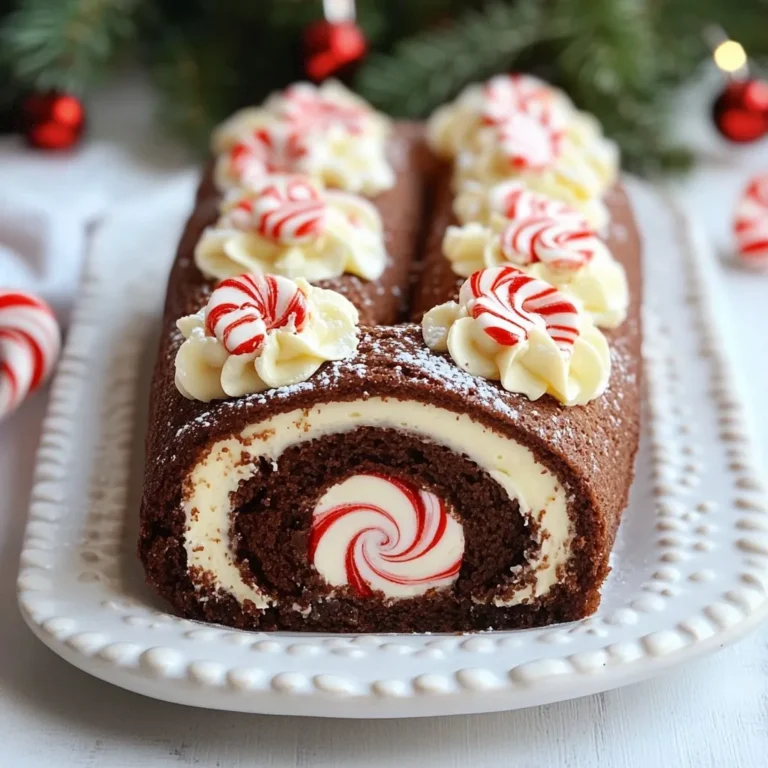
Peppermint Mocha Cake Roll Delightful Holiday Treat
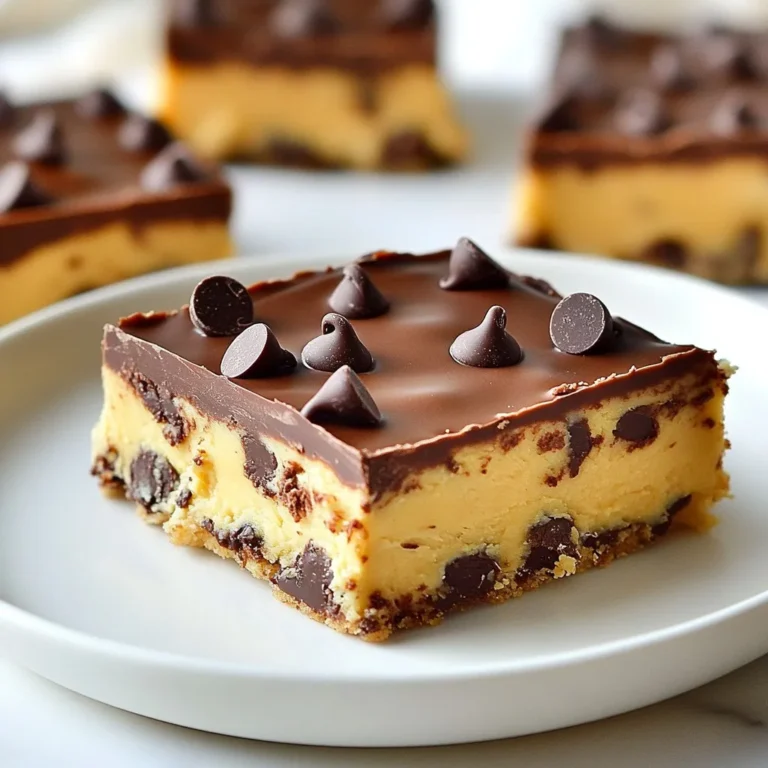
Chocolate Chip Cookie Dough Fudge Rich and Creamy Treat
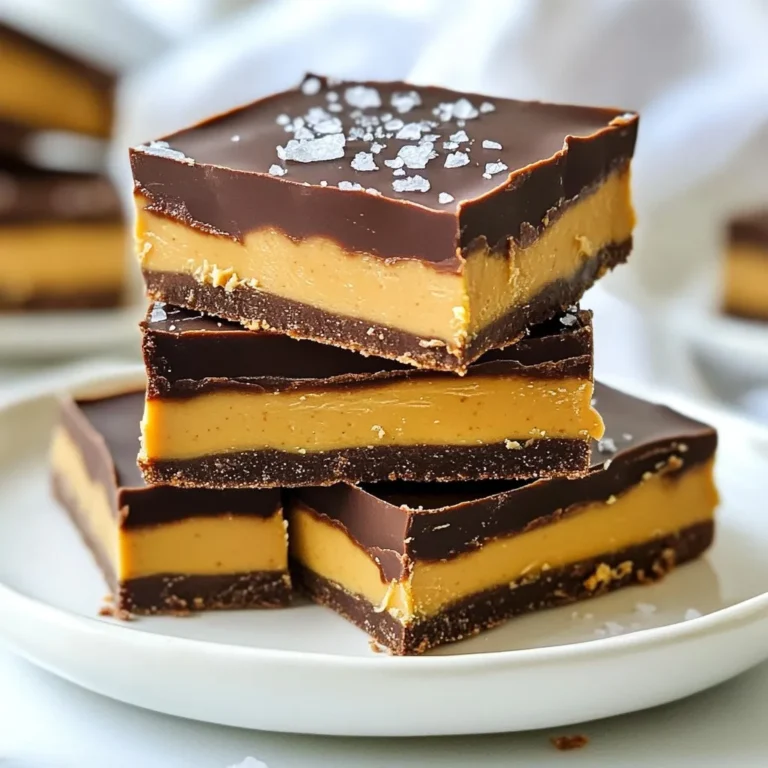
Vegan Chocolate Peanut Butter Fudge Easy Recipe
Page navigation
Previous Page
Previous
1
…
19
20
21
Home
Dinner
Appetizer
Desserts
Drinks
About
Contact
Privacy Policy
Toggle Menu Close
Search for:
Search