Skip to content
About
Contact
Cookie Policy
Copyright Policy
Disclaimer
Search
Home
Dinner
Appetizer
Desserts
Drinks
About
Contact
Privacy Policy
Toggle Menu
Home
/
Desserts
- Page 20
Desserts
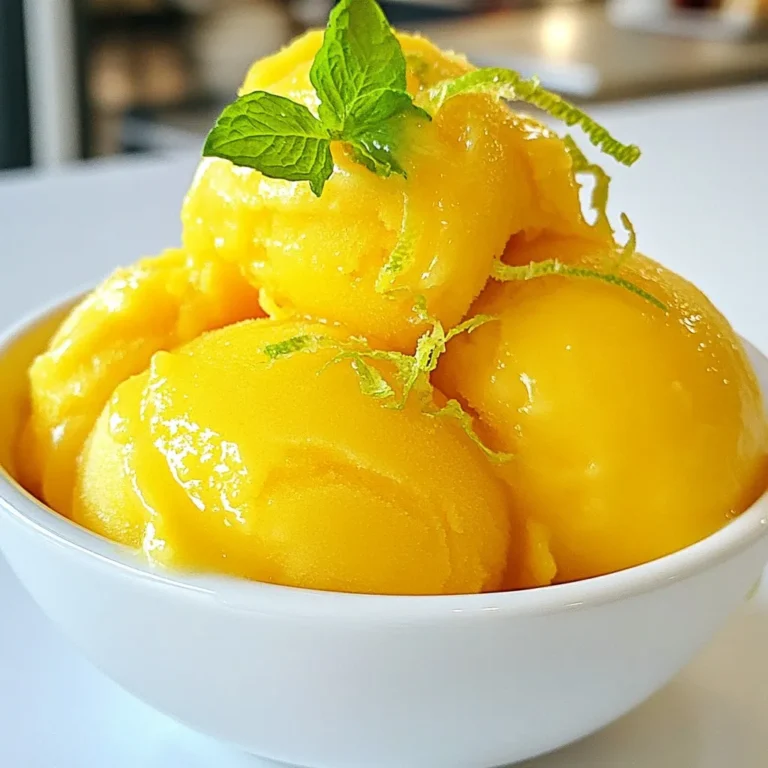
Mango Lime Sorbet Refreshing and Cool Dessert Recipe
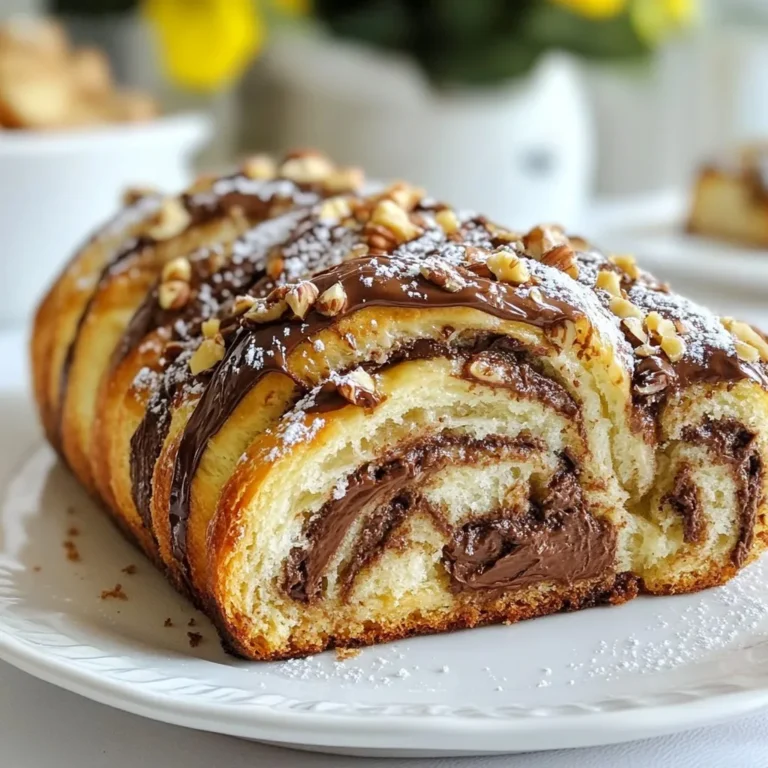
Chocolate Hazelnut Babka Delectable and Easy Recipe
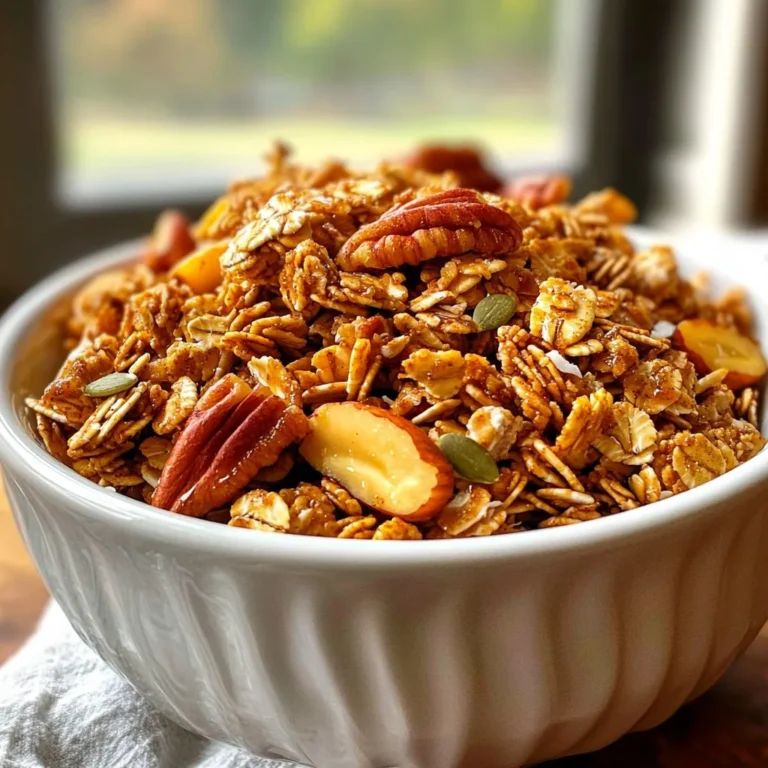
Maple Pecan Granola Fresh and Crunchy Recipe
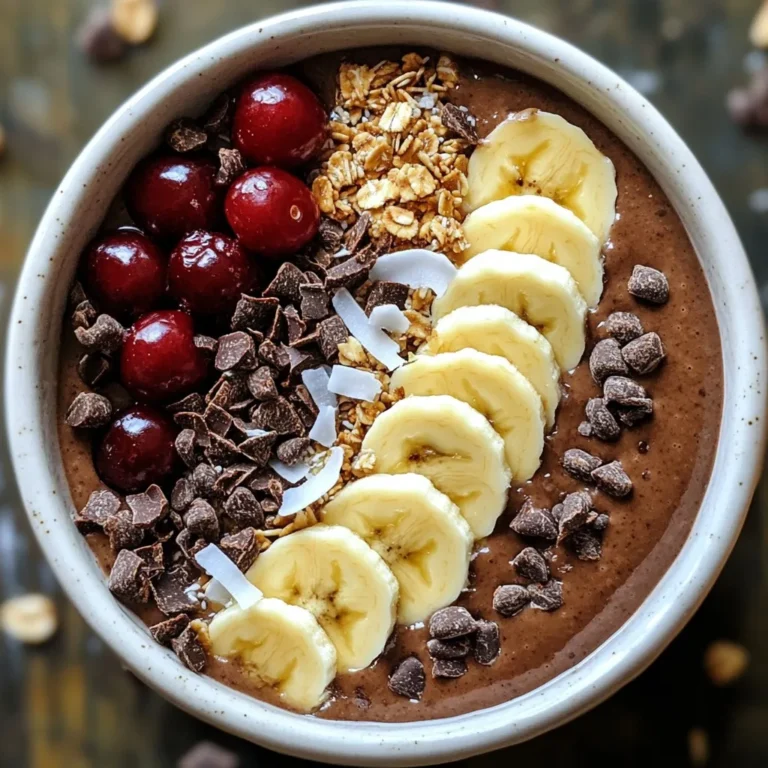
Chocolate Cherry Smoothie Bowl Rich in Flavor
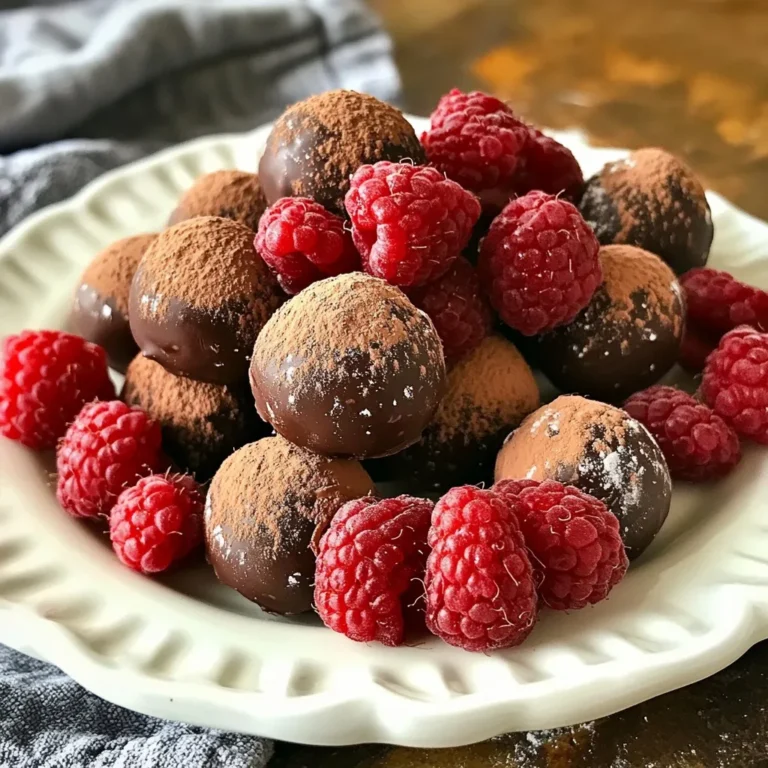
Chocolate Covered Raspberry Truffles Indulgent Delight
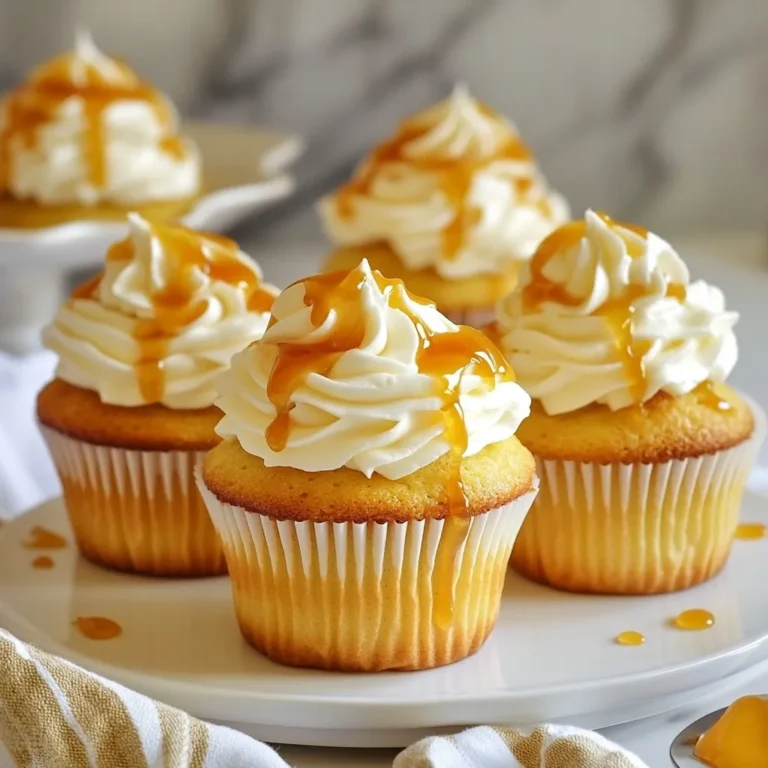
Caramel Macchiato Cupcakes Savory and Sweet Treats
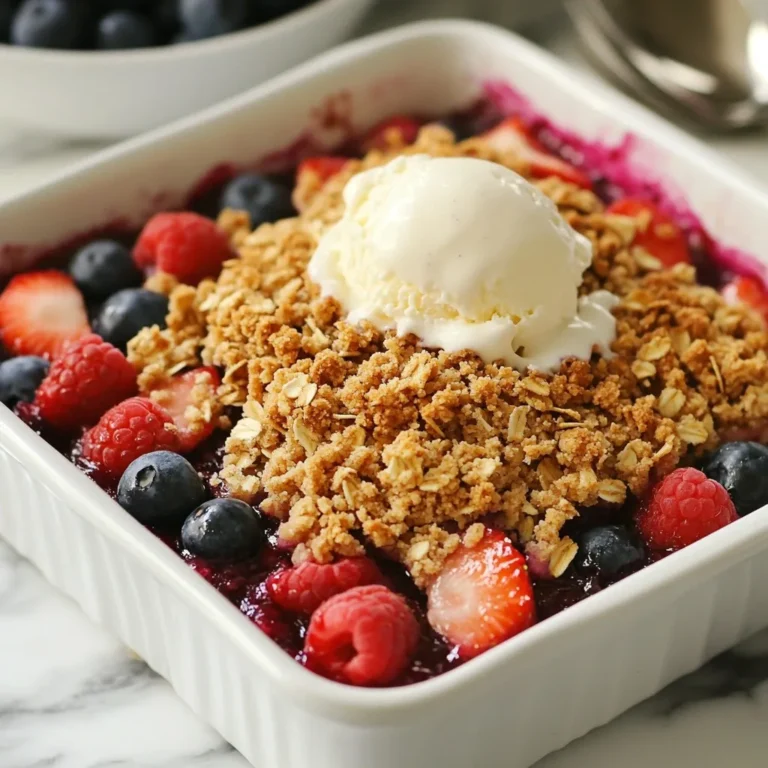
Triple Berry Crisp Delightful and Easy Dessert Recipe
Raspberry Lemonade Cupcakes Easy and Tasty Recipe
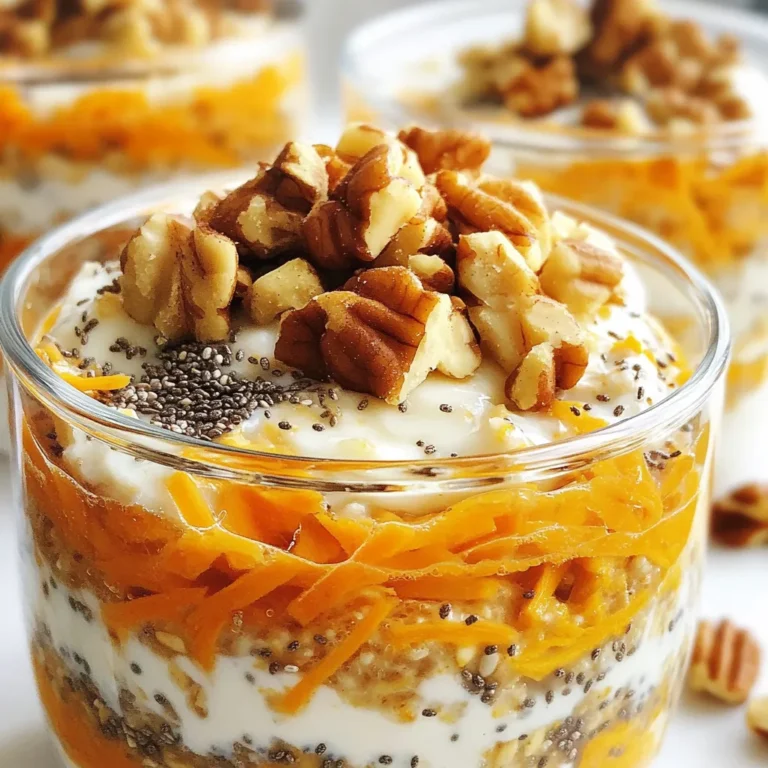
Vegan Carrot Cake Overnight Oats Healthy Breakfast Treat
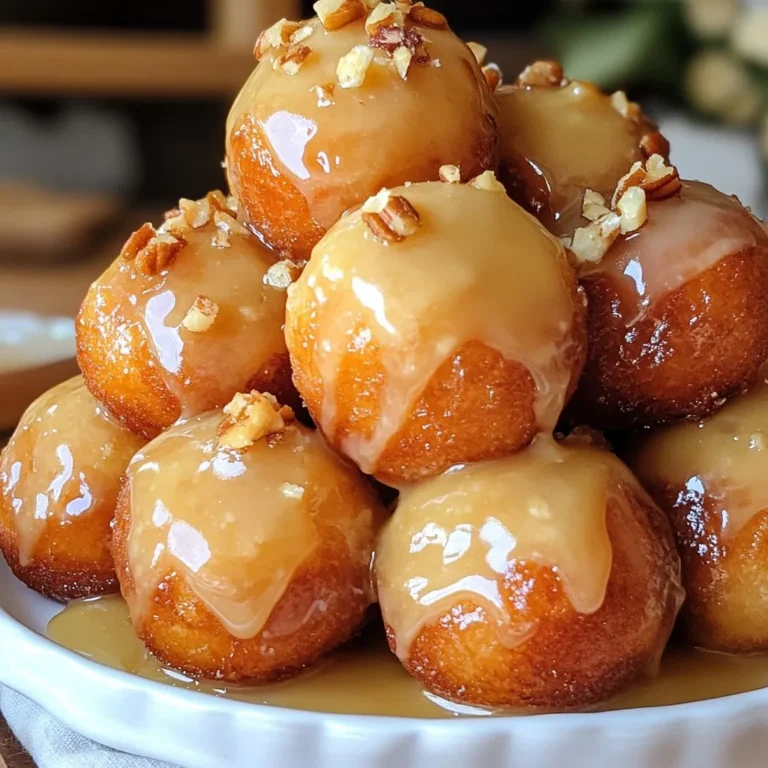
Maple Glazed Donut Holes Delightful Sweet Treat
Page navigation
Previous Page
Previous
1
…
18
19
20
21
Next Page
Next
Home
Dinner
Appetizer
Desserts
Drinks
About
Contact
Privacy Policy
Toggle Menu Close
Search for:
Search