Skip to content
About
Contact
Cookie Policy
Copyright Policy
Disclaimer
Search
Home
Dinner
Appetizer
Desserts
Drinks
About
Contact
Privacy Policy
Toggle Menu
Home
/
Desserts
- Page 2
Desserts
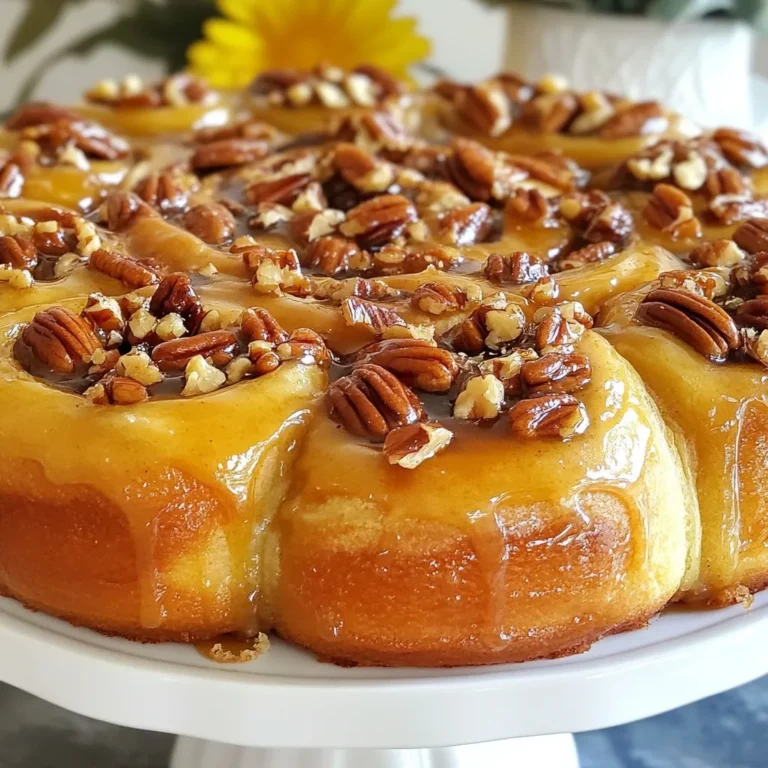
Maple Pecan Sticky Buns Irresistible Sweet Treat
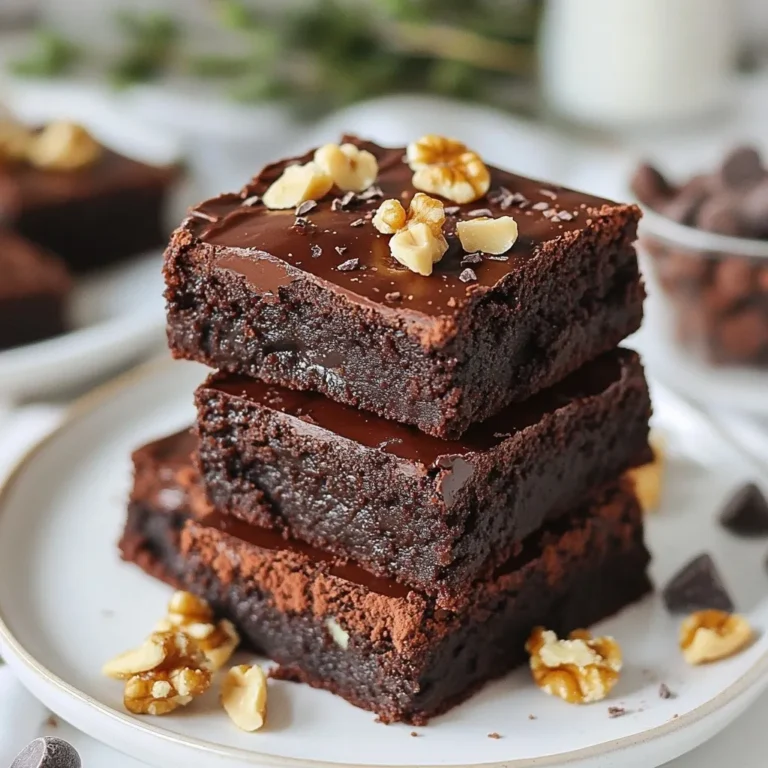
Vegan Chocolate Avocado Brownies Delicious and Easy
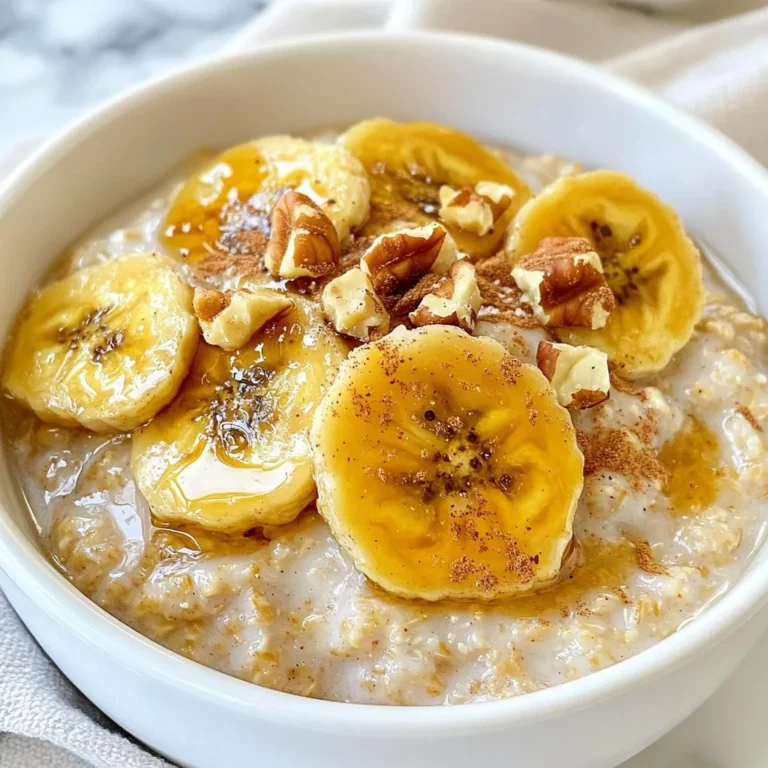
Caramelized Banana Oatmeal Flavorful Breakfast Treat
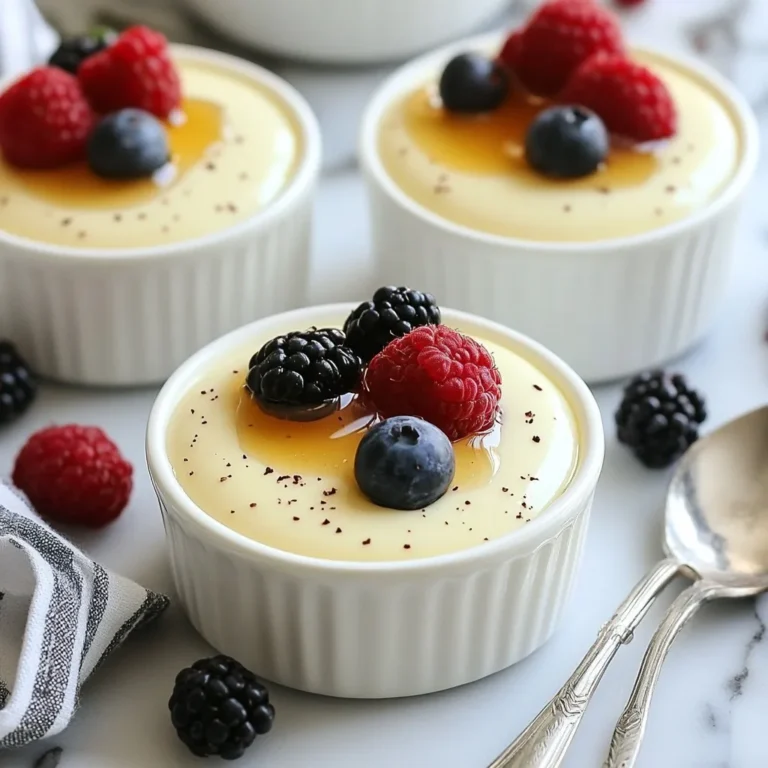
Vanilla Bean Panna Cotta Delightful Dessert Recipe
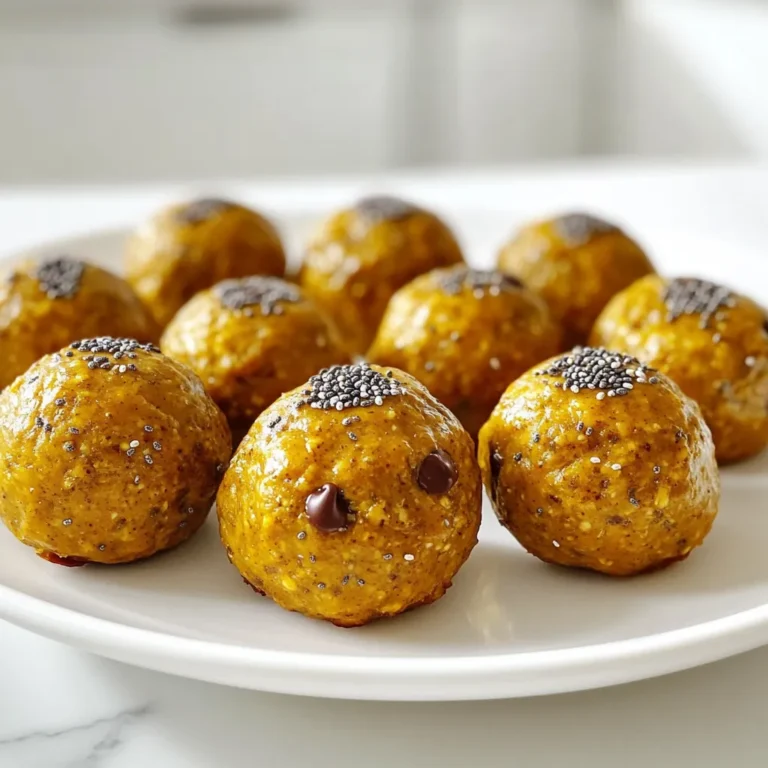
Pumpkin Spice Energy Bites Simple and Tasty Recipe
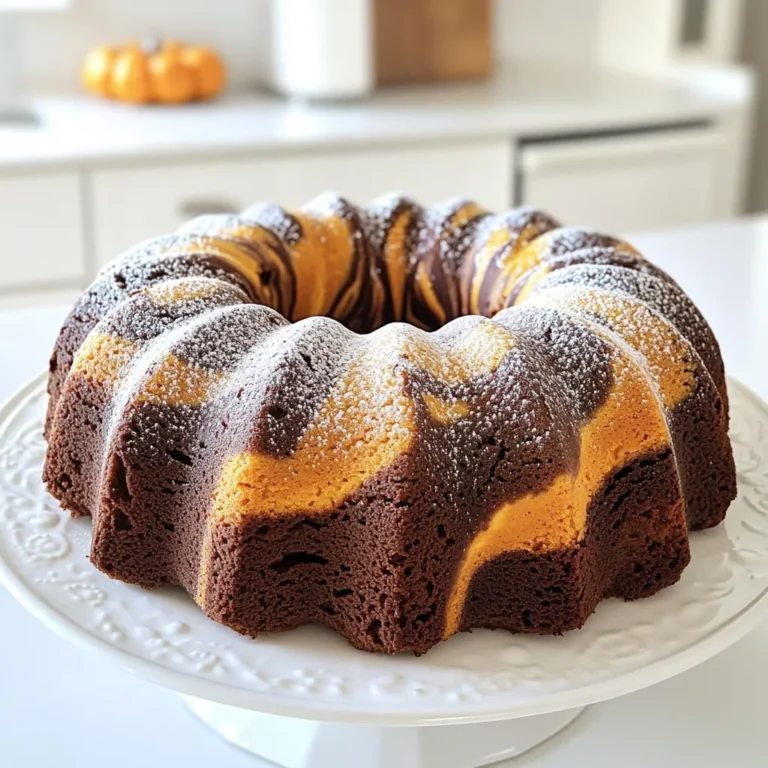
Pumpkin Marble Bundt Cake Delicious Fall Dessert
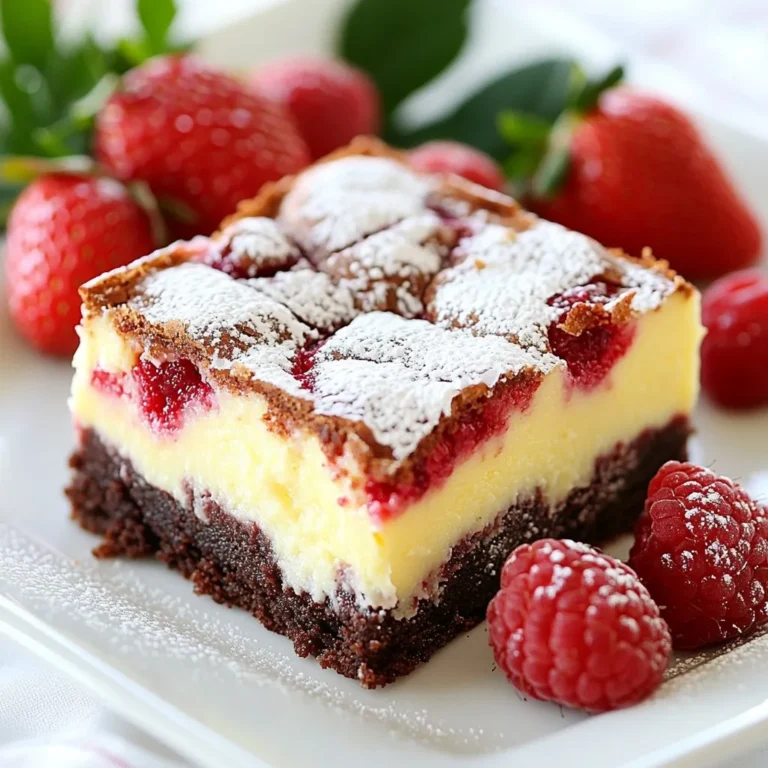
Red Velvet Cheesecake Brownies Irresistible Dessert
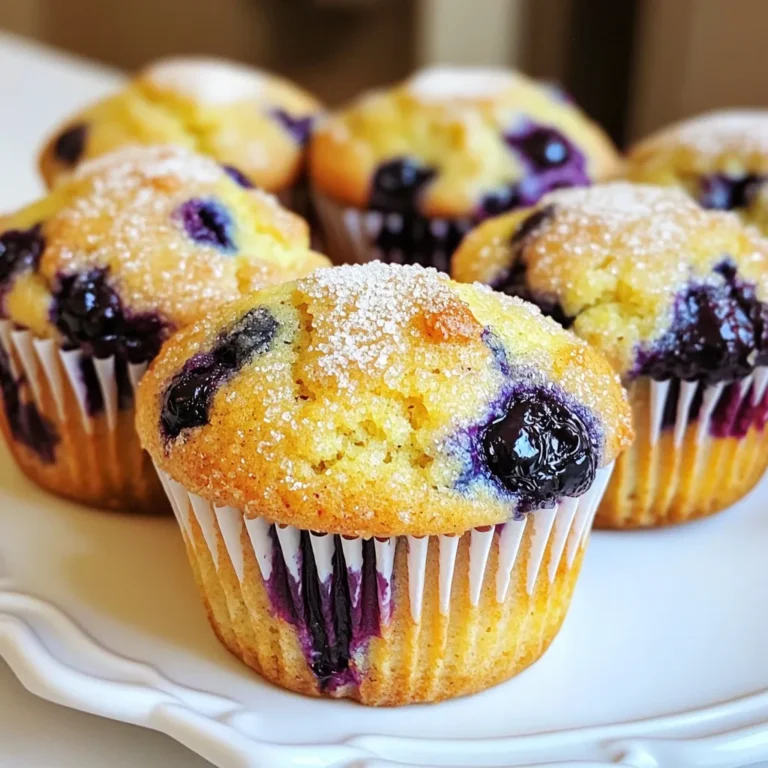
Lemon Blueberry Muffins Bakery Style Delight Recipe
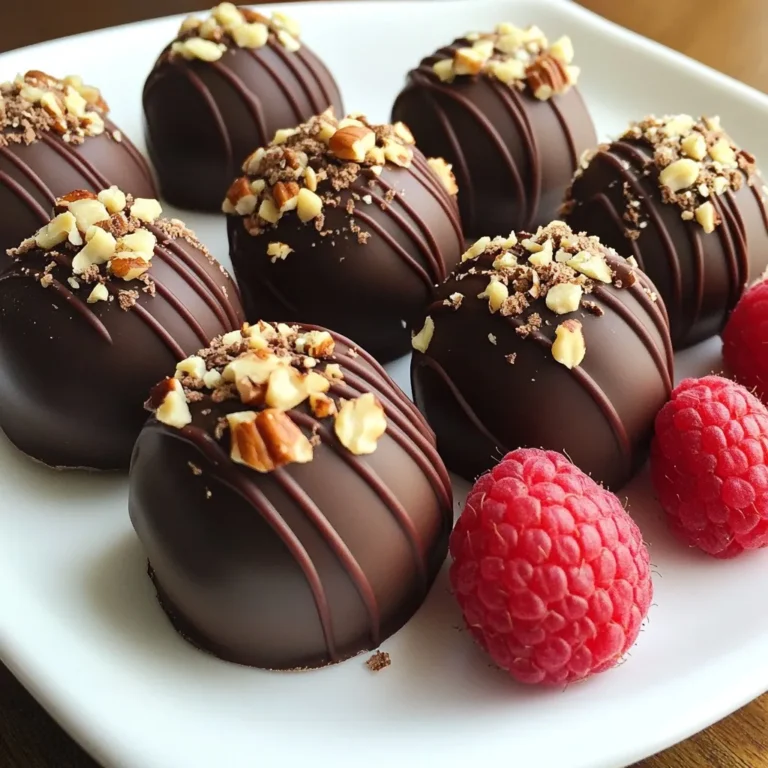
Chocolate Covered Raspberry Truffles Simple Treat
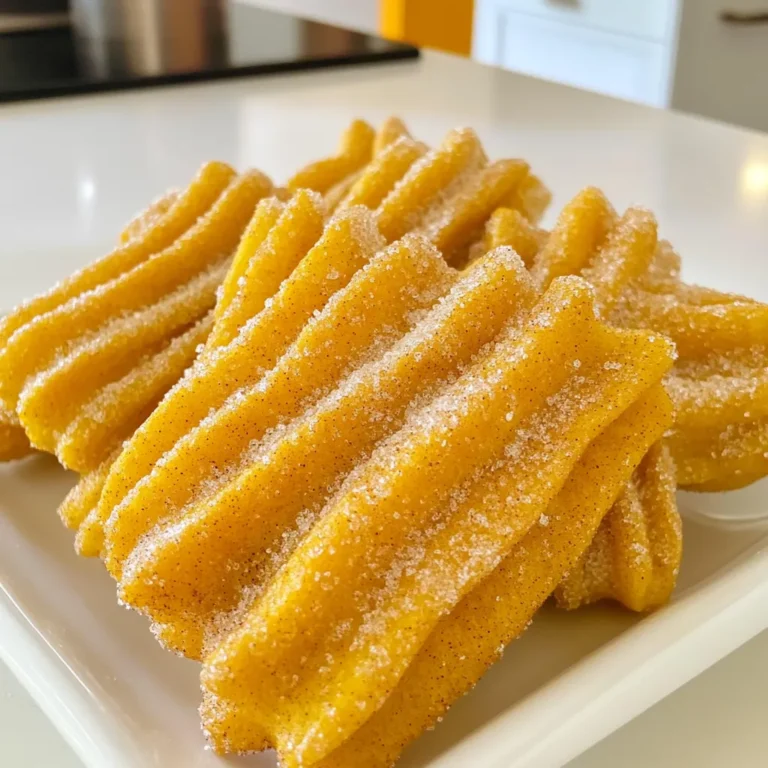
Pumpkin Spice Churros Air Fryer Irresistible Delight
Page navigation
Previous Page
Previous
1
2
3
4
…
21
Next Page
Next
Home
Dinner
Appetizer
Desserts
Drinks
About
Contact
Privacy Policy
Toggle Menu Close
Search for:
Search