Skip to content
About
Contact
Cookie Policy
Copyright Policy
Disclaimer
Search
Home
Dinner
Appetizer
Desserts
Drinks
About
Contact
Privacy Policy
Toggle Menu
Home
/
Desserts
- Page 19
Desserts
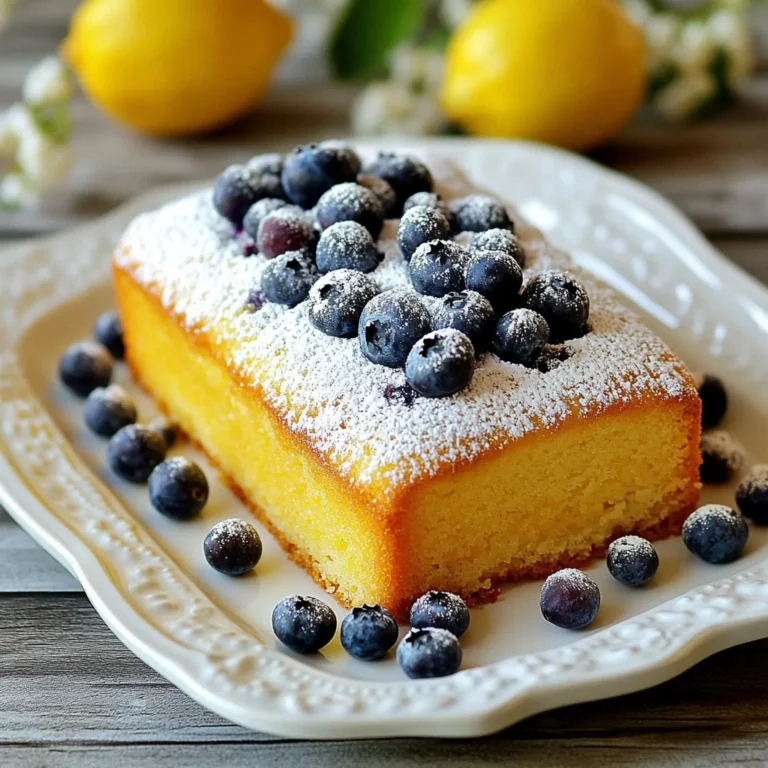
Zesty Lemon Blueberry Pound Cake Fresh and Flavorful
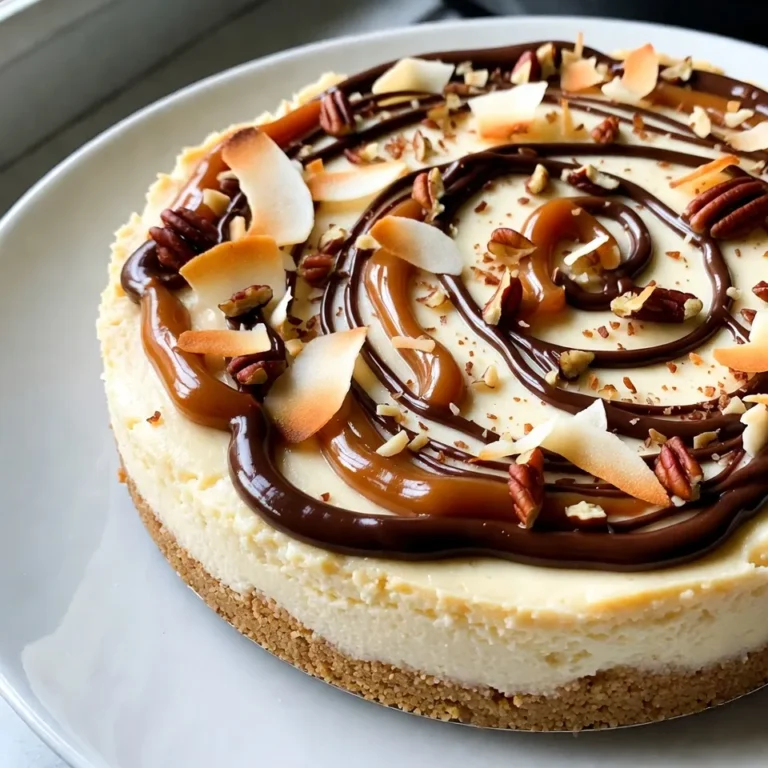
No-Bake Samoa Cheesecake Rich and Creamy Delight
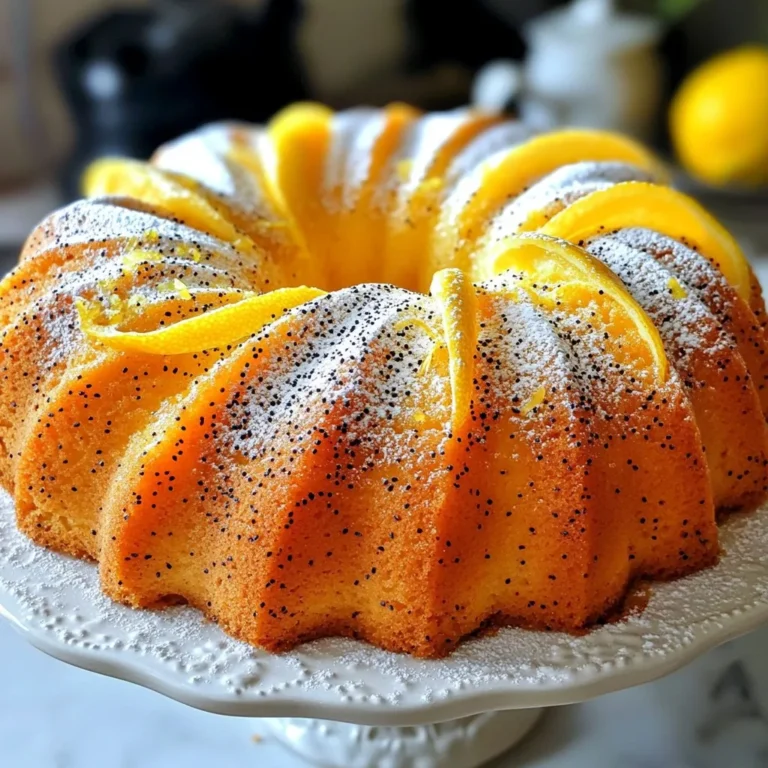
Lemon Poppy Seed Pound Cake Irresistible and Moist
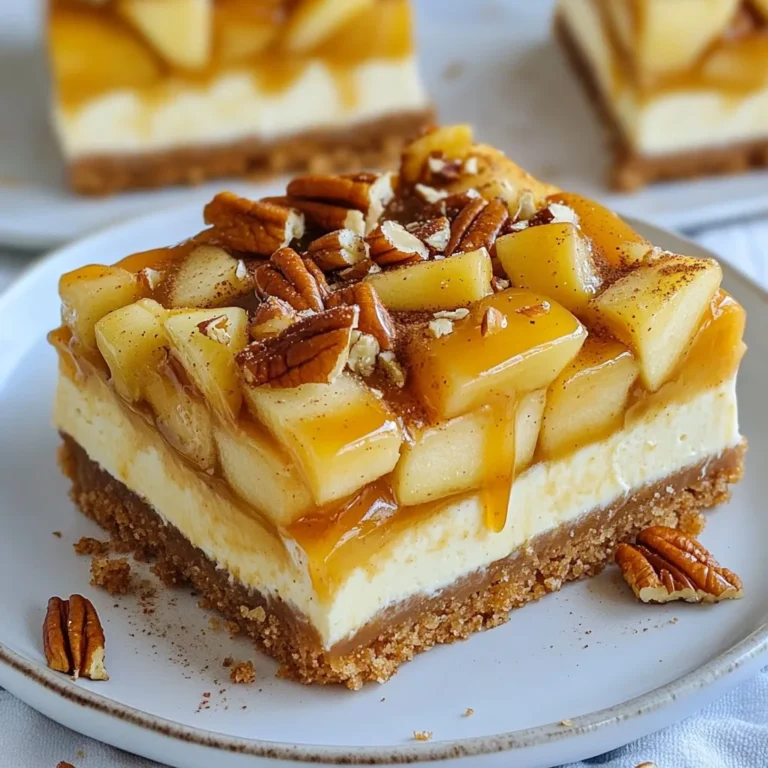
Caramel Apple Cheesecake Bars Irresistible and Easy
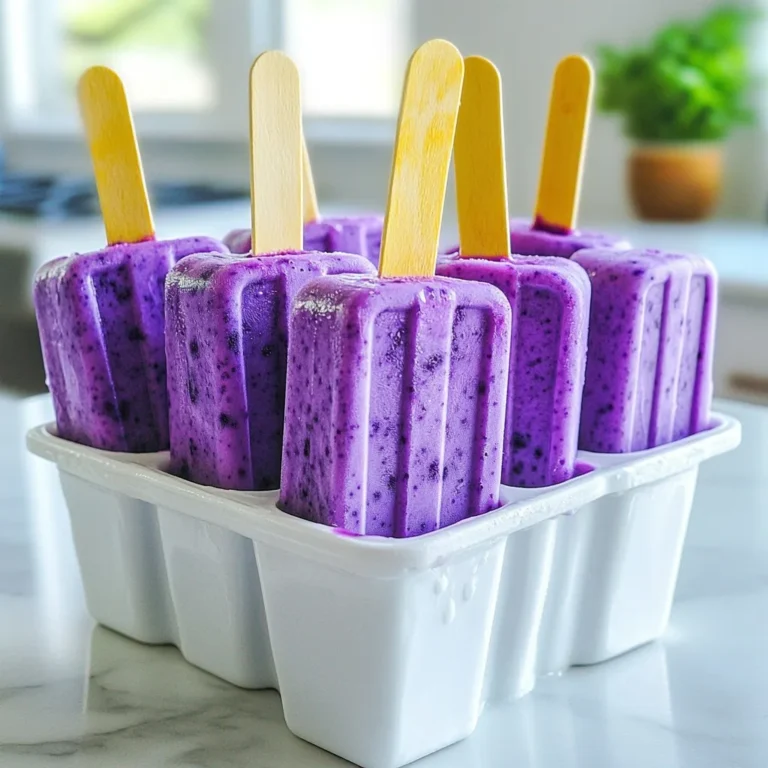
Blueberry Lemonade Popsicles Refreshing Summer Treat
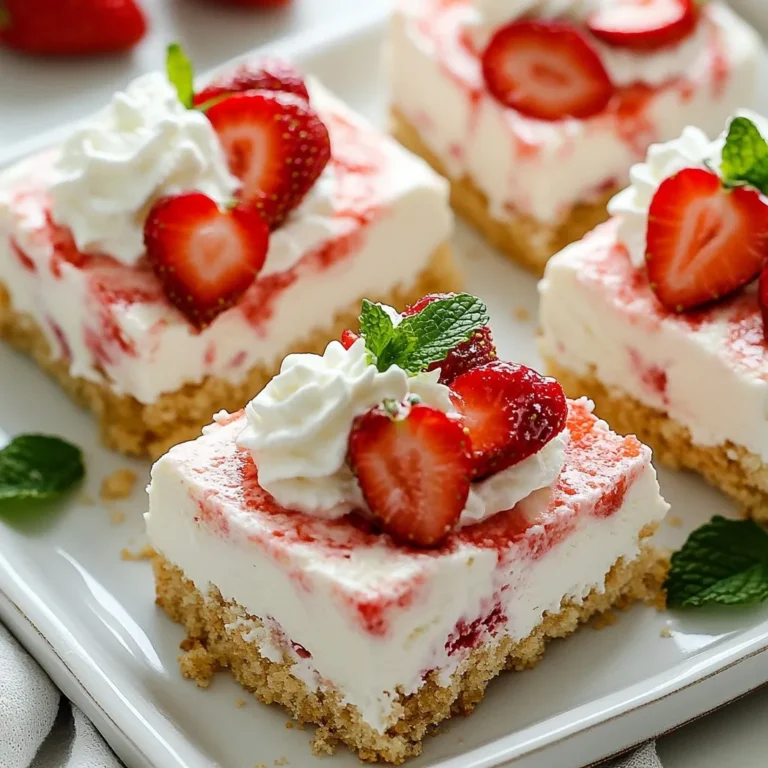
Strawberry Shortcake Ice Cream Bars Simple and Sweet
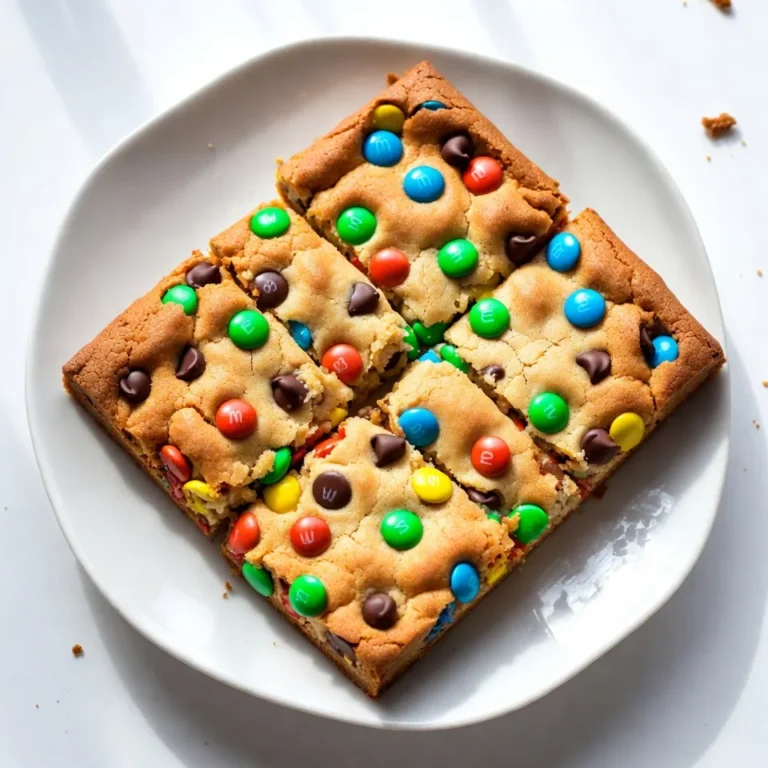
Chewy M&M Cookie Bars Delicious and Easy Recipe
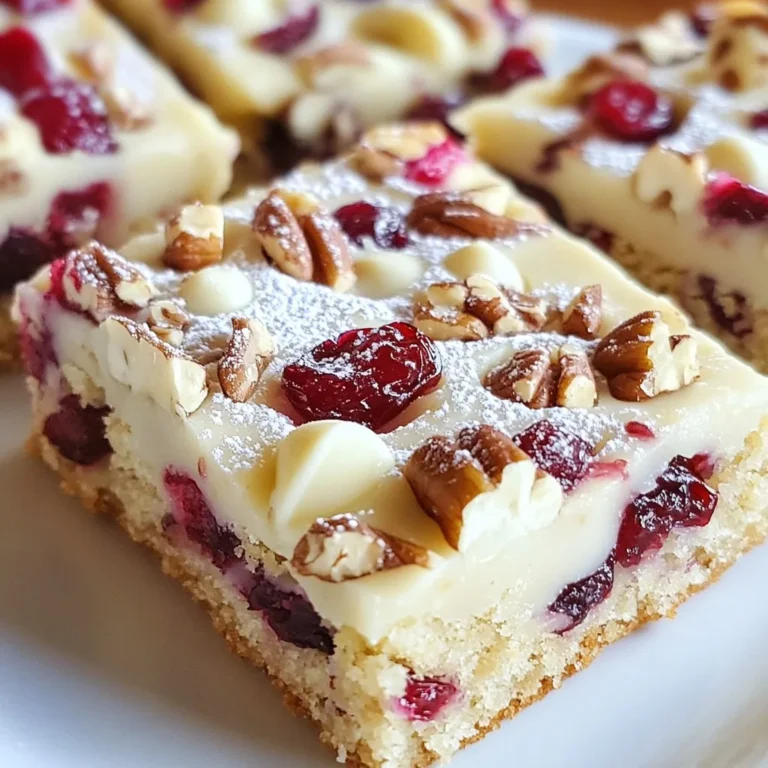
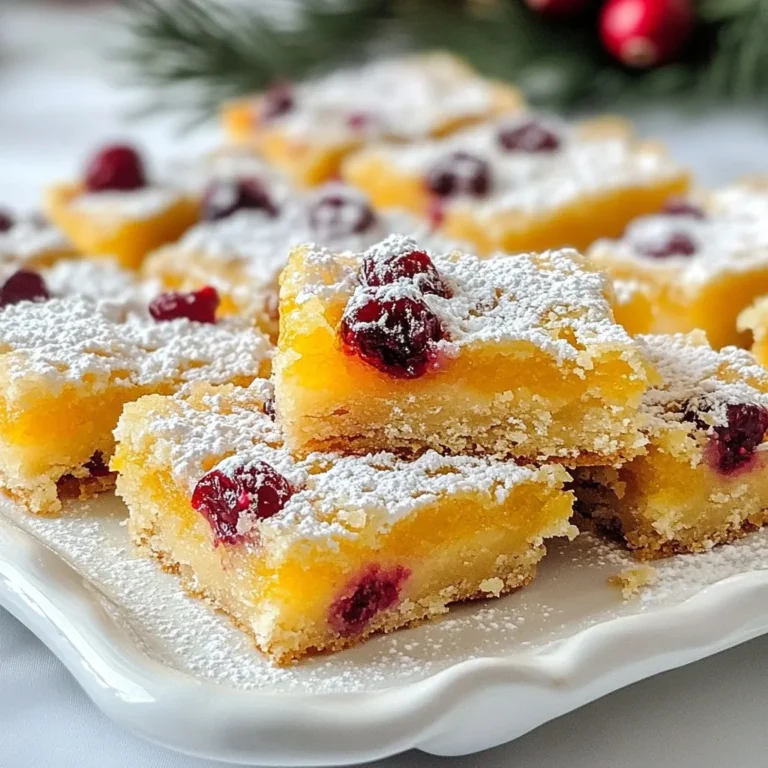
Cranberry Bliss Cookie Bars Easy and Delicious Treat
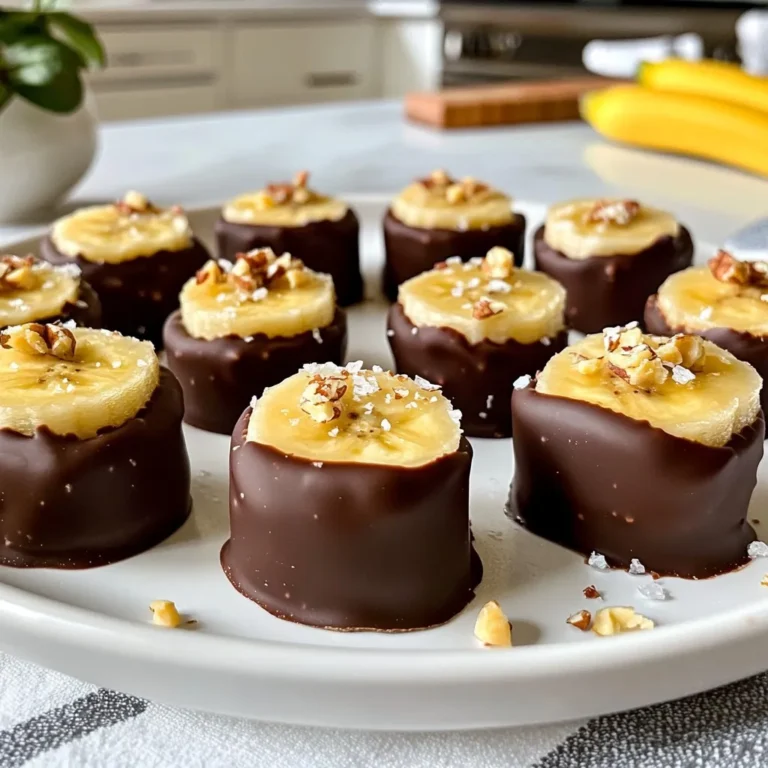
Chocolate Covered Banana Bites Simple and Sweet Treat
Cranberry Orange Shortbread Bars Simple and Tasty Treat
Page navigation
Previous Page
Previous
1
…
17
18
19
20
21
Next Page
Next
Home
Dinner
Appetizer
Desserts
Drinks
About
Contact
Privacy Policy
Toggle Menu Close
Search for:
Search