Skip to content
About
Contact
Cookie Policy
Copyright Policy
Disclaimer
Search
Home
Dinner
Appetizer
Desserts
Drinks
About
Contact
Privacy Policy
Toggle Menu
Home
/
Desserts
- Page 18
Desserts
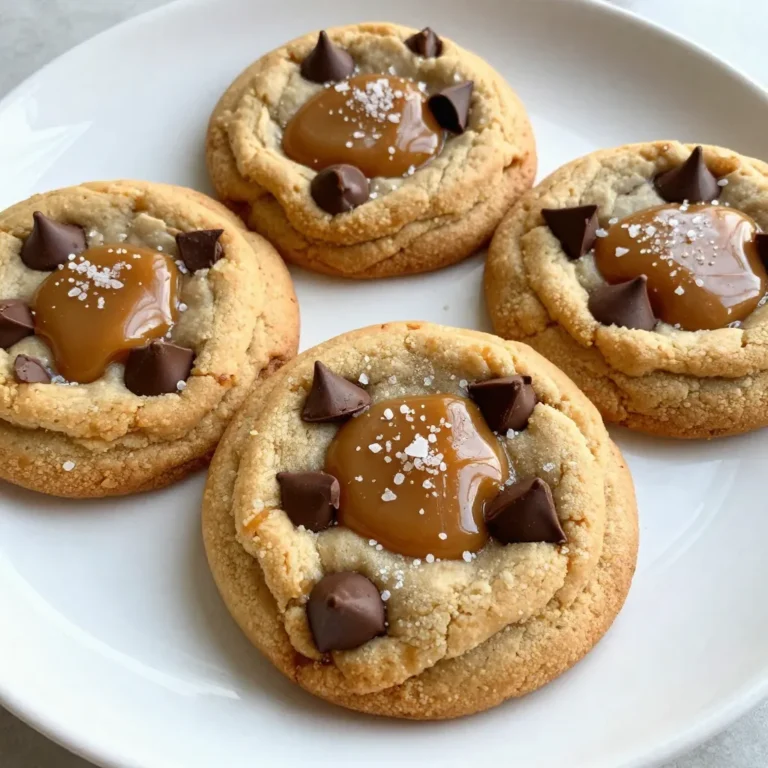
Caramel Chocolate Chip Cookies Irresistible Treats
Dark Chocolate Avocado Mousse Delightful and Creamy Treat
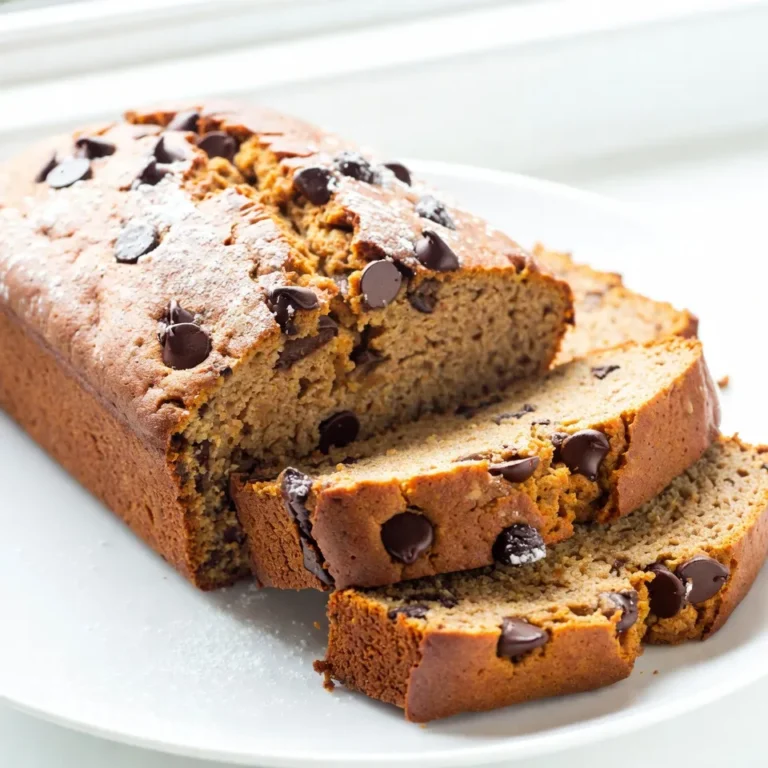
Chocolate Chip Pumpkin Bread Tasty Fall Delight
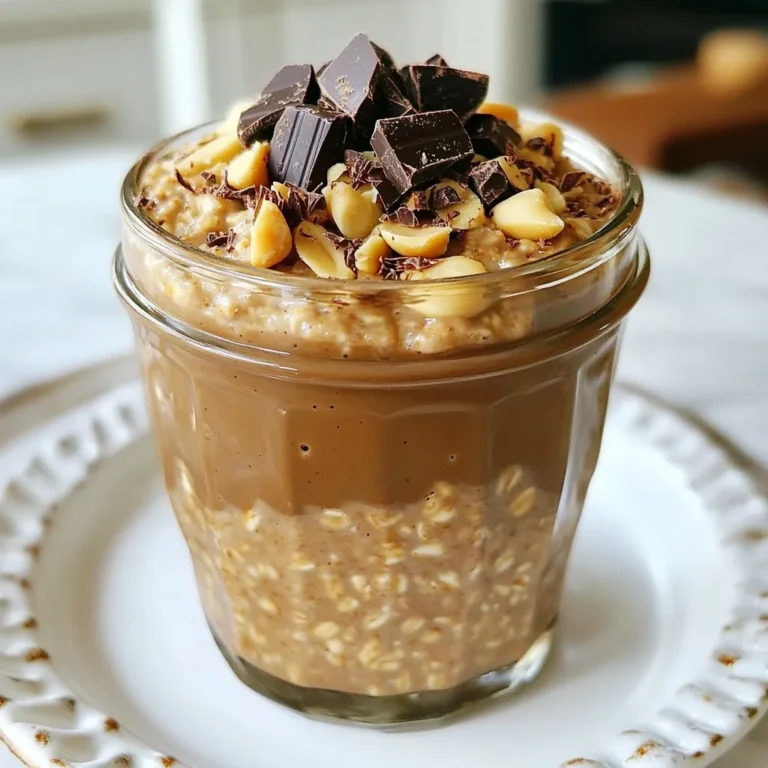
Chocolate Peanut Butter Overnight Oats Easy Recipe
Chocolate Covered Rice Krispie Treats Delightful Snack
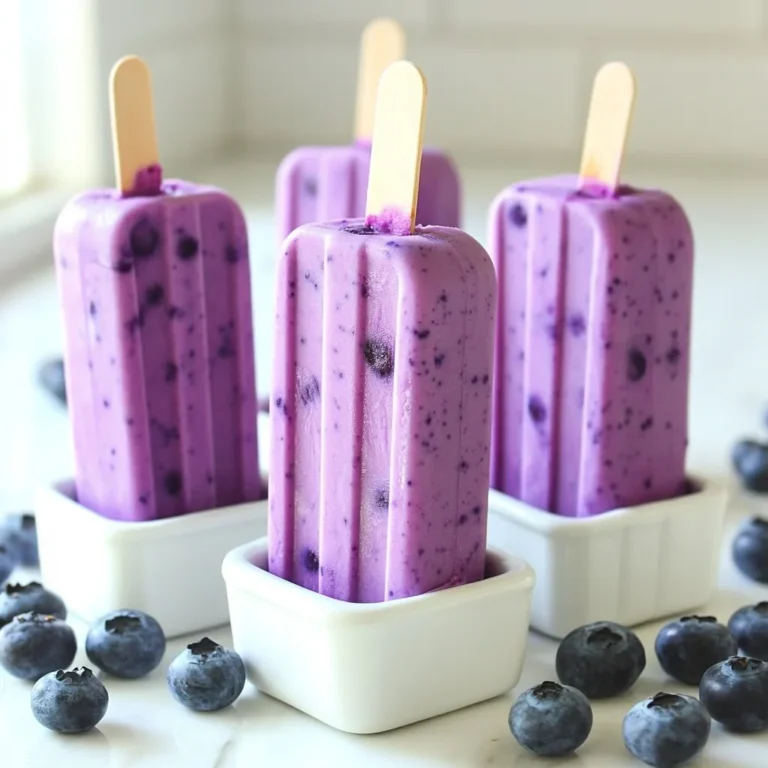
Greek Yogurt Blueberry Popsicles Easy Summer Treat
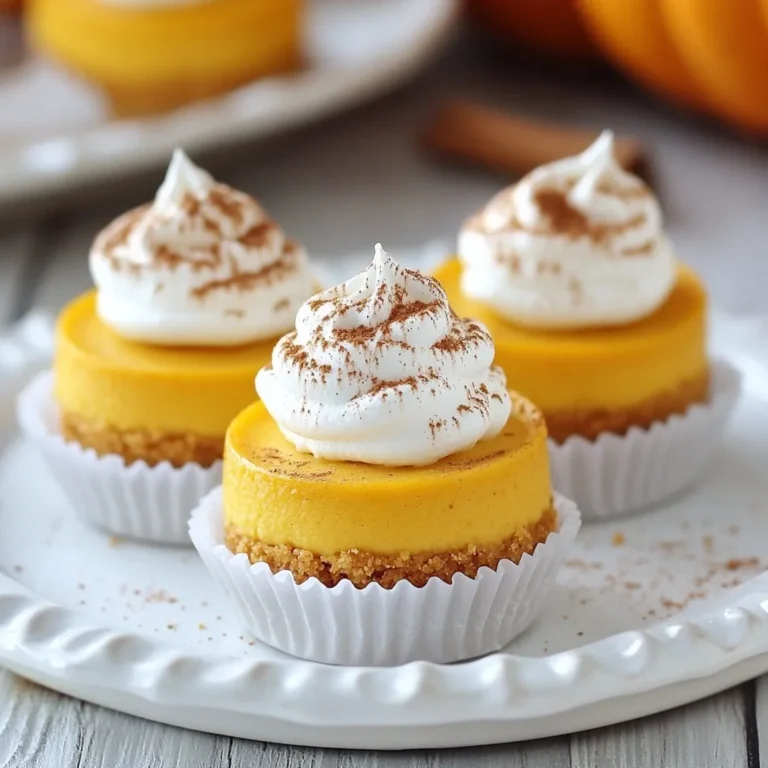
Mini Pumpkin Cheesecakes Delightful Autumn Treats
Chocolate Peanut Butter Cupcakes Delightful and Easy
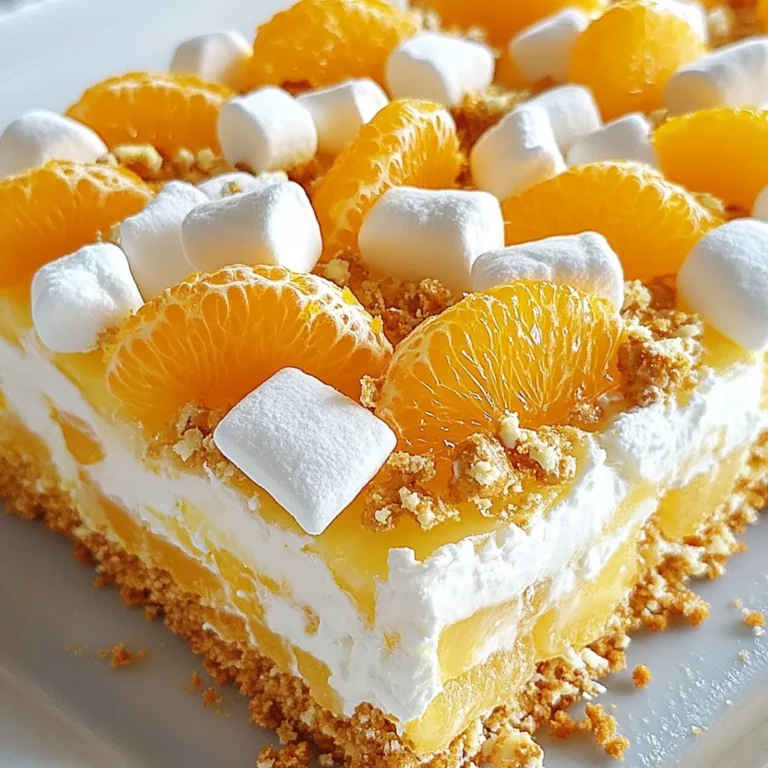
Mandarin Orange Pretzel Salad Simple and Tasty Treat
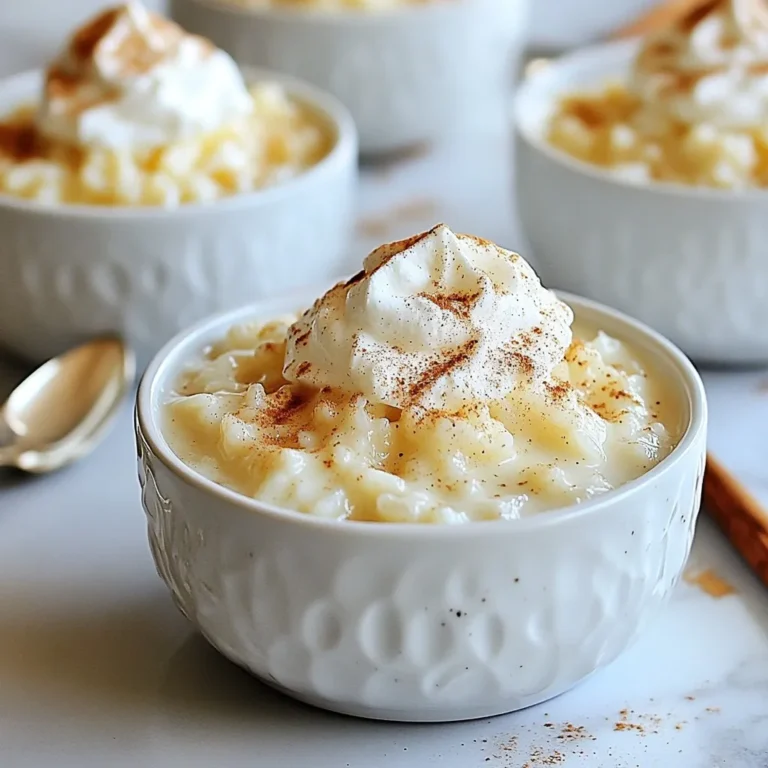
Eggnog Rice Pudding Creamy and Comforting Delight
Page navigation
Previous Page
Previous
1
…
16
17
18
19
20
21
Next Page
Next
Home
Dinner
Appetizer
Desserts
Drinks
About
Contact
Privacy Policy
Toggle Menu Close
Search for:
Search