Skip to content
About
Contact
Cookie Policy
Copyright Policy
Disclaimer
Search
Home
Dinner
Appetizer
Desserts
Drinks
About
Contact
Privacy Policy
Toggle Menu
Home
/
Desserts
- Page 17
Desserts
Cinnamon Swirl Banana Bread Delightfully Moist Recipe
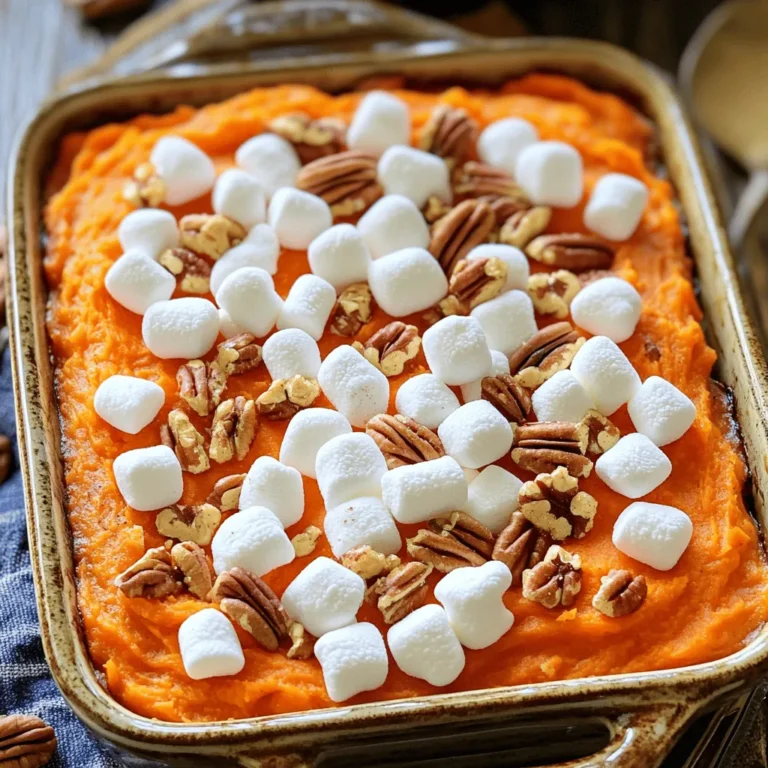
Sweet Potato Casserole with Marshmallows Delight
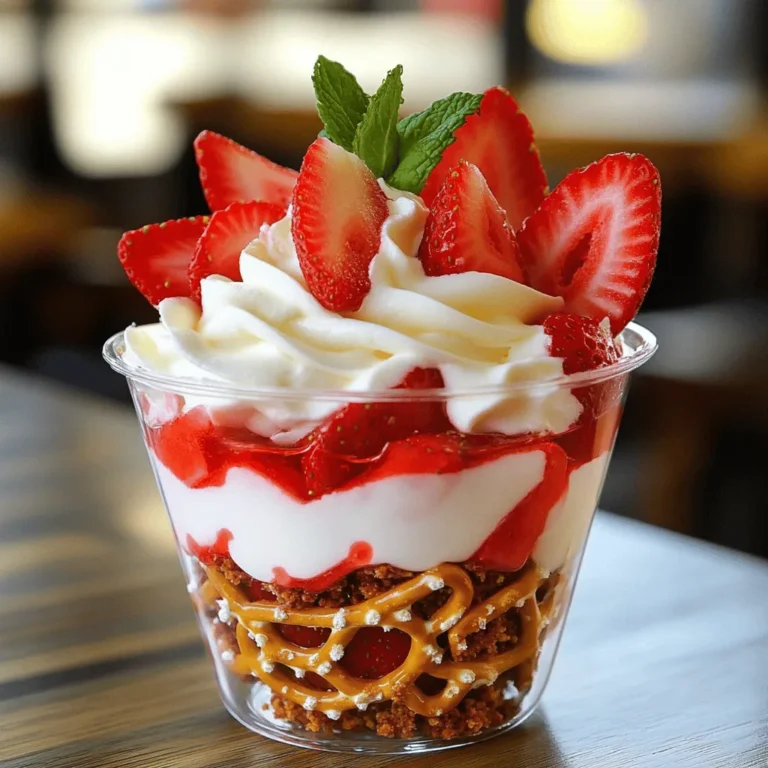
Strawberry Pretzel Salad Delightful and Easy Dessert
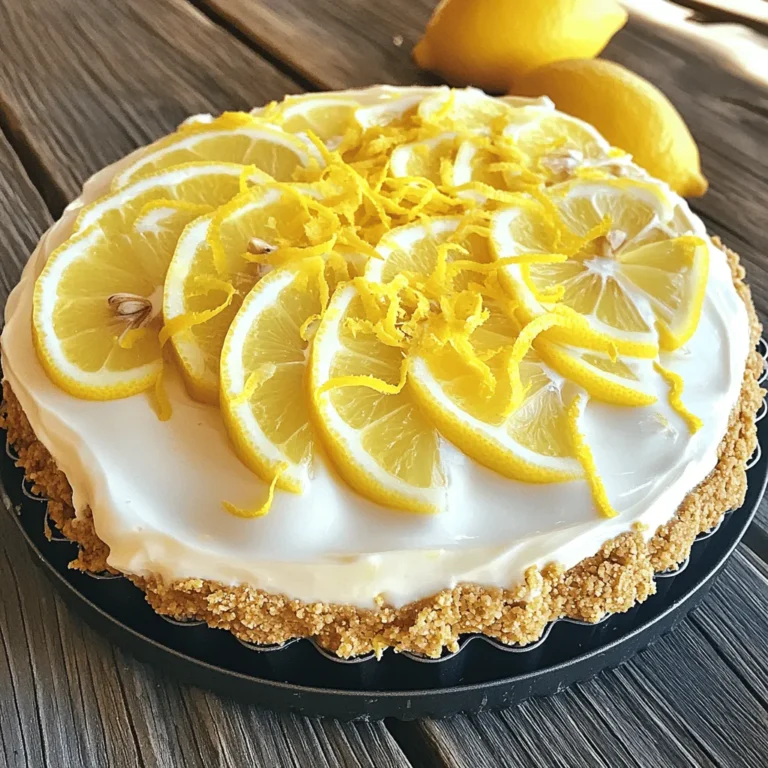
No-Bake Lemon Cheesecake Simple and Refreshing Treat
Chocolate Chip Pancakes Fluffy and Tasty Recipe
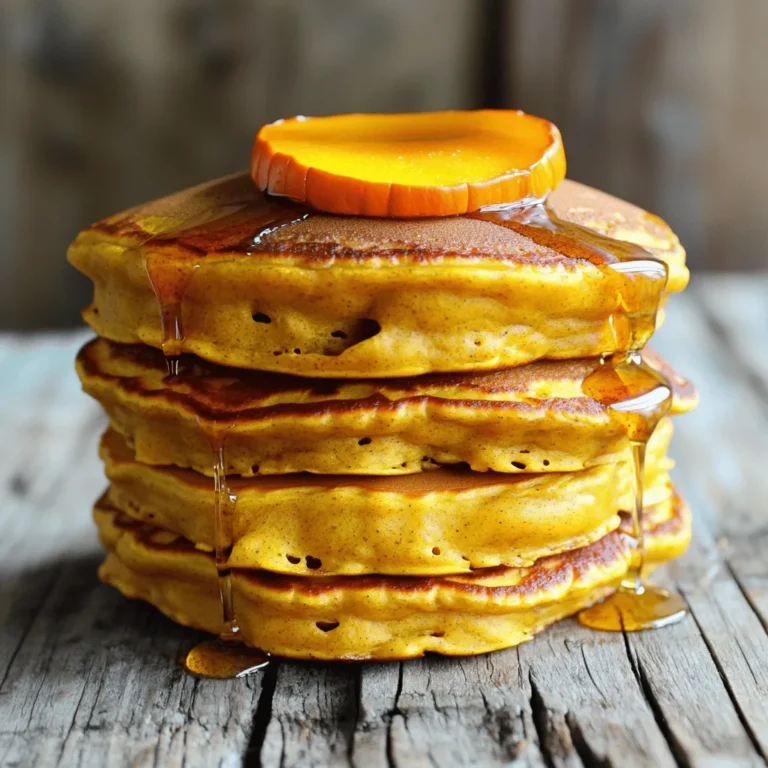
36. Pumpkin Spice Pancakes Irresistible Fall Flavor
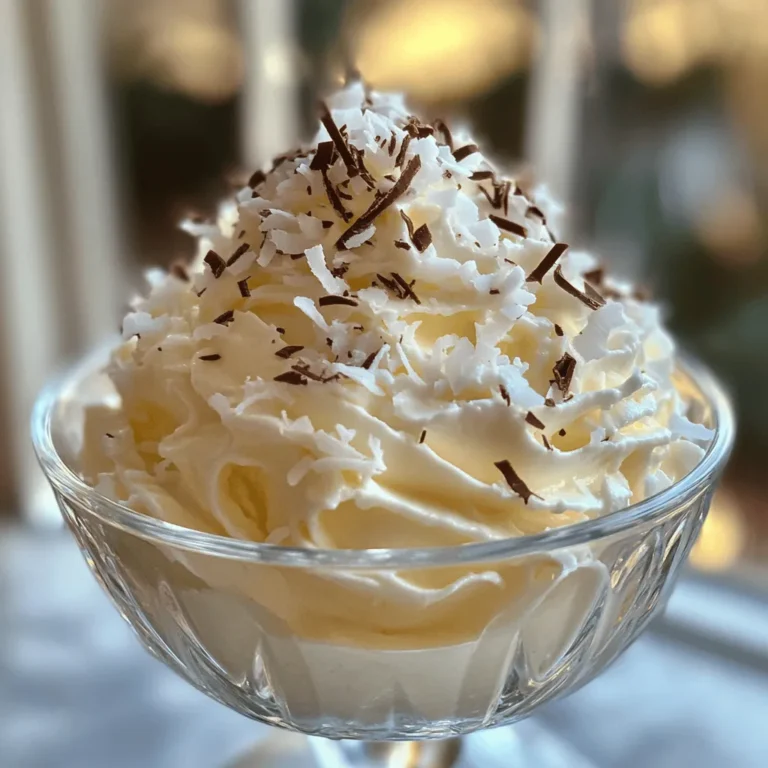
Coconut Whipped Cream Delightful and Simple Recipe
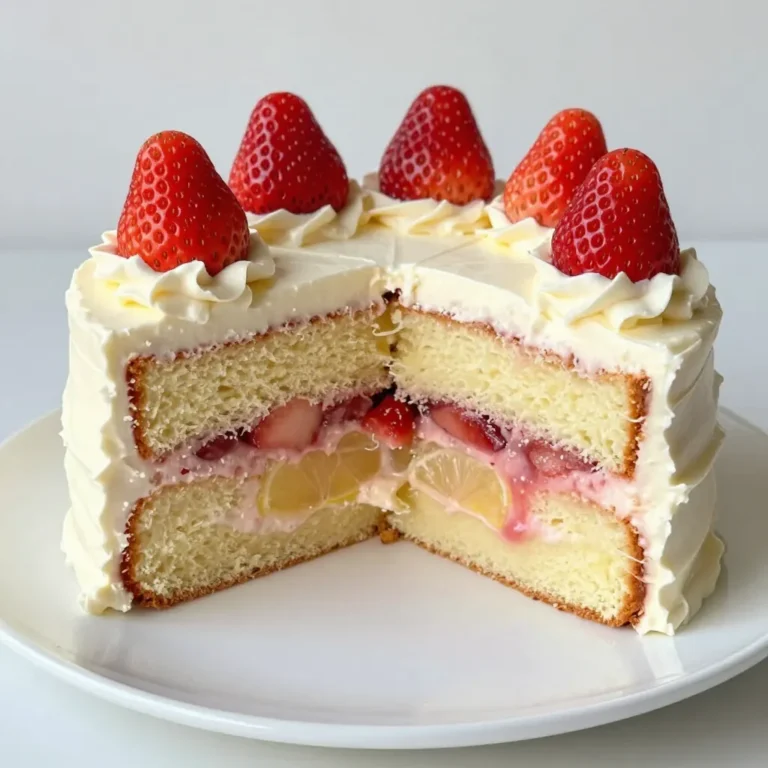
Strawberry Lemonade Cake Fresh and Flavorful Delight
Almond Joy Energy Balls Tasty and Easy Snack Recipe
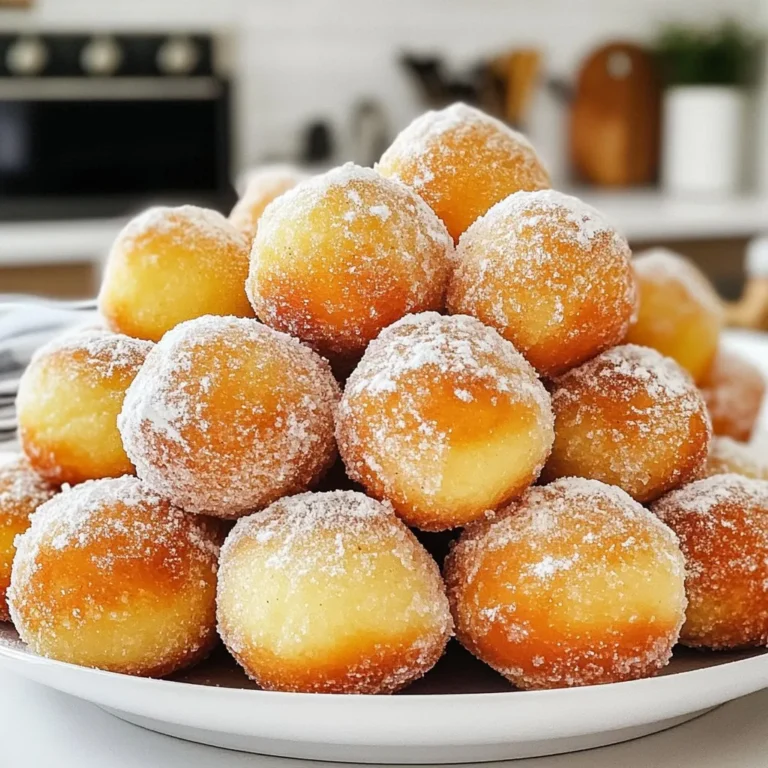
Air Fryer Donut Holes Delightful and Easy Recipe
Page navigation
Previous Page
Previous
1
…
15
16
17
18
19
…
21
Next Page
Next
Home
Dinner
Appetizer
Desserts
Drinks
About
Contact
Privacy Policy
Toggle Menu Close
Search for:
Search