Skip to content
About
Contact
Cookie Policy
Copyright Policy
Disclaimer
Search
Home
Dinner
Appetizer
Desserts
Drinks
About
Contact
Privacy Policy
Toggle Menu
Home
/
Appetizer
- Page 4
Appetizer
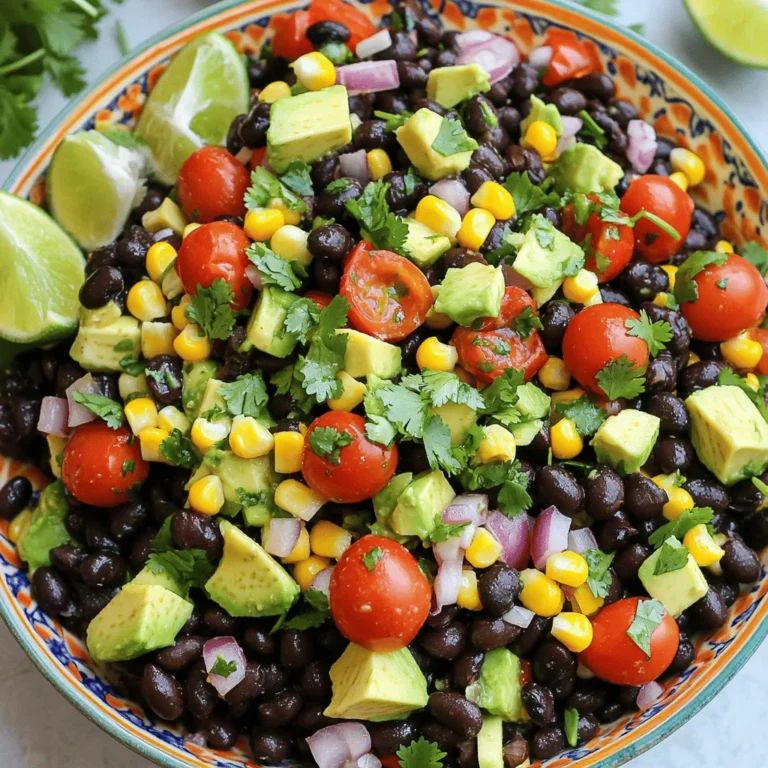
Fiesta Black Bean Corn Salad Easy Flavorful Dish
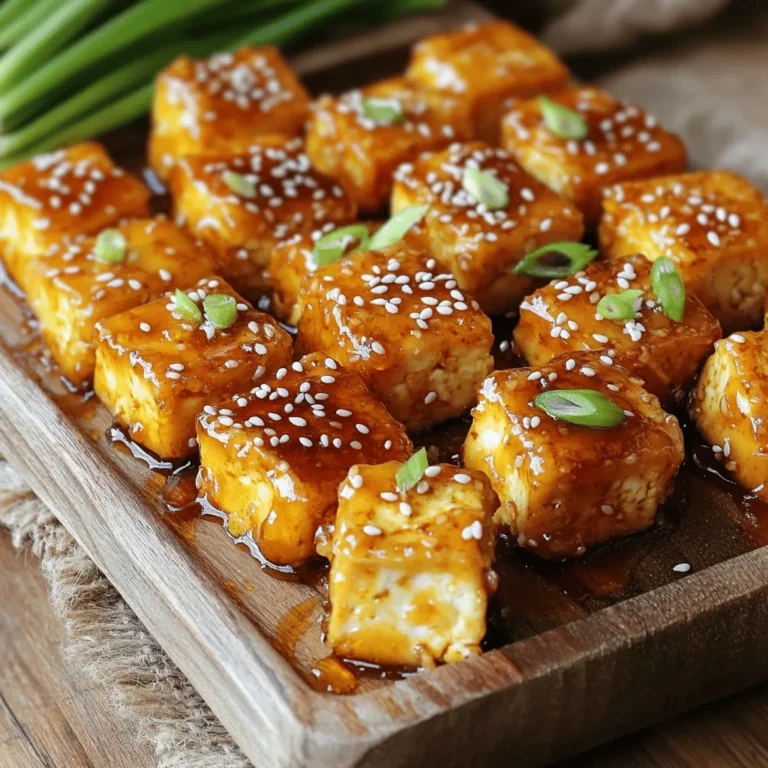
Crispy Honey Garlic Tofu Bites Easy and Flavorful Snack
Lemon Garlic Asparagus Flavorful and Easy Recipe
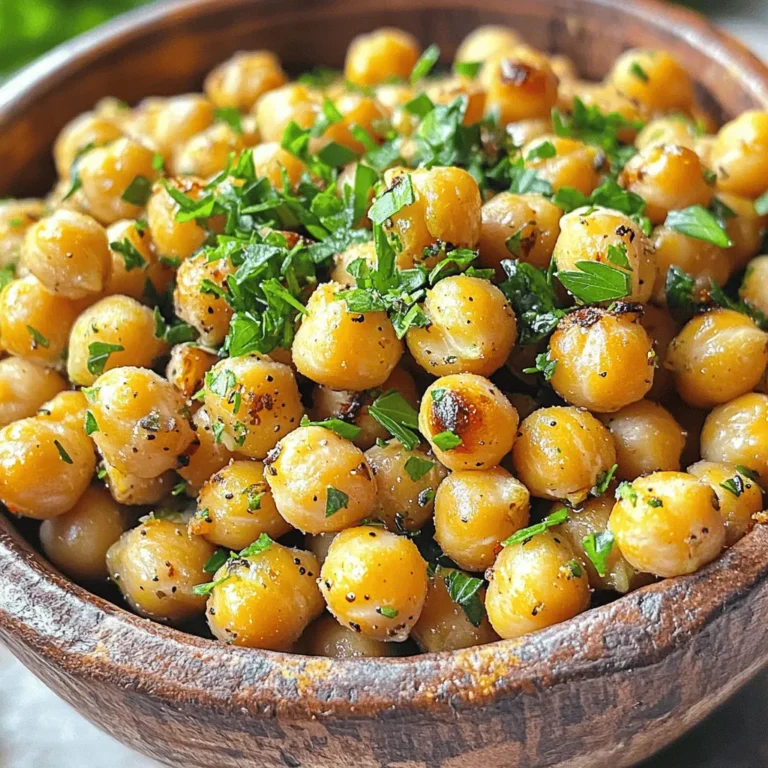
Garlic Herb Roasted Chickpeas Flavorful Snack Delight
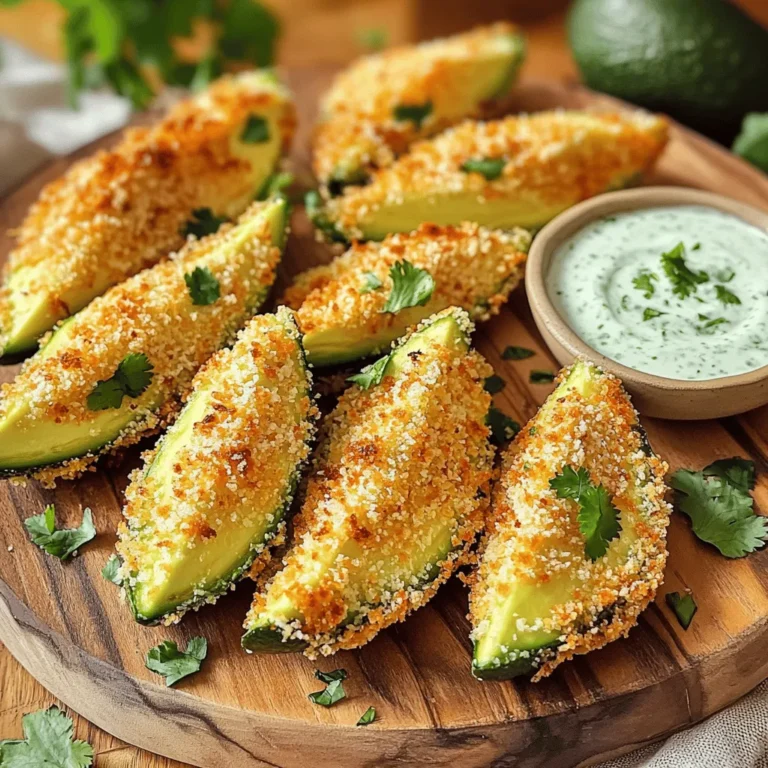
Crispy Air Fryer Avocado Fries Quick and Easy Recipe
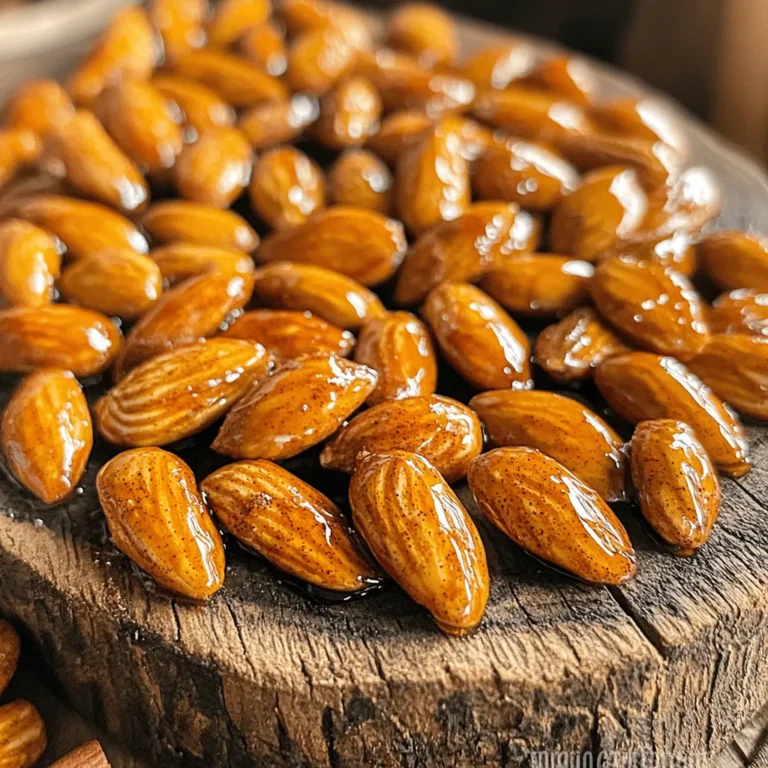
Maple Cinnamon Roasted Almonds Crunchy Snack Delight
Garlic Parmesan Roasted Carrots Simple and Tasty Dish
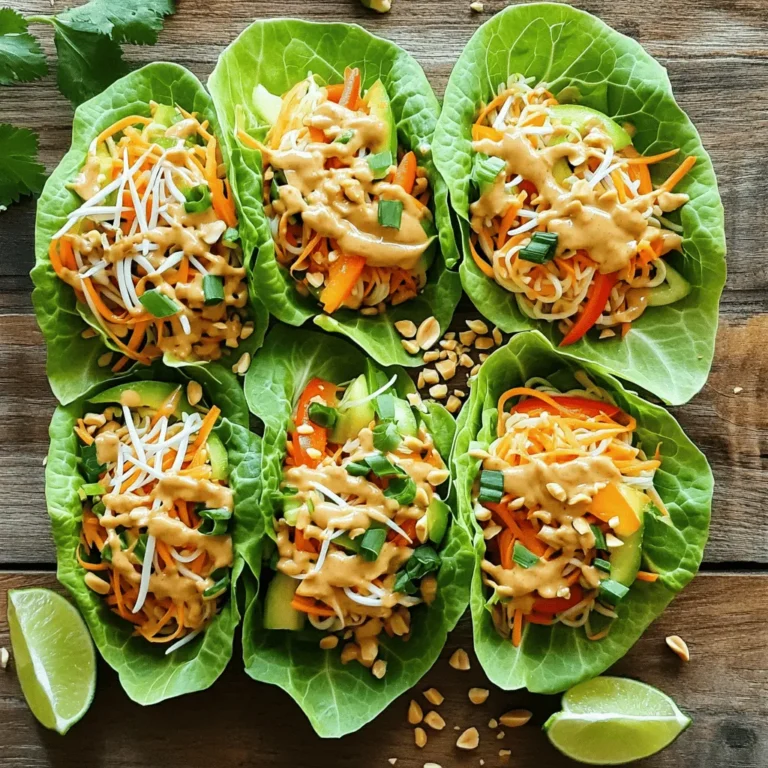
Vegan Pad Thai Lettuce Wraps Fresh and Flavorful Meal
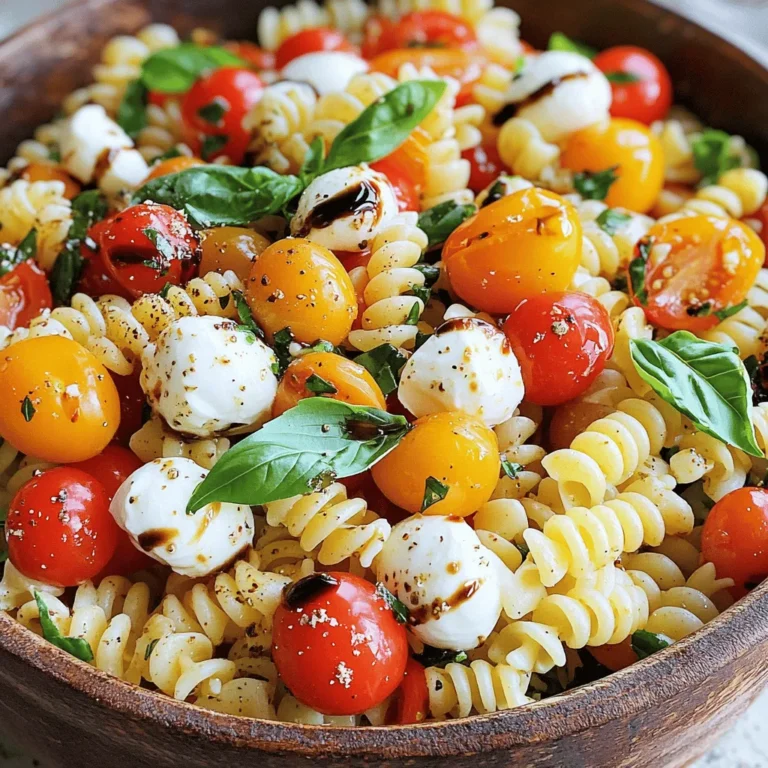
Caprese Pasta Salad Fresh and Flavorful Dish
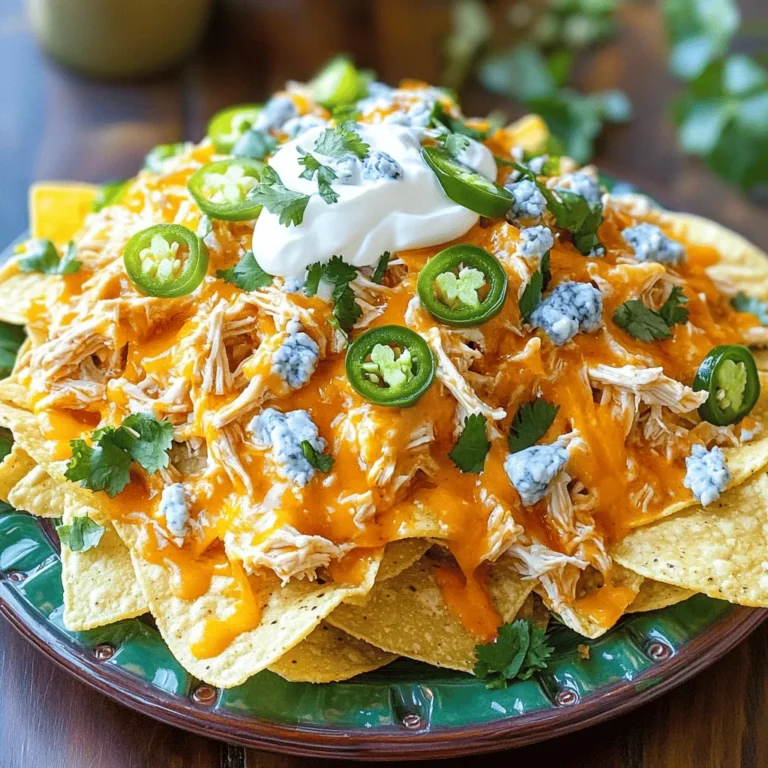
Loaded Buffalo Chicken Nachos Irresistible Flavor Treat
Page navigation
Previous Page
Previous
1
2
3
4
5
6
…
19
Next Page
Next
Home
Dinner
Appetizer
Desserts
Drinks
About
Contact
Privacy Policy
Toggle Menu Close
Search for:
Search


. This link will guide you through all the steps to create this delightful dish. Garlic Parmesan roasted carrots are simple and tasty. You learned about essential ingredients, step-by-step cooking, and helpful tips. We covered variations, storage tips, and common questions. These carrots make a great side dish or even a main course. You can adjust the flavors as you like. Enjoy your cooking adventure and share your roasted carrot experience with others!](https://goldendishy.com/wp-content/uploads/2025/07/2b5541b4-7c05-48ff-a2b1-13aee86f691d-768x768.webp)