Skip to content
About
Contact
Cookie Policy
Copyright Policy
Disclaimer
Search
Home
Dinner
Appetizer
Desserts
Drinks
About
Contact
Privacy Policy
Toggle Menu
Home
/
Appetizer
- Page 19
Appetizer
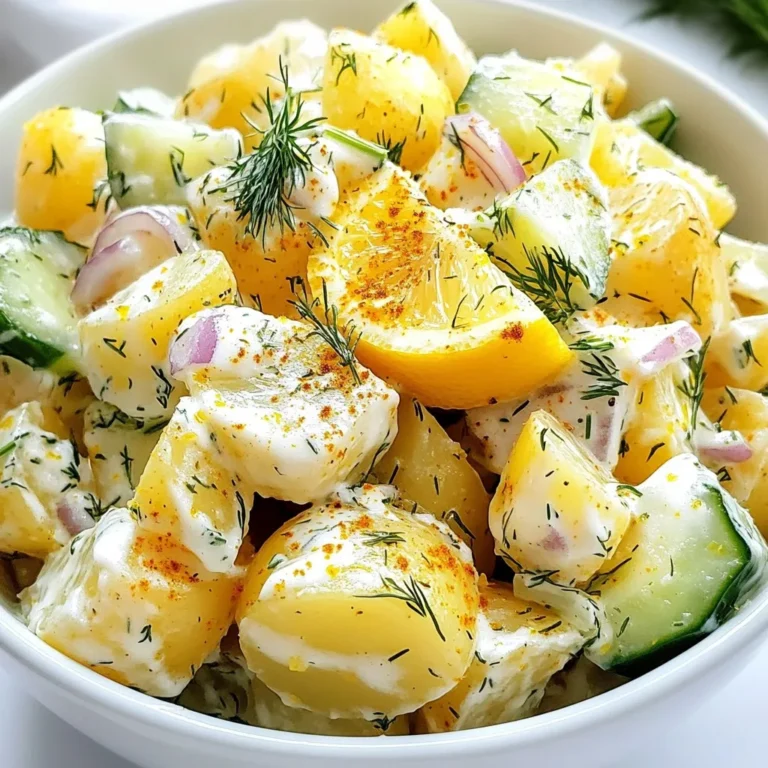
Lemon Dill Potato Salad Simple and Fresh Recipe
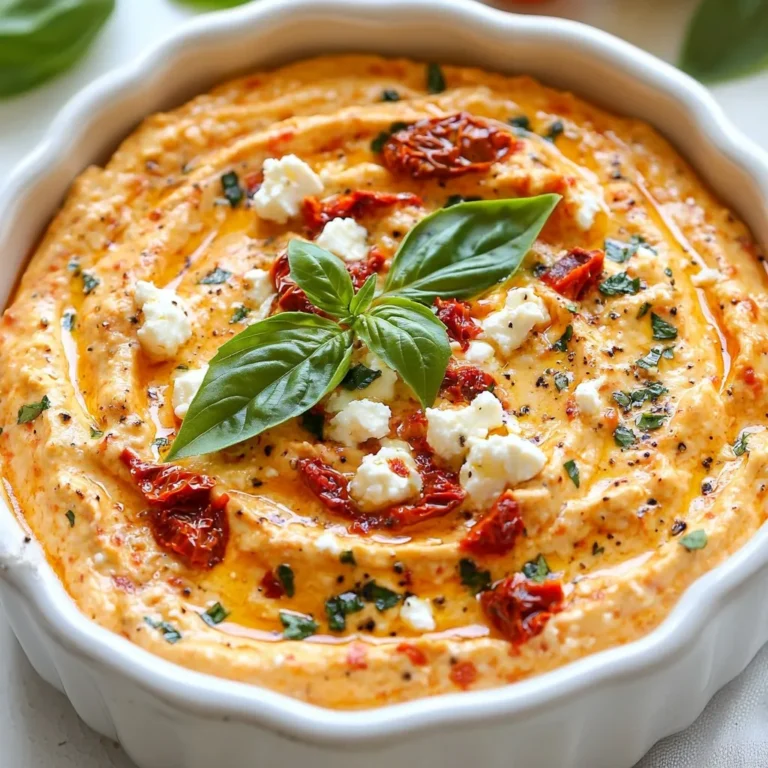
Sun Dried Tomato Feta Dip Vibrant and Flavorful Snack
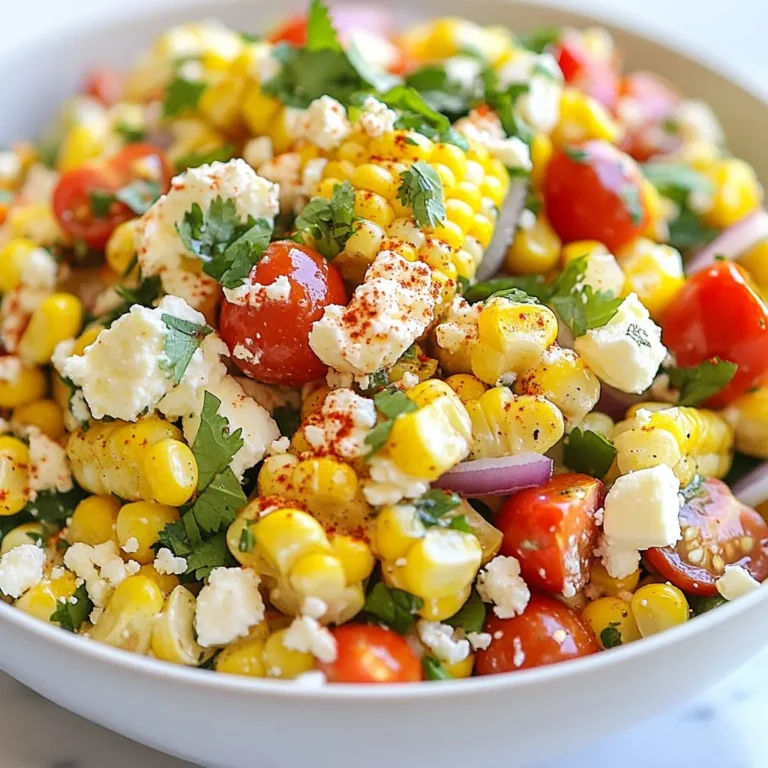
Mexican Street Corn Salad Flavorful Summer Delight
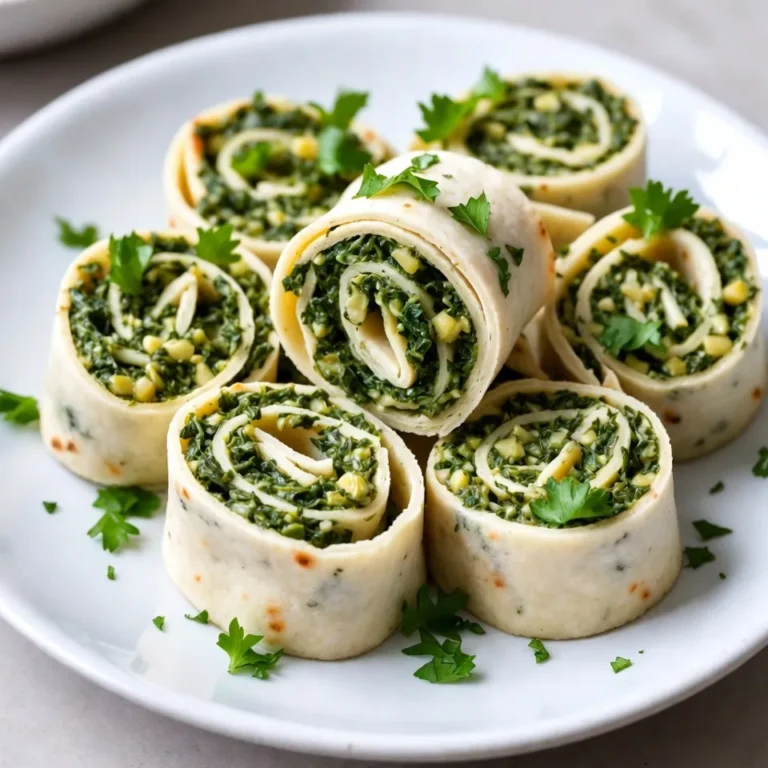
Cheesy Spinach Artichoke Pinwheels Tasty Snack Roll
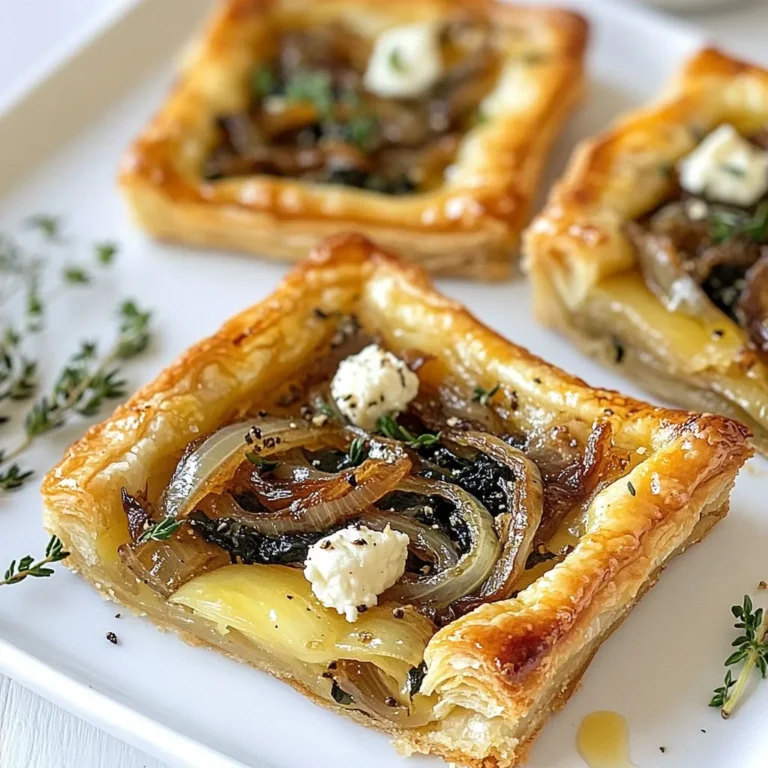
Caramelized Onion Goat Cheese Tart Irresistible Delight
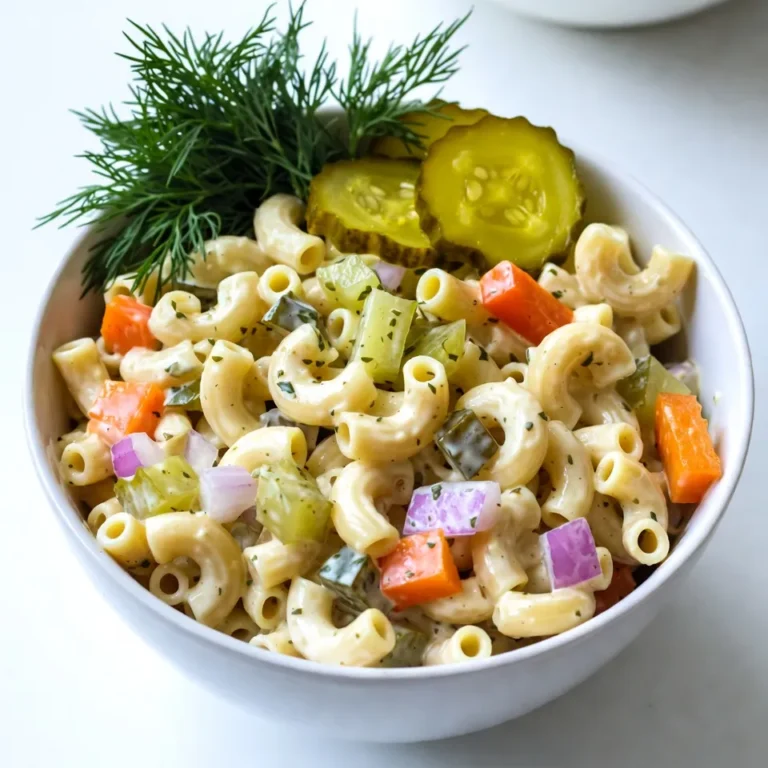
Dill Pickle Pasta Salad Quick and Tasty Recipe
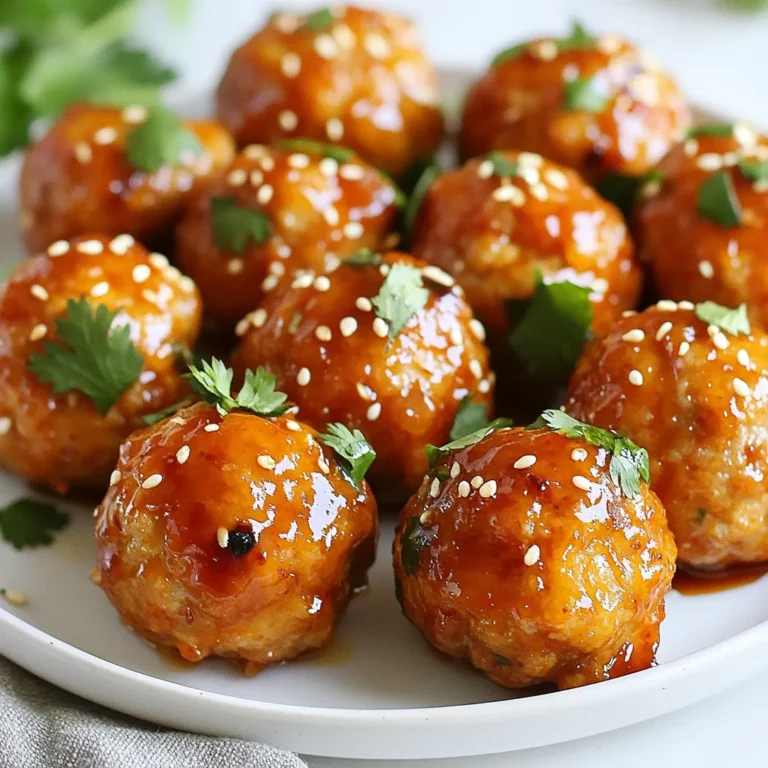
Honey Sriracha Meatballs Flavorful and Simple Recipe
Page navigation
Previous Page
Previous
1
…
17
18
19
Home
Dinner
Appetizer
Desserts
Drinks
About
Contact
Privacy Policy
Toggle Menu Close
Search for:
Search