Skip to content
About
Contact
Cookie Policy
Copyright Policy
Disclaimer
Search
Home
Dinner
Appetizer
Desserts
Drinks
About
Contact
Privacy Policy
Toggle Menu
Home
/
Appetizer
- Page 18
Appetizer
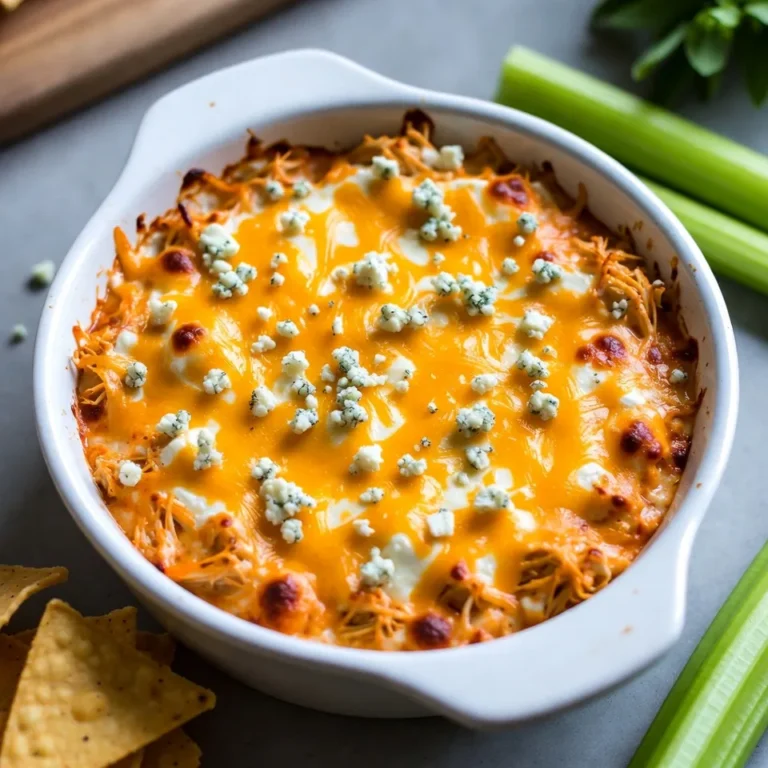
Buffalo Chicken Dip Flavorful and Easy to Make
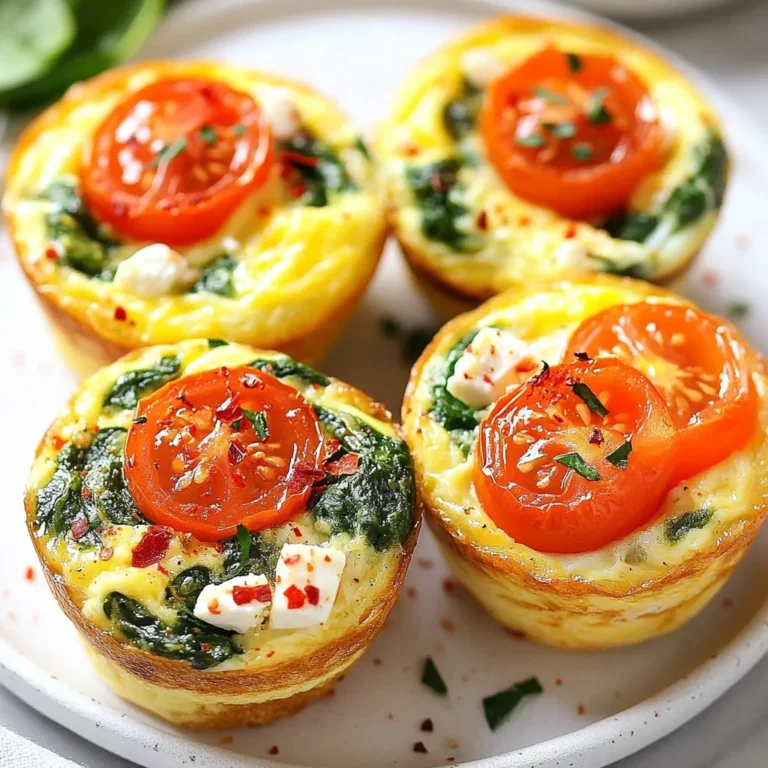
Spinach Feta Egg Muffins Quick and Easy Recipe
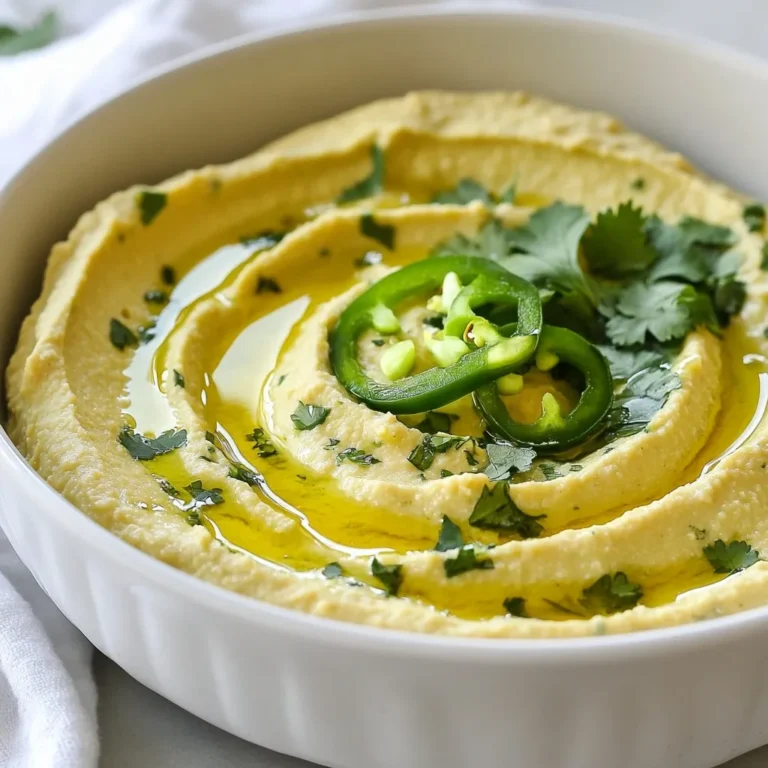
Jalapeño Lime Hummus Flavorful and Fresh Dip
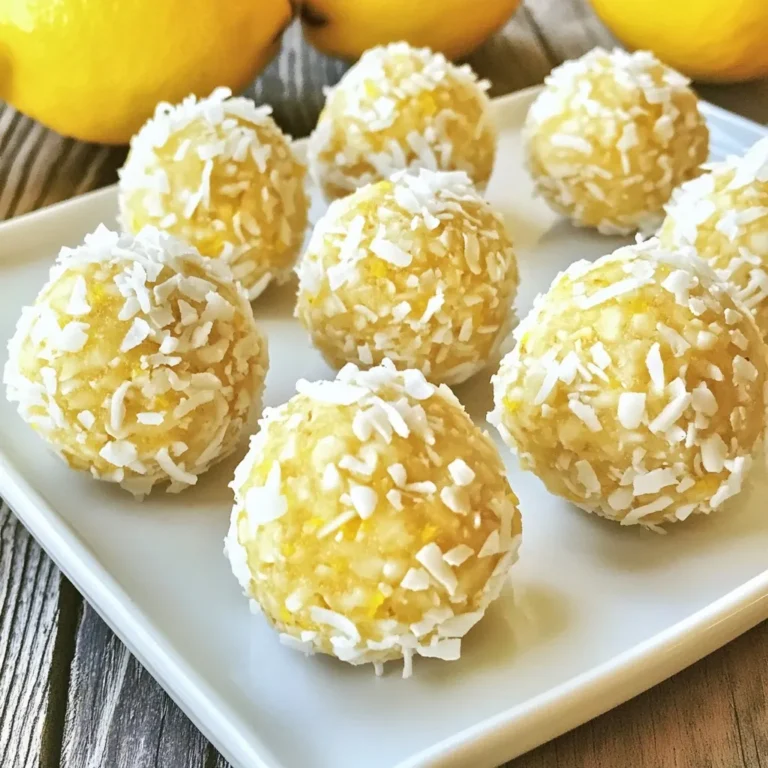
Lemon Coconut Energy Balls Simple Healthy Snack
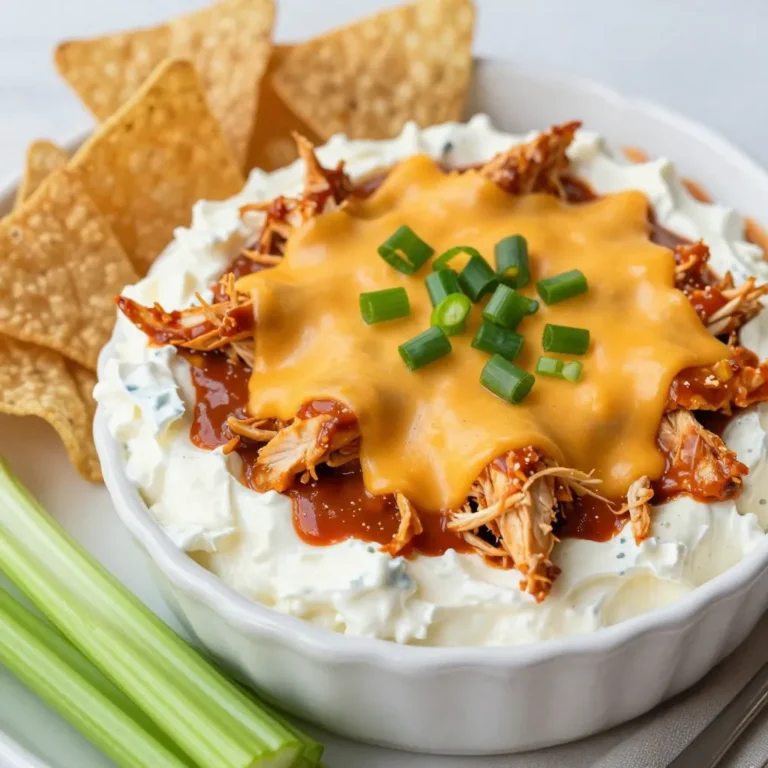
Buffalo Chicken Dip Creamy and Cheesy Delight
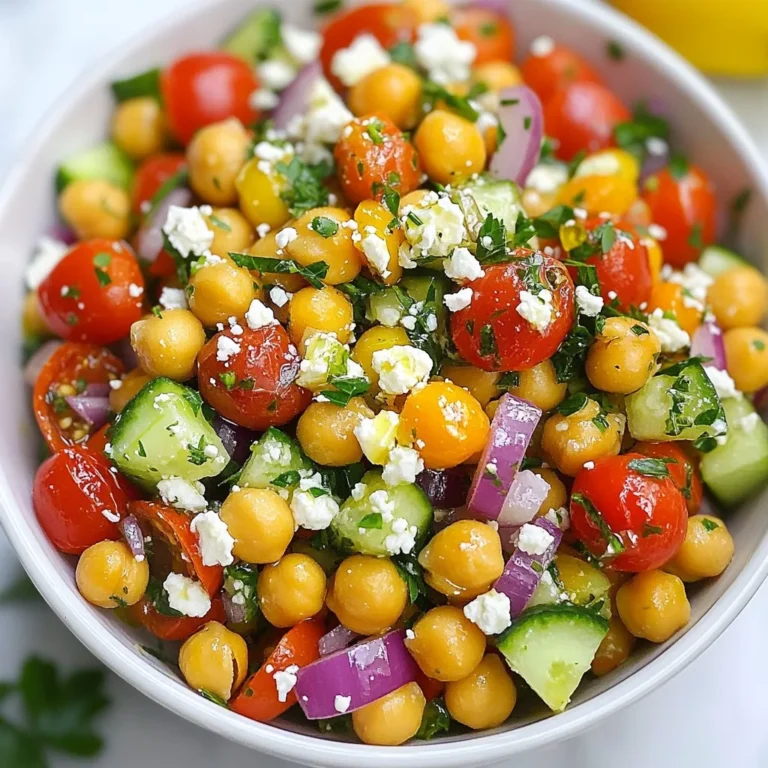
Mediterranean Chickpea Salad Flavorful and Fresh Dish
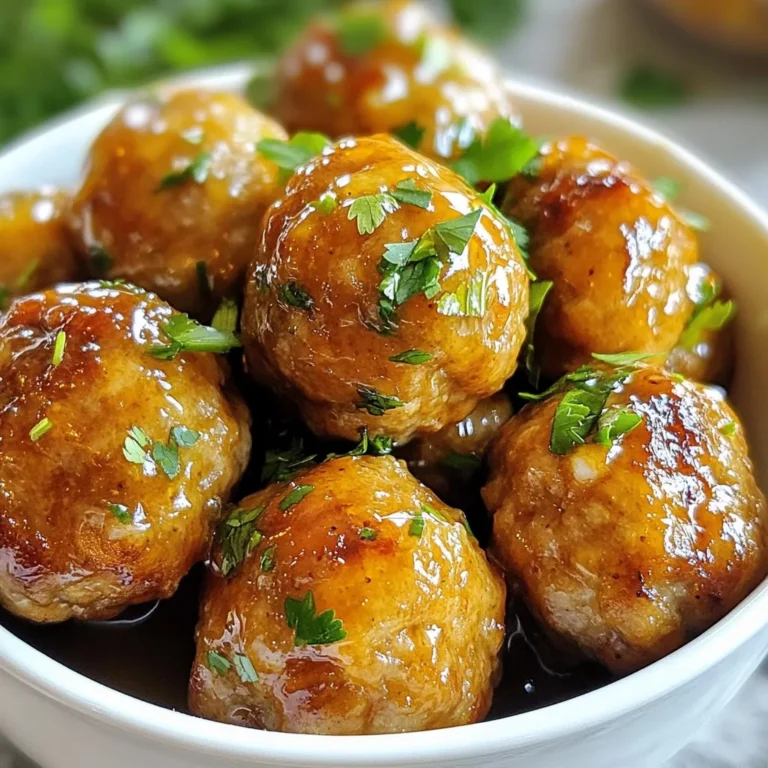
Honey Sriracha Meatballs Flavorful and Easy Recipe
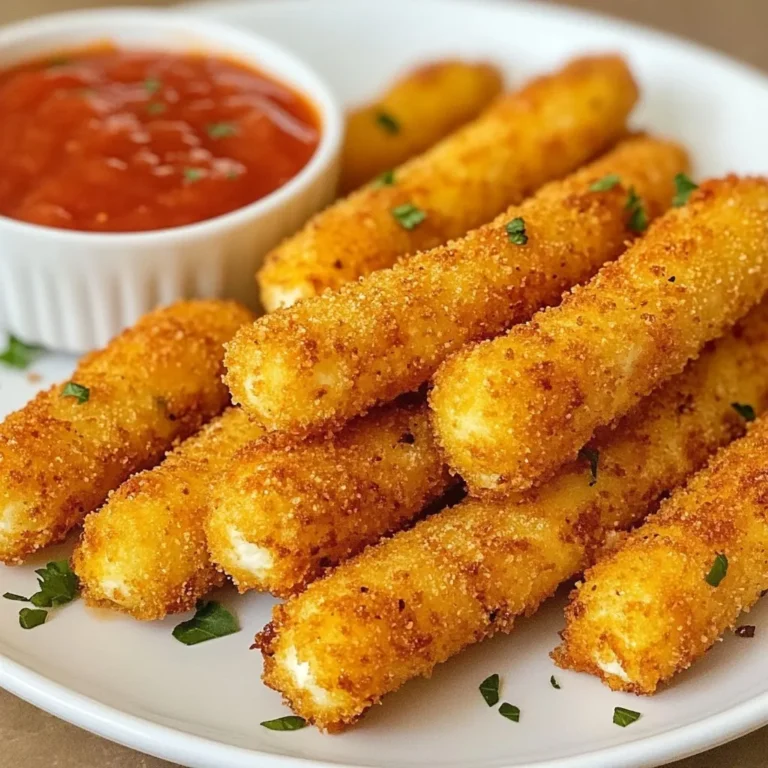
Air Fryer Mozzarella Sticks Crispy and Cheesy Snack
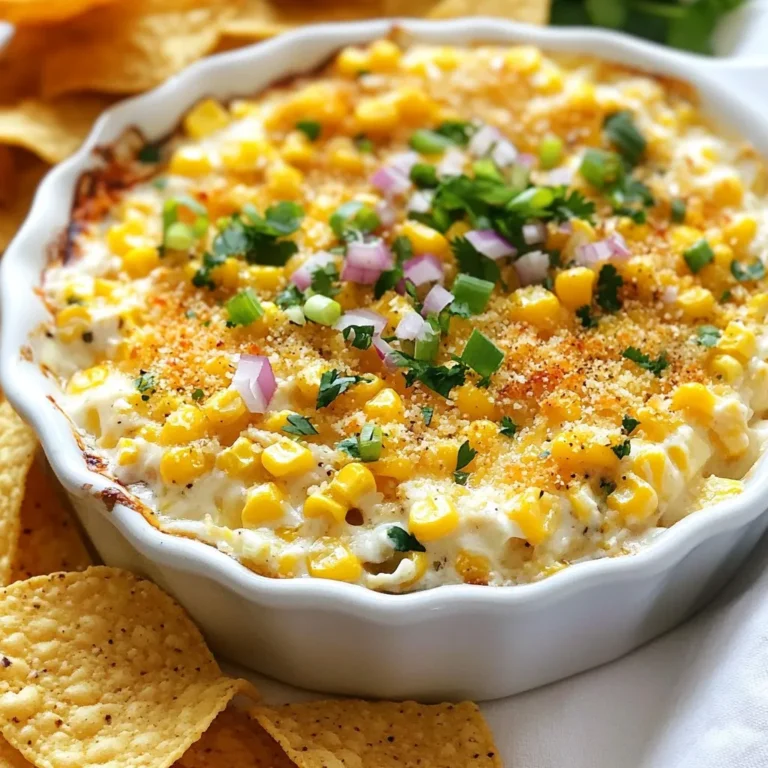
Baked Mexican Street Corn Dip Flavorful Crowd Pleaser
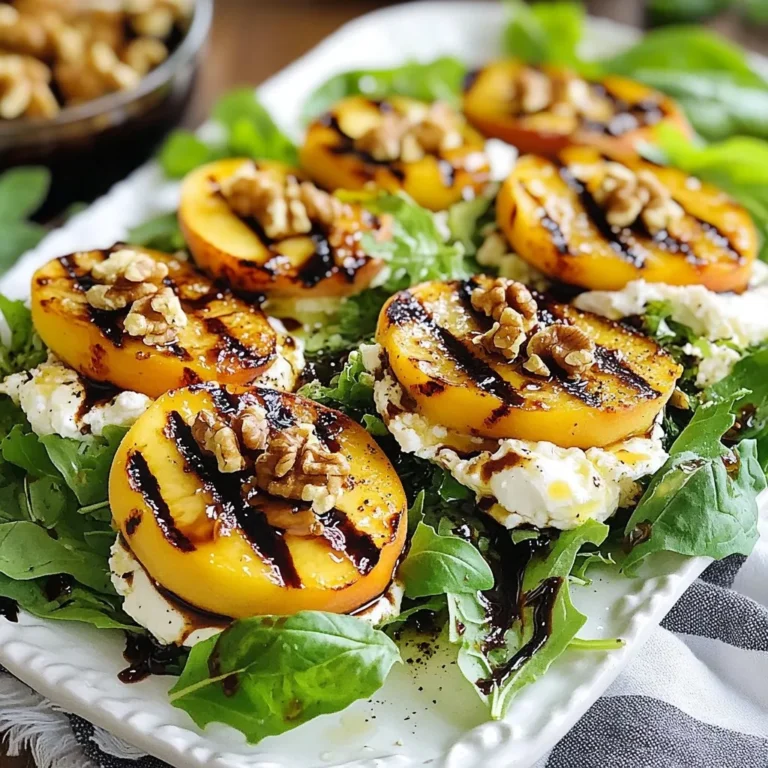
Grilled Peach Burrata Salad Flavorful Summer Delight
Page navigation
Previous Page
Previous
1
…
16
17
18
19
Next Page
Next
Home
Dinner
Appetizer
Desserts
Drinks
About
Contact
Privacy Policy
Toggle Menu Close
Search for:
Search