Skip to content
About
Contact
Cookie Policy
Copyright Policy
Disclaimer
Search
Home
Dinner
Appetizer
Desserts
Drinks
About
Contact
Privacy Policy
Toggle Menu
Home
/
Appetizer
- Page 17
Appetizer
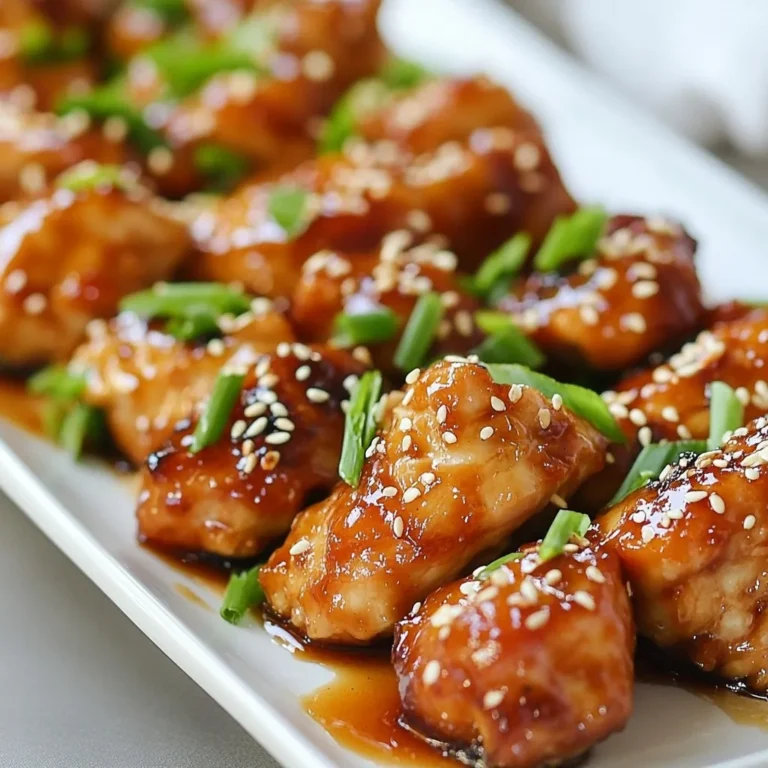
Honey Garlic Chicken Bites Flavorful and Simple Treat
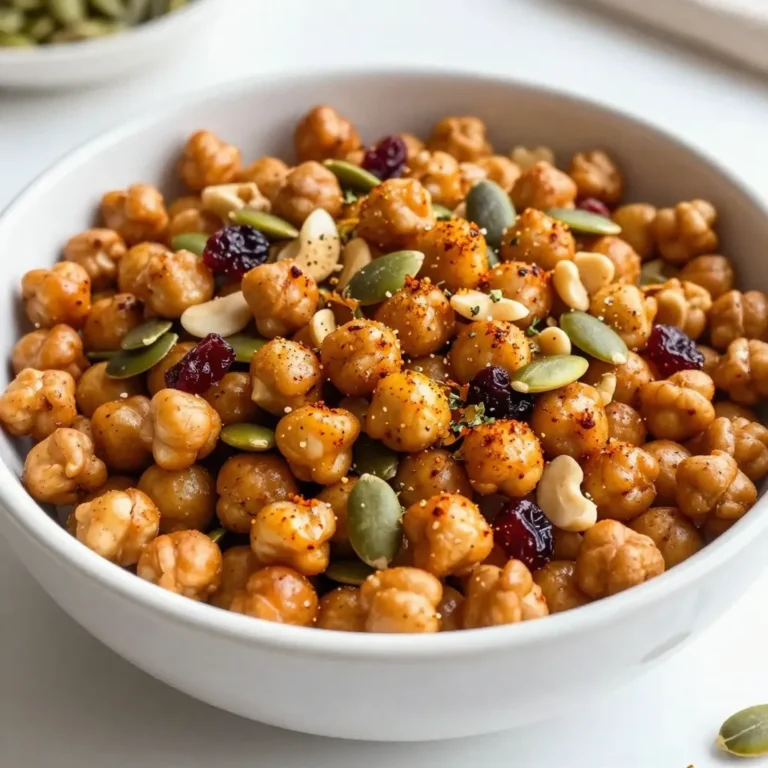
Crispy Chickpea Snack Mix Healthy Crunchy Treat
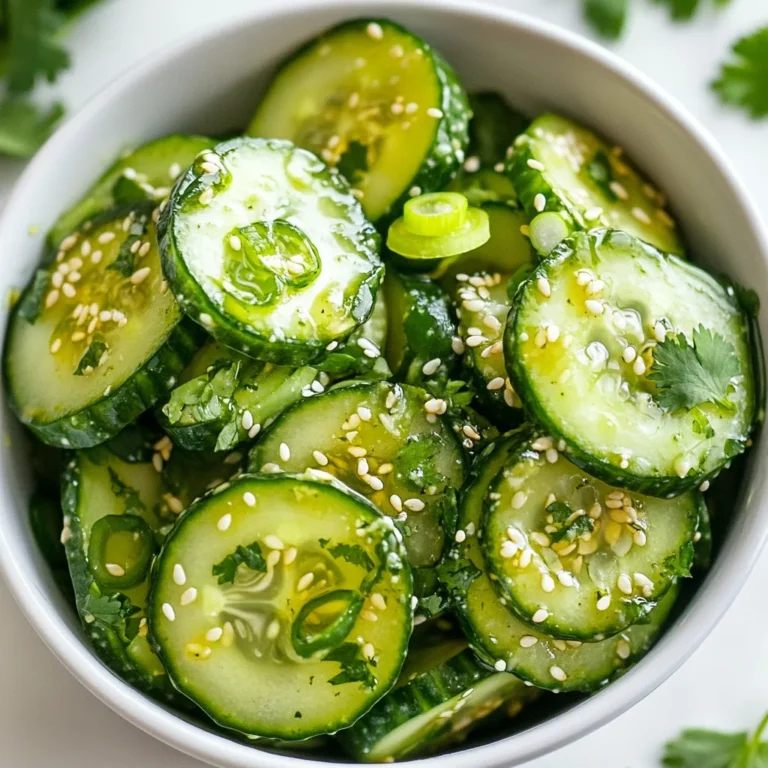
Spicy Sesame Cucumber Salad Refreshing and Flavorful Dish
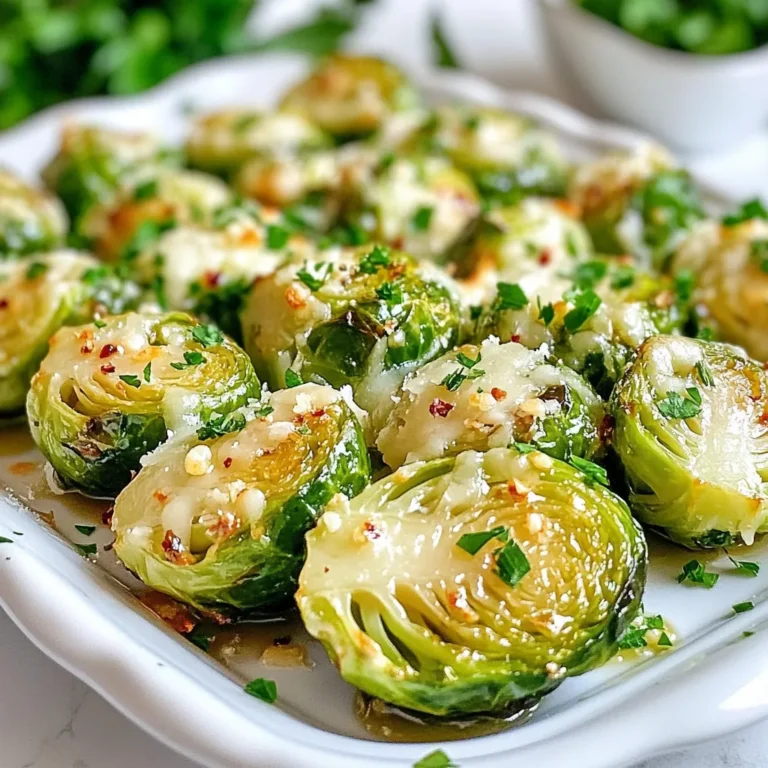
Garlic Parmesan Brussels Sprouts Flavorful Side Dish
Sriracha Lime Grilled Shrimp Flavorful Dinner Delight
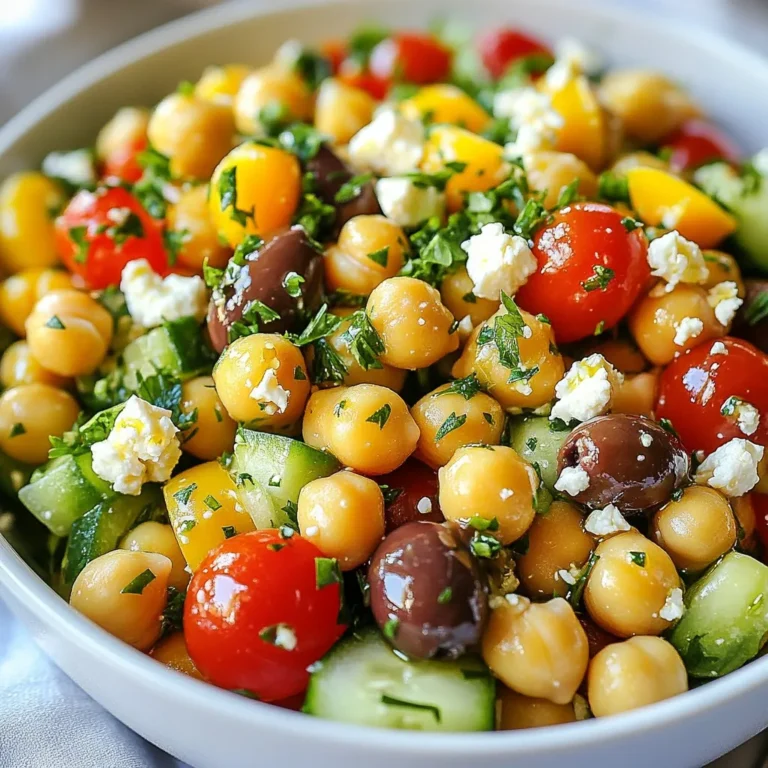
Mediterranean Chickpea Salad Fresh and Flavorful Dish
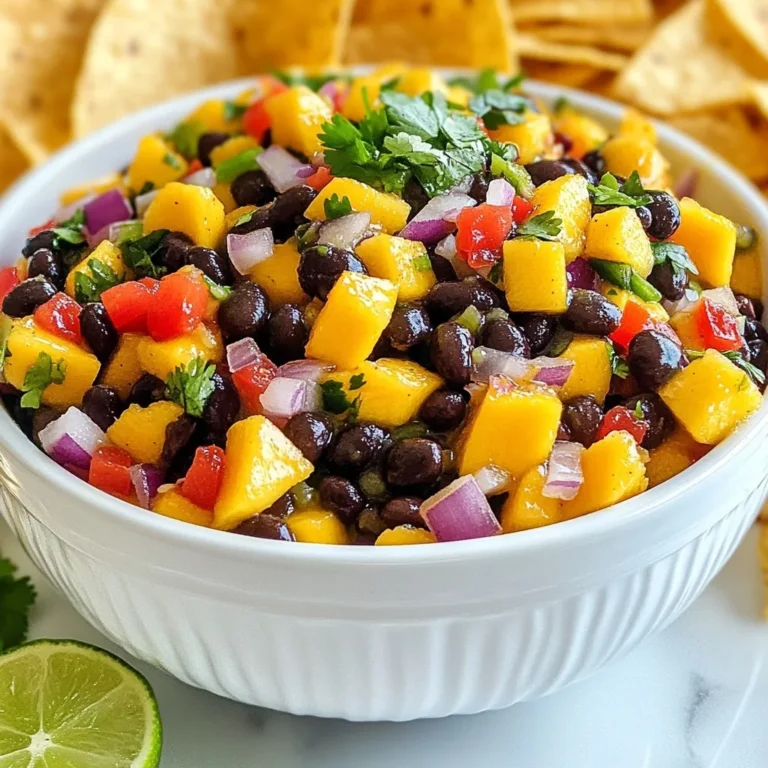
Mango Black Bean Salsa Fresh and Flavorful Delight
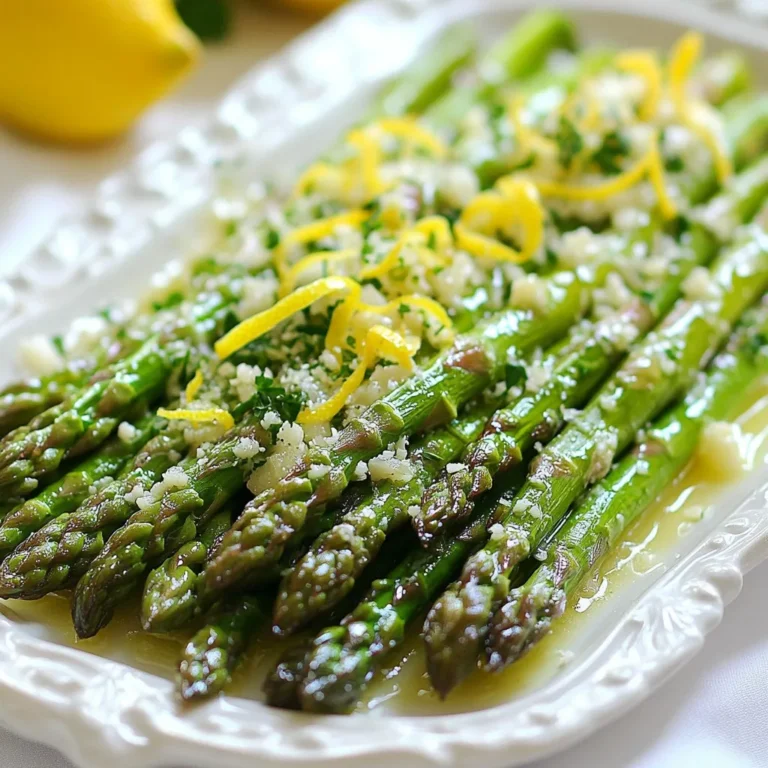
Garlic Butter Lemon Asparagus Simple and Tasty Dish
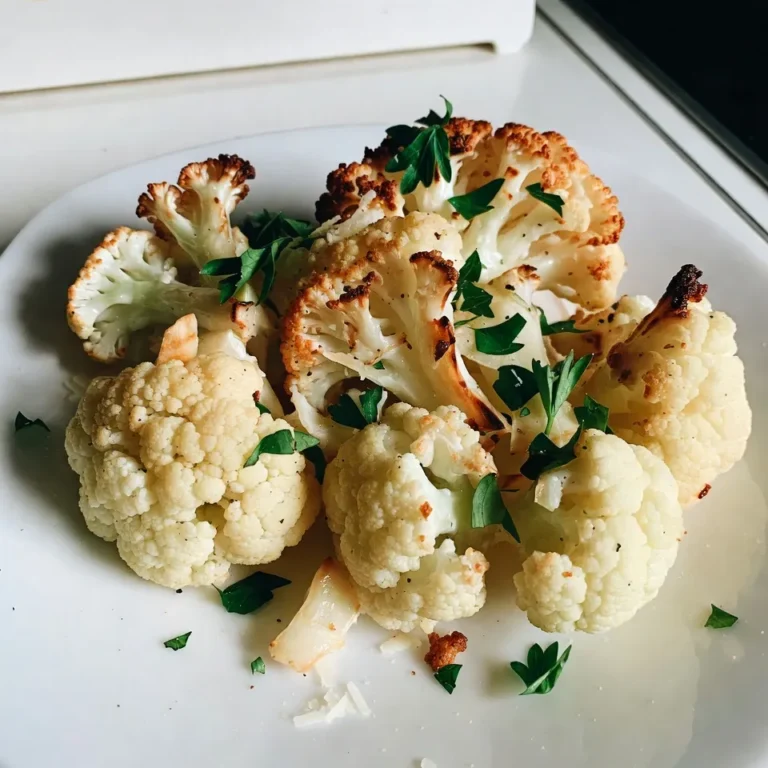
Garlic Parmesan Roasted Cauliflower Flavor Boost Recipe
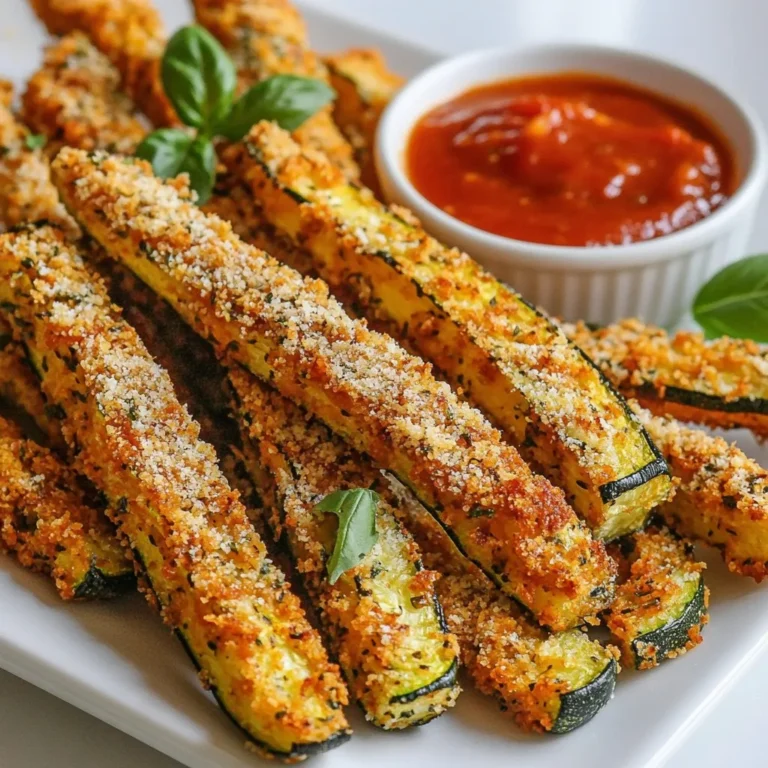
Parmesan Herb Zucchini Fries Crunchy and Irresistible
Page navigation
Previous Page
Previous
1
…
15
16
17
18
19
Next Page
Next
Home
Dinner
Appetizer
Desserts
Drinks
About
Contact
Privacy Policy
Toggle Menu Close
Search for:
Search