Skip to content
About
Contact
Cookie Policy
Copyright Policy
Disclaimer
Search
Home
Dinner
Appetizer
Desserts
Drinks
About
Contact
Privacy Policy
Toggle Menu
Home
/
Appetizer
Appetizer
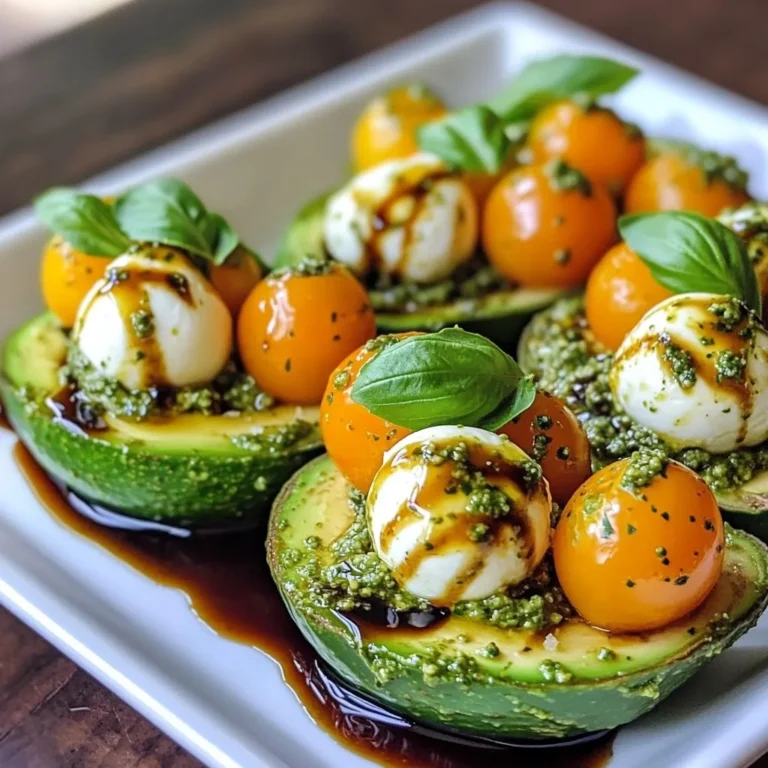
Pesto Caprese Stuffed Avocado Fresh and Flavorful Dish
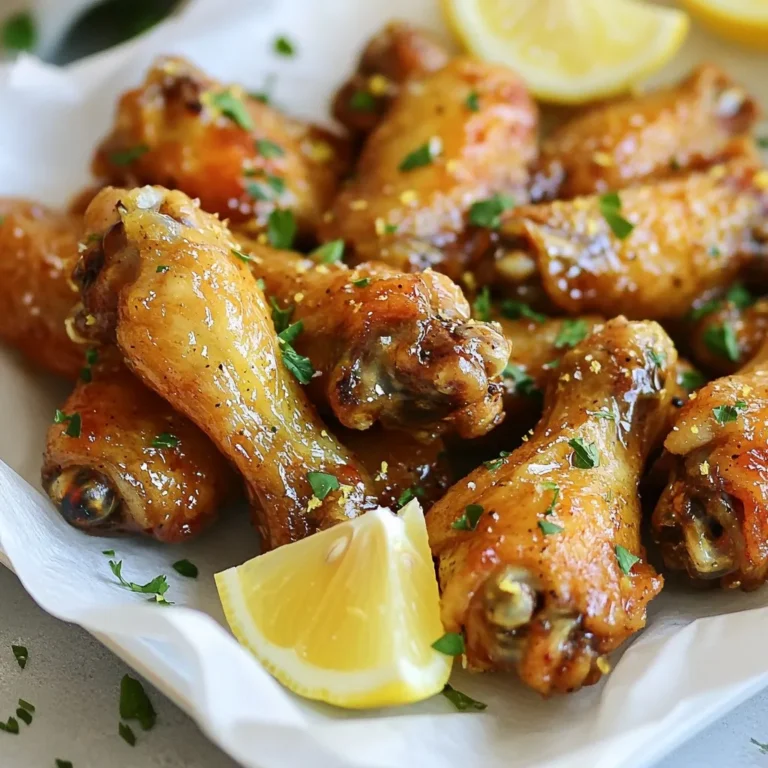
Crispy Lemon Pepper Wings Flavorful and Easy Recipe
Spicy Peanut Chicken Lettuce Wraps Quick and Tasty Meal
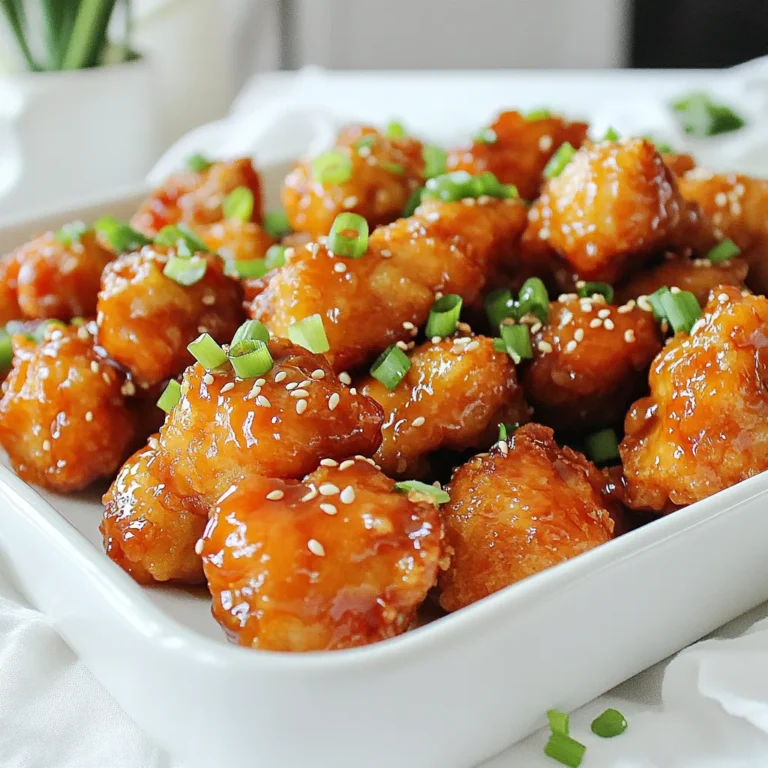
Honey Garlic Chicken Bites Air Fryer Delightful Meal
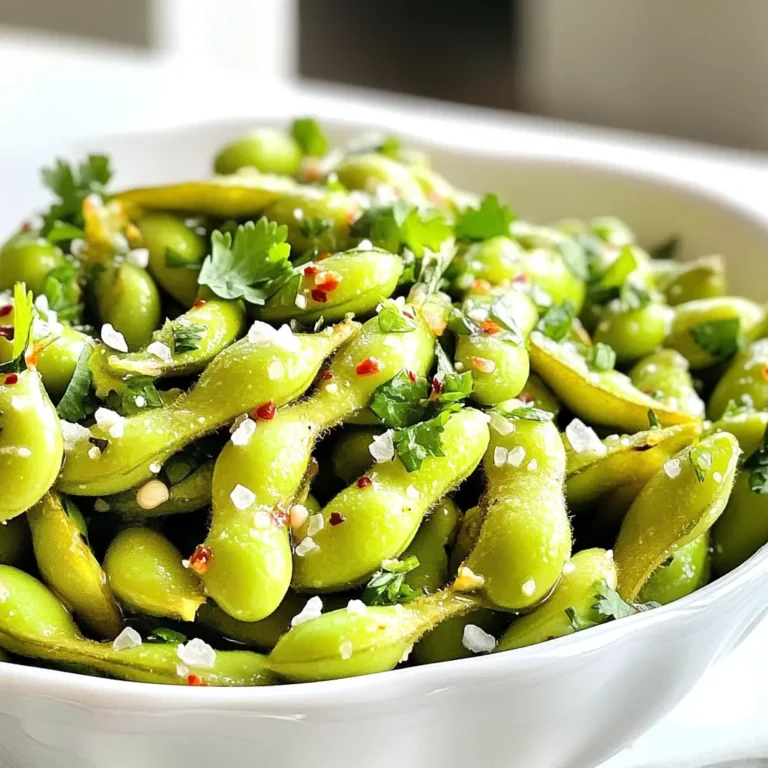
Air Fryer Garlic Edamame Quick and Flavorful Snack
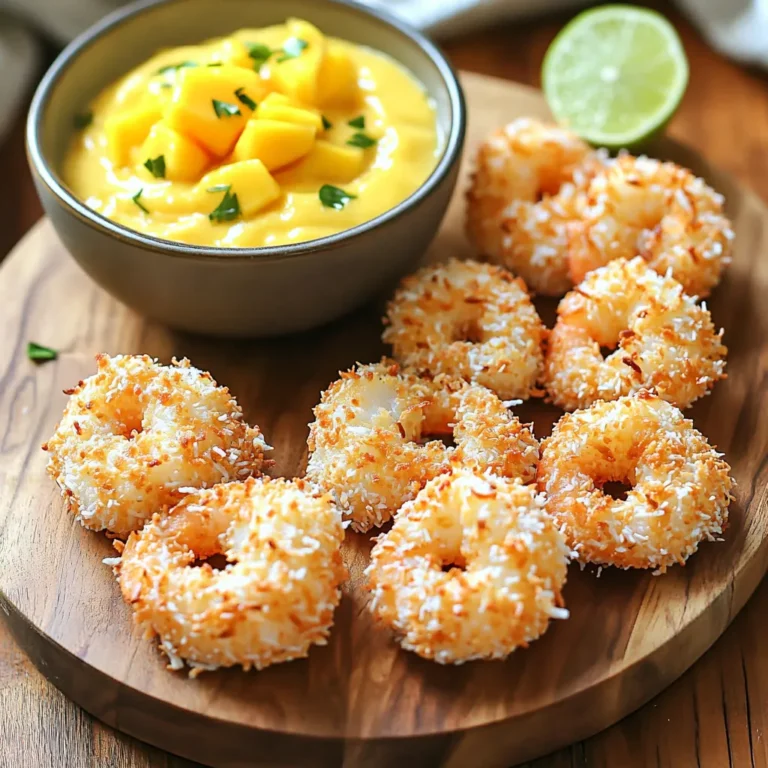
Air Fryer Crispy Coconut Shrimp with Mango Dip Delight
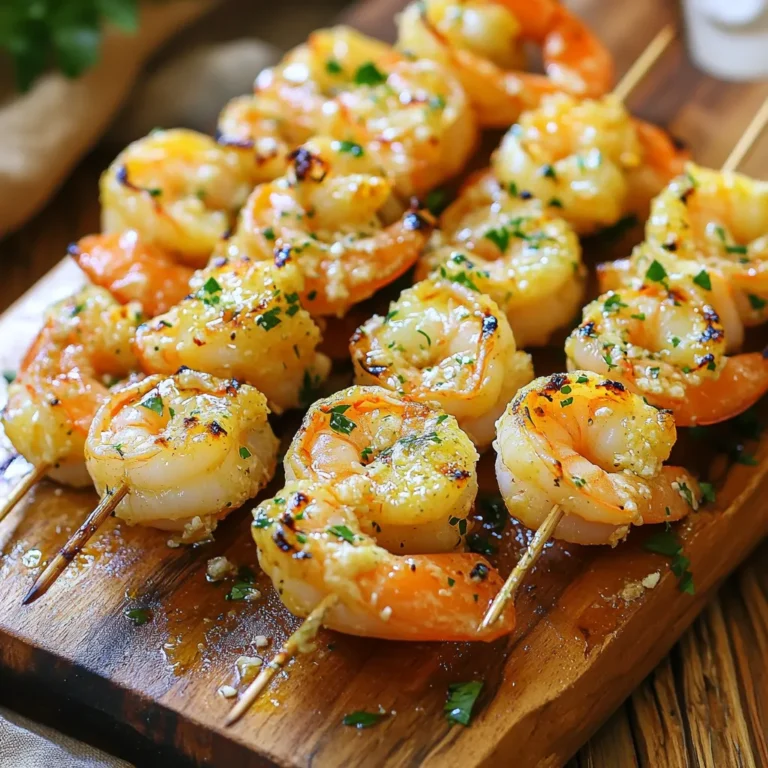
Air Fryer Garlic Parmesan Shrimp Skewers Delight
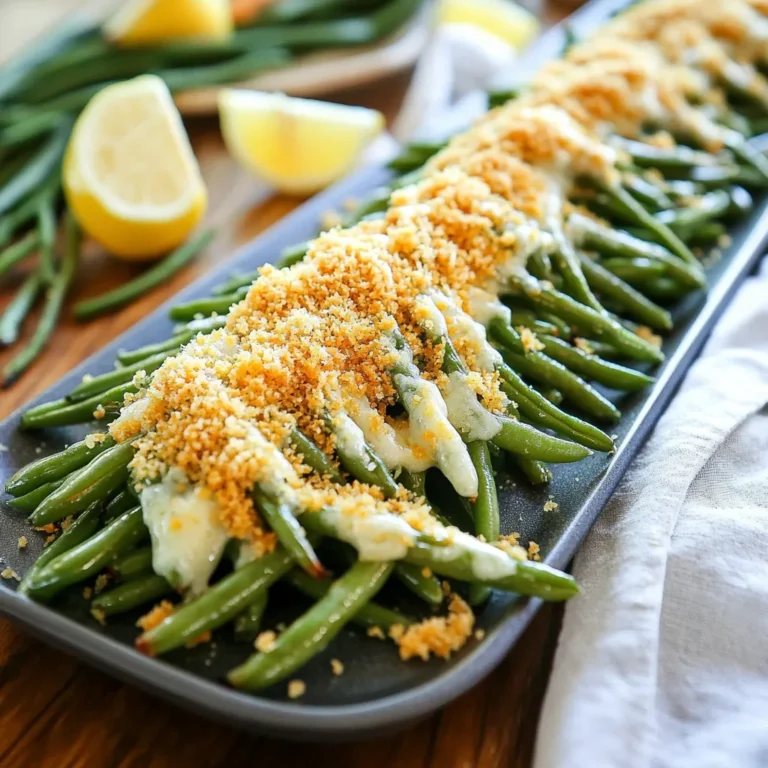
Air Fryer Crispy Parmesan Green Beans Delight
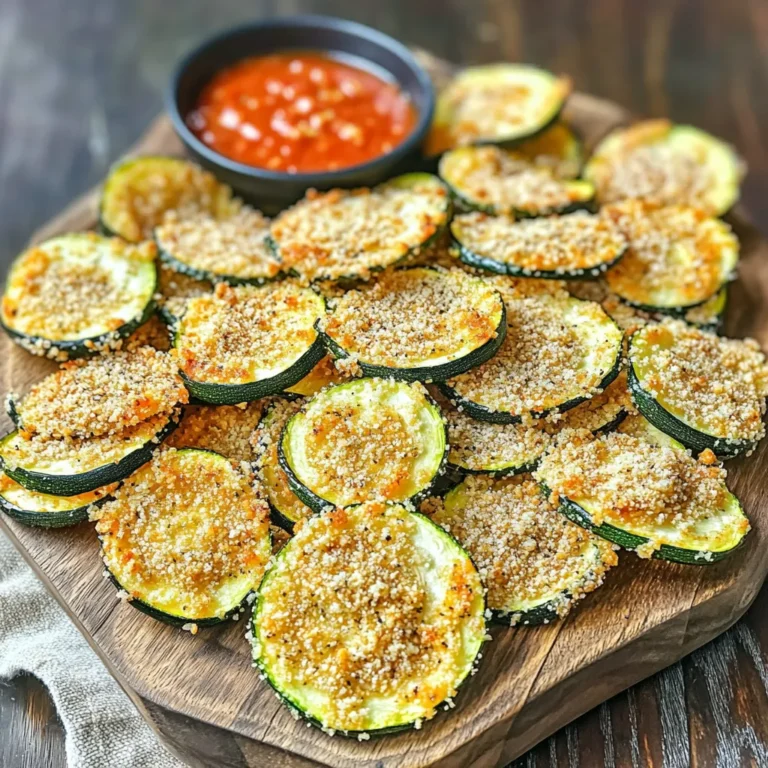
Air Fryer Parmesan Zucchini Chips Crunchy Delight
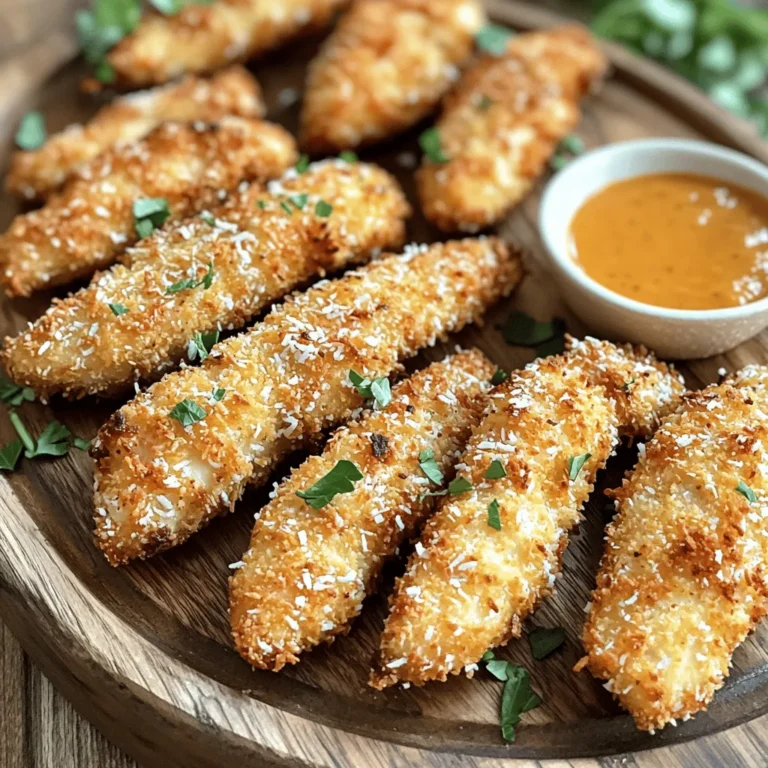
Air Fryer Coconut Chicken Strips Crispy Delight
Page navigation
1
2
3
…
19
Next Page
Next
Home
Dinner
Appetizer
Desserts
Drinks
About
Contact
Privacy Policy
Toggle Menu Close
Search for:
Search