
Greek Yogurt Blueberry Popsicles Easy Summer Treat
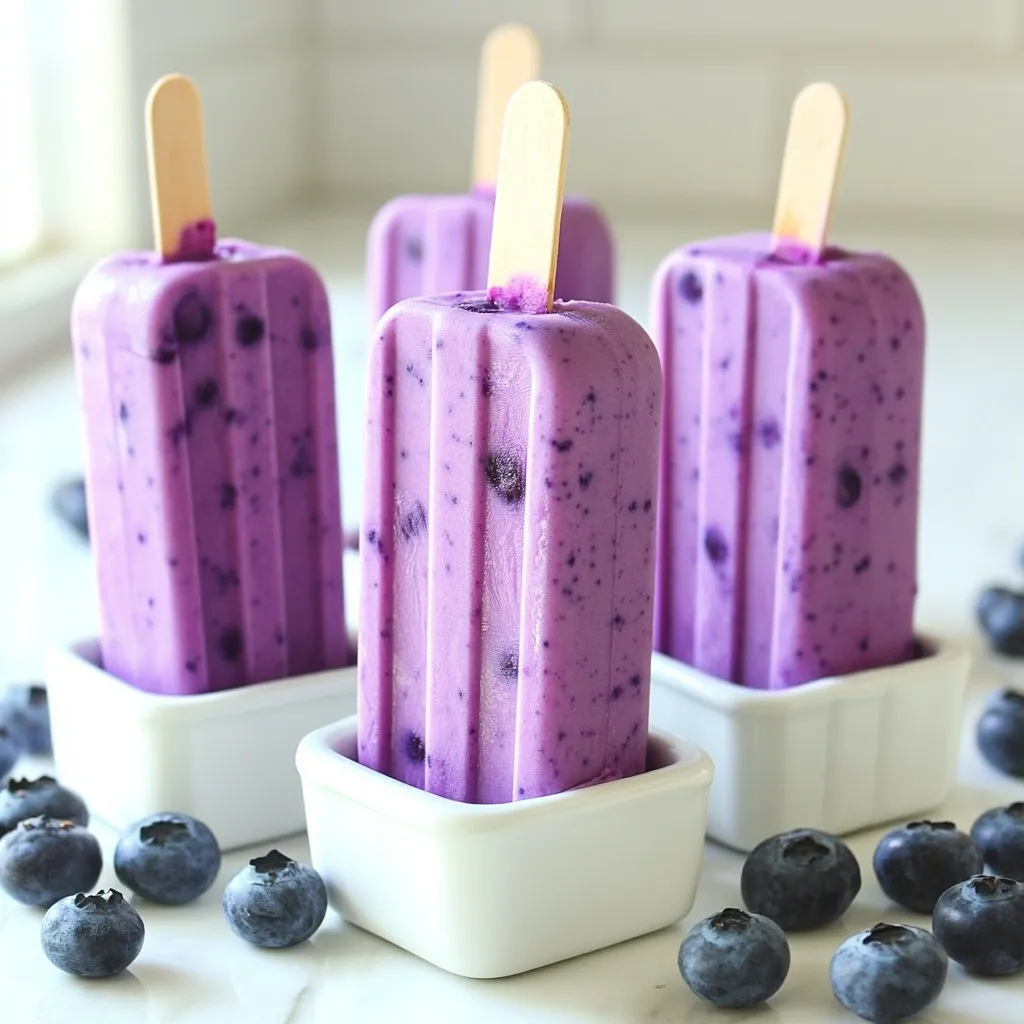

Summer is the perfect time for a refreshing treat that’s both tasty and healthy. Greek Yogurt Blueberry Popsicles are simple to make, packed with nutrition, and full of flavor! These popsicles combine creamy Greek yogurt with juicy blueberries, a hint of honey, and a splash of lemon. Perfect for beating the heat, these easy treats will delight kids and adults alike. Let’s dive into the deliciousness!
Why I Love This Recipe
- Refreshing Treat: These blueberry popsicles are a perfect way to cool down on a hot day while enjoying a delicious, nutritious snack.
- Easy to Make: With just a few simple ingredients and minimal prep time, you can whip up these delightful popsicles in no time.
- Healthy Indulgence: Made with Greek yogurt and fresh blueberries, these popsicles are a guilt-free treat packed with protein and antioxidants.
- Customizable Flavor: Feel free to adjust the sweetness or add in different fruits to suit your taste, making each batch uniquely yours!
Ingredients
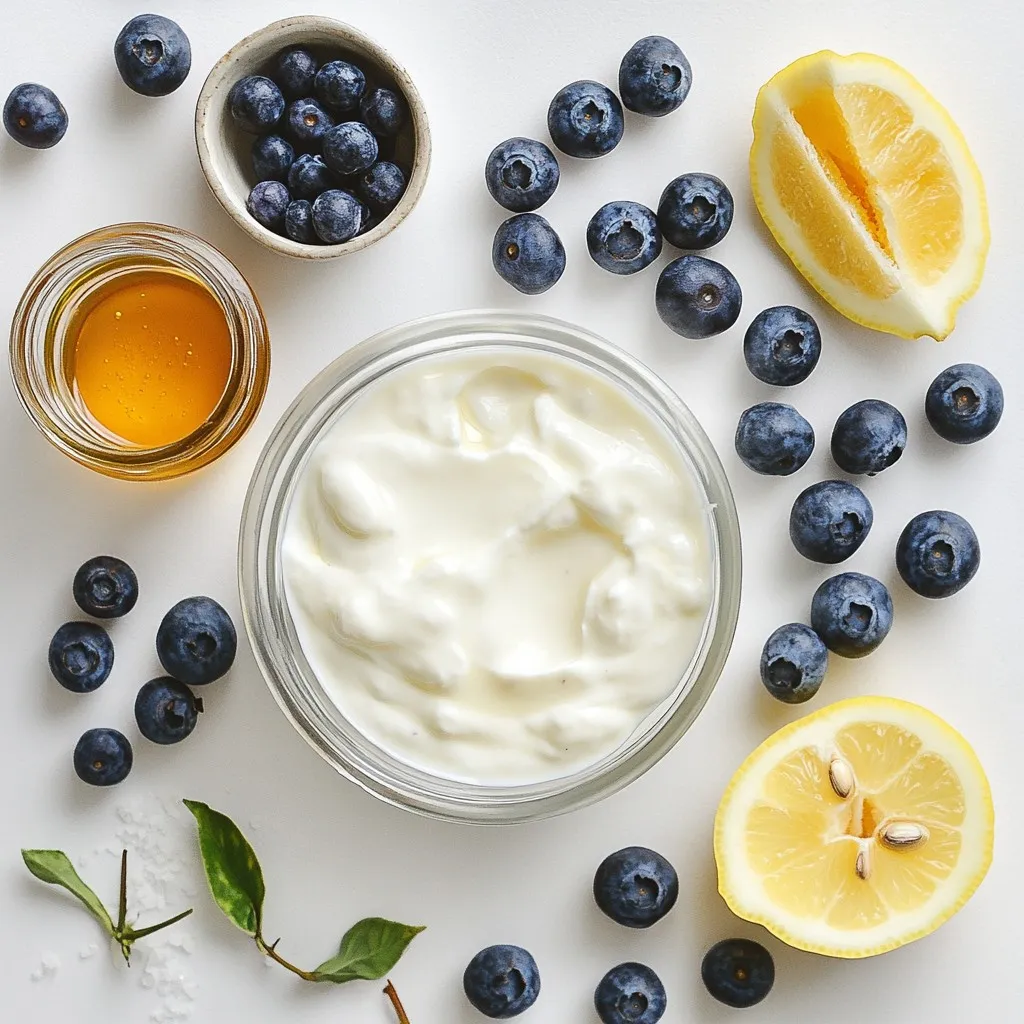
Main Ingredients
– 2 cups creamy Greek yogurt
– 1 cup fresh blueberries
– 1/4 cup honey or maple syrup
– 1 teaspoon pure vanilla extract
– 1 tablespoon lemon juice
– Pinch of sea salt
Optional Garnishes
– Additional blueberries for garnish
– Fresh mint sprigs
The key to these popsicles is using creamy Greek yogurt. It gives a smooth texture and adds protein. The fresh blueberries add natural sweetness and flavor. You can use honey or maple syrup to sweeten. This allows you to control how sweet you want your popsicles.
Adding lemon juice brightens the taste. It balances the sweetness and enhances the blueberry flavor. A pinch of sea salt brings out all the flavors, making them pop even more.
Optional garnishes like extra blueberries and mint sprigs add a nice touch. They make your popsicles look pretty and add a fresh taste. Overall, these simple ingredients create a delicious, healthy treat for hot summer days.
Step-by-Step Instructions
Preparing the Mixture
Start by adding 2 cups of creamy Greek yogurt and 1 cup of fresh blueberries to your blender. Next, pour in 1/4 cup of honey or maple syrup. This sweetens the mix. Add 1 teaspoon of pure vanilla extract and 1 tablespoon of freshly squeezed lemon juice. Finally, toss in a pinch of sea salt to balance the flavors. Blend everything on medium speed until it is smooth and creamy. If you want some texture, blend less so some blueberry chunks stay whole. Taste your mixture and add more honey if needed.
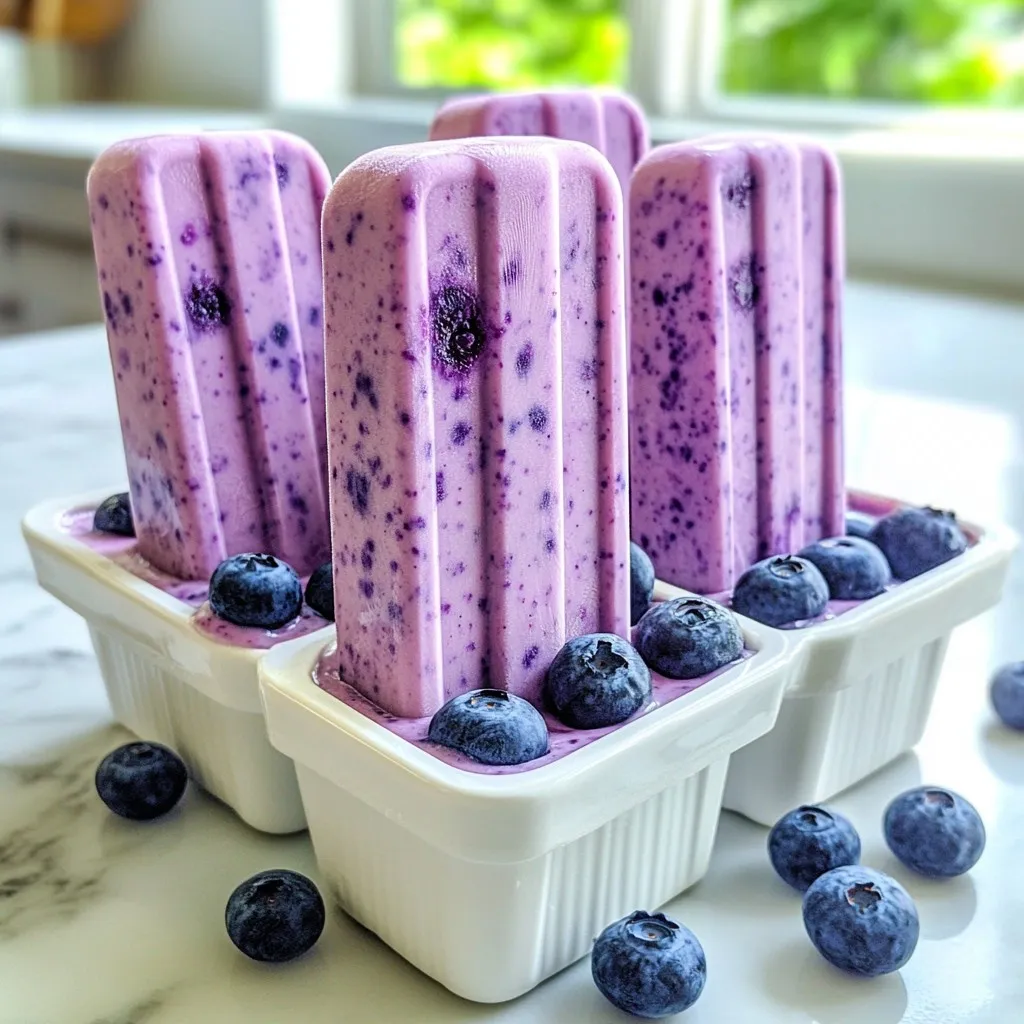
Filling the Molds
Now it’s time to pour your blueberry yogurt mixture into popsicle molds. Fill each mold about three-quarters full. This space allows the mixture to expand as it freezes. Insert popsicle sticks into the molds, making sure they are centered. This helps them freeze evenly.
Freezing Process
Place your filled molds in the freezer. I recommend freezing them for at least 4-6 hours. This time will ensure your popsicles are solid. To check if they are ready, gently press on the top. If it feels hard, they are good to go! When you’re ready to eat one, run warm water over the outside of the molds for a few seconds. This will help loosen the popsicles. Carefully pull them out by the sticks. Enjoy your refreshing treat!
Tips & Tricks
Achieving the Perfect Texture
To get creamy popsicles, blend Greek yogurt and blueberries until smooth. If you want some texture, blend less. This leaves small blueberry chunks that add a nice bite. Adjust the blending time to fit your taste.
Adjusting Sweetness
Taste your mixture before pouring it into molds. If it needs more sweetness, add more honey or maple syrup. You can also use agave nectar or stevia as alternatives. These options can keep your popsicles sweet without overpowering the blueberries.
Trouble-Shooting Common Issues
If your popsicles stick to the molds, try running warm water over them. This helps loosen them without breaking them. To avoid freezer burn, cover the molds with plastic wrap. This keeps air out and protects your popsicles for longer.
Pro Tips
- Use Frozen Blueberries: If fresh blueberries are unavailable, frozen blueberries can be used. They will yield a similar flavor and texture once blended.
- Experiment with Sweeteners: Feel free to substitute honey or maple syrup with agave syrup or stevia for a different sweetness profile or to cater to dietary preferences.
- Layering Flavors: For an exciting twist, consider layering different fruit purees or yogurt flavors in the popsicle molds before freezing.
- Storage Tips: Store leftover popsicles in an airtight container in the freezer to maintain their freshness and prevent freezer burn.
Variations
Flavor Add-Ins
You can make these popsicles even more fun by adding different flavors. Try mixing in other fruits like strawberries or raspberries. These fruits add color and sweetness. You can also add fresh herbs like mint or basil. They give a nice twist and a refreshing taste.
Dairy Alternatives
If you want a vegan option, use non-dairy yogurt. Almond, coconut, or soy yogurt all work well. They give you different flavors and textures. You can also try different types of yogurt. For example, use flavored yogurt like vanilla or coconut for a unique taste.
Healthy Swaps
To make your pops healthier, reduce the sweeteners. You can cut back on honey or maple syrup. If you want to add more nutrition, include protein or fiber-rich ingredients. Think about adding flaxseeds or chia seeds. These small changes can make your treat even better for you!
Storage Info
Storing Homemade Popsicles
To keep your Greek yogurt blueberry popsicles fresh, store them in airtight containers. This prevents freezer burn and helps maintain taste. You can also wrap each popsicle in plastic wrap for extra protection. These popsicles last up to two months in the freezer. After that, they may lose flavor and texture.
Defrosting Tips
When it’s time to enjoy your popsicles, avoid letting them sit out too long. The best way to defrost them is to run warm water over the molds for a few seconds. This will help loosen them without making them mushy. Serve your popsicles right after you remove them from the molds. For a fun touch, add extra blueberries or mint sprigs on top. Enjoy the refreshing taste as a perfect summer treat!
FAQs
Can I use frozen blueberries instead of fresh?
Yes, you can use frozen blueberries. They will blend easily into the yogurt. Just make sure to let them thaw a bit before blending. This helps create a smooth texture. If you like some chunks, blend less. Frozen blueberries work well, and they keep the popsicles cold and refreshing.
How can I make Greek yogurt blueberry popsicles without added sugar?
To make popsicles without added sugar, skip the honey or maple syrup. Use ripe bananas or dates for natural sweetness. Blend these sweet fruits with the yogurt and blueberries. Adjust the amount based on your taste. You can also add a splash of vanilla for extra flavor.
Are Greek yogurt popsicles healthy?
Yes, Greek yogurt popsicles are healthy! They are rich in protein and calcium. The blueberries add antioxidants and vitamins. With natural sweeteners, they are a better treat than store-bought options. They are low in fat and can fit into many diets. Enjoy these popsicles guilt-free!
What are the best molds for making popsicles?
Silicone molds are great for making popsicles. They are flexible and easy to use. You can find hard plastic molds too, which work well. Make sure your molds are BPA-free and dishwasher-safe. Choose molds that fit your freezer space and your preferred popsicle size.
How do I prevent my popsicles from being too icy?
To prevent icy popsicles, blend the ingredients well for a creamy texture. Add a bit of lemon juice for a smoother feel. Avoid too much water or ice in the mix. Fill the molds only three-quarters full to prevent over-expansion. Let them freeze long enough to become solid.
In this post, I shared how to make delicious Greek yogurt blueberry popsicles. We covered the key ingredients, simple steps, helpful tips, and various ways to customize your treats. You can use fresh fruits, sweeteners, and mix-ins to make it unique. Remember to store your popsicles properly and enjoy them with friends. Homemade popsicles are tasty and easy to make. Get started today and enjoy your refreshing trea

Blueberry Bliss Greek Yogurt Popsicles
Ingredients
- 2 cups creamy Greek yogurt
- 1 cup fresh, plump blueberries (plus extra for garnish)
- 1/4 cup honey or maple syrup (to taste)
- 1 teaspoon pure vanilla extract
- 1 tablespoon freshly squeezed lemon juice
- a pinch sea salt
Instructions
- Begin by adding the Greek yogurt and fresh blueberries to a blender.
- Pour in the honey (or maple syrup), vanilla extract, lemon juice, and a pinch of sea salt.
- Blend on medium speed until the mixture is smooth and creamy. If you prefer some texture, you can blend less, leaving a few blueberry chunks intact.
- Taste the blended mixture and adjust the sweetness if desired by incorporating additional honey or syrup.
- Carefully pour the blueberry yogurt mixture into popsicle molds, filling them about three-quarters full to allow for expansion as they freeze.
- Insert popsicle sticks into the molds, ensuring they are centered for even freezing. Place the molds in the freezer and freeze for at least 4-6 hours, or until the popsicles are completely solid.
- When you're ready to enjoy, gently run warm water over the outside of the molds for a few seconds to loosen the popsicles. Carefully pull them out with the sticks.
- For an extra touch, garnish each popsicle with additional fresh blueberries before serving. Enjoy immediately for the best taste!


. To keep your scones fresh, let them cool completely. Place them in an airtight container. You can store them at room temperature for up to three days. If you live in a humid area, refrigerate them to prevent spoilage. Use parchment paper between layers to keep them from sticking. Reheat your scones for the best taste. Preheat your oven to 350°F (175°C). Place the scones on a baking sheet. Heat them for about 5 to 10 minutes, or until warm. You can also use a microwave. Heat them for 15 to 20 seconds. This warms them quickly but may make them soft. To freeze scones, wrap each one in plastic wrap. Place them in a freezer bag or airtight container. Label with the date for easy tracking. They can last up to three months in the freezer. When ready to eat, thaw them in the fridge overnight. Reheat as mentioned above for a fresh taste. Check the Full Recipe for more tips on making these treats! To make cinnamon roll scones, follow this simple process. First, mix the dry ingredients in a bowl. This includes flour, sugar, baking powder, salt, and cinnamon. Next, cut in cold butter until the mix looks crumbly. Then, whisk buttermilk, melted butter, and vanilla in another bowl. Combine the wet and dry mixes gently. Pat the dough into a rectangle, brush melted butter, and sprinkle brown sugar for the swirl. Roll it up, slice it, and bake. For the full recipe, check the details above. Yes, you can use milk instead of buttermilk. If you do, add a splash of lemon juice or vinegar. This helps the milk mimic buttermilk's tangy flavor. It also makes the scones soft and fluffy. However, buttermilk adds a richer taste. Serve cinnamon roll scones warm for the best taste. Drizzle the icing over the top just before serving. You can also sprinkle a little cinnamon on top for added flavor. Pair them with coffee or tea for a relaxing treat. They look great on a nice platter. Cinnamon roll scones last for about two days at room temperature. To keep them fresh longer, store them in an airtight container. You can also refrigerate them for up to a week. Just warm them in the oven before serving to regain that fresh-baked taste. Yes, you can make cinnamon roll scones ahead of time. Prepare the dough, and cut the scones. Then, place them on a baking sheet and freeze until firm. After that, transfer them to a bag or container. When you’re ready, bake them straight from the freezer, adding a few extra minutes to the baking time. This way, you enjoy fresh scones anytime! Making scones is simple and fun. You learned about ingredients, tools, and baking steps. I shared tips to help you avoid mistakes and find the best flavors. You also discovered flavor variations and storage methods. Scones can be your tasty treat for any occasion. With a few easy steps, you can impress your friends. Enjoy baking, and don’t forget to share your tasty results!](https://goldendishy.com/wp-content/uploads/2025/07/878de396-77ac-4fc1-b8cf-b56551936fe1-768x768.webp)