Pumpkin Cream Cheese Muffins Delightfully Simple Recipe
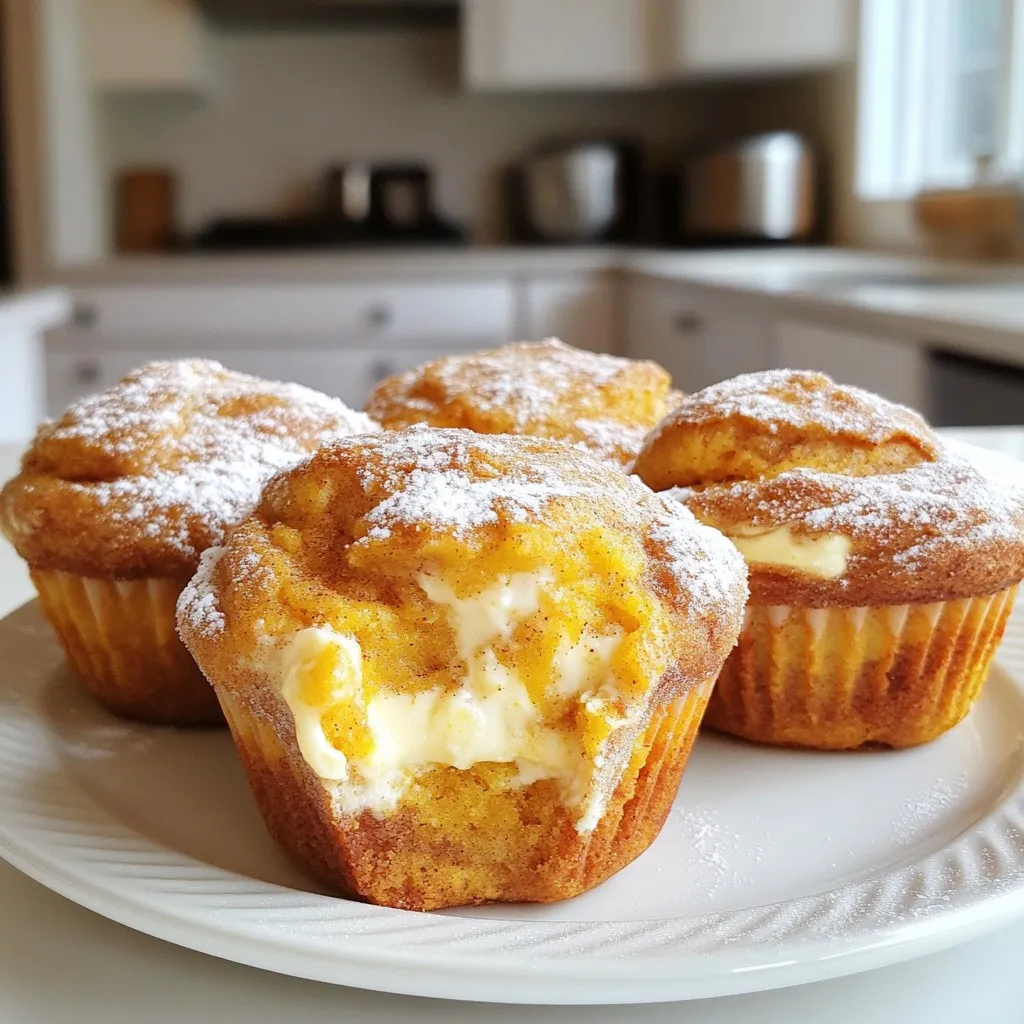
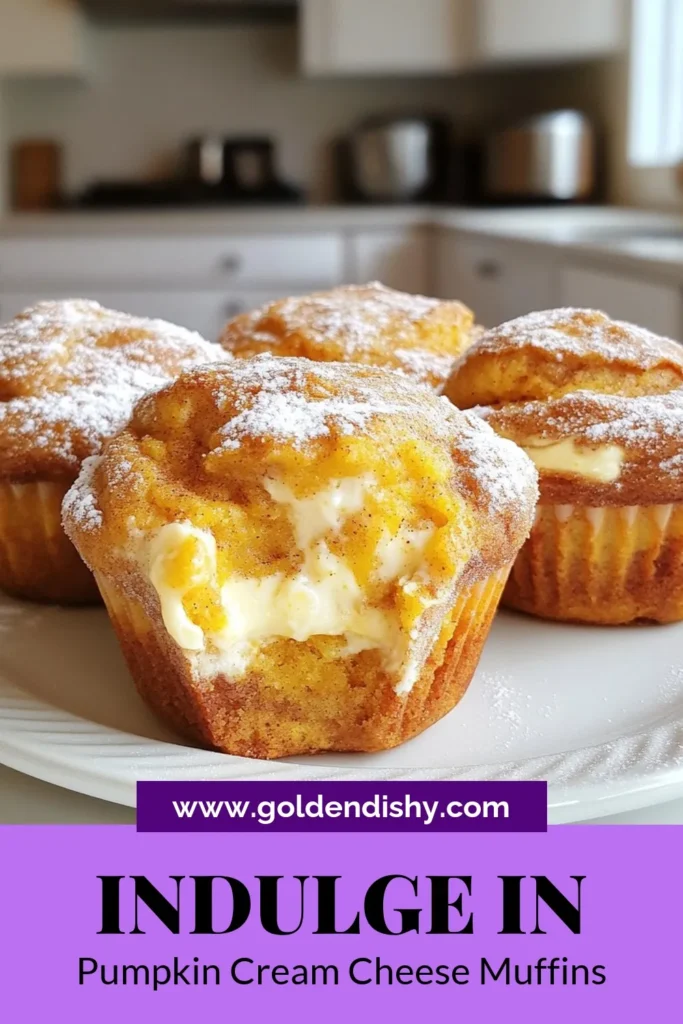
If you love the taste of fall, you’ll adore my Pumpkin Cream Cheese Muffins! This delightfully simple recipe blends warm spices with a creamy surprise in each bite. I’ll share my tips for choosing the best ingredients and guide you step-by-step through mixing, baking, and storing these treats. Let’s get ready to bake these muffins that are perfect for breakfast or a cozy snack!
Why I Love This Recipe
- Delicious Flavor Combination: The blend of pumpkin and cream cheese creates a rich and satisfying taste that perfectly captures the essence of fall.
- Easy to Make: This recipe is straightforward and requires minimal effort, making it perfect for both novice and experienced bakers.
- Perfect for Any Occasion: These muffins are versatile enough to serve at breakfast, brunch, or as a delightful snack throughout the day.
- Great for Meal Prep: These muffins store well, making them an excellent option for meal prepping or enjoying throughout the week.
Ingredients
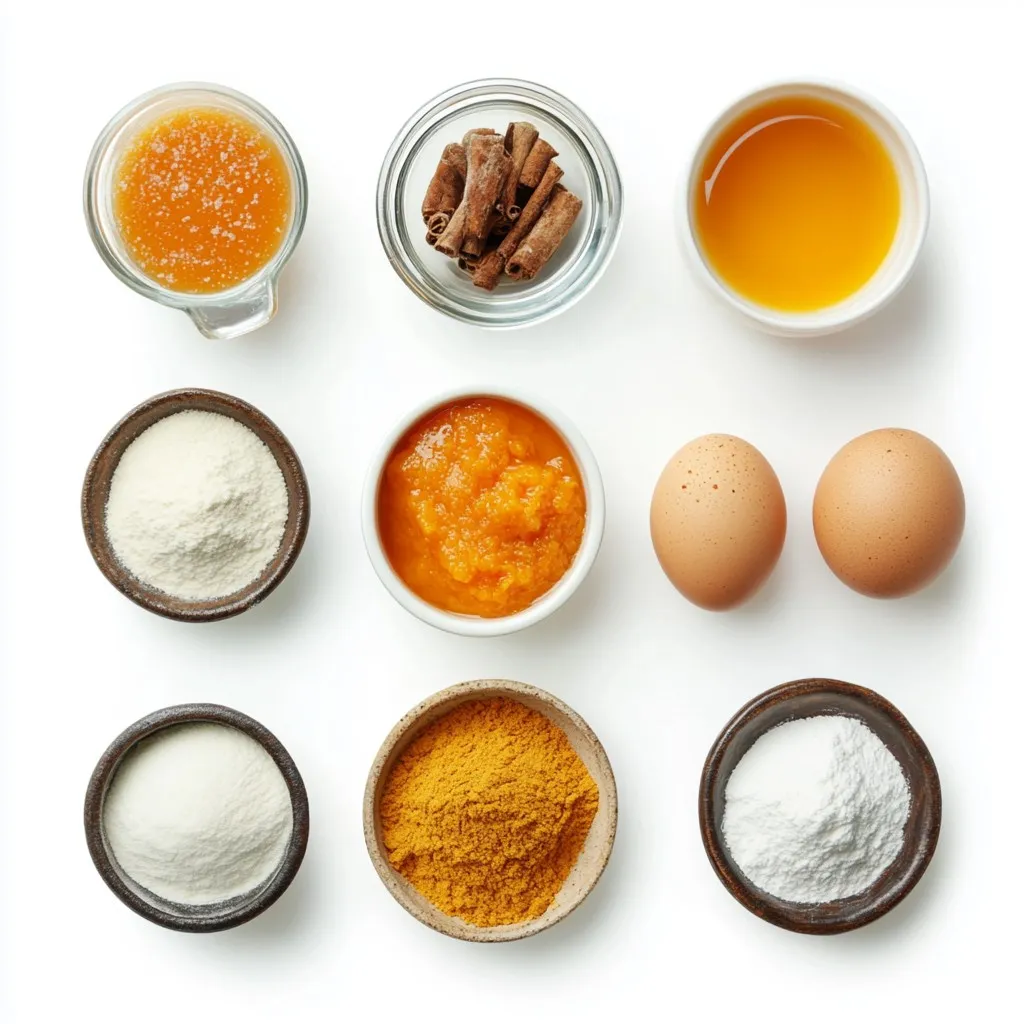
List of Ingredients for Pumpkin Cream Cheese Muffins
To make these tasty muffins, you will need:
– 1 cup all-purpose flour
– 1 teaspoon baking powder
– 1/2 teaspoon baking soda
– 1 teaspoon ground cinnamon
– 1/2 teaspoon ground nutmeg
– 1/2 teaspoon ground ginger
– 1/4 teaspoon salt
– 1/2 cup granulated sugar
– 1/4 cup packed brown sugar
– 1/2 cup vegetable oil
– 2 large eggs
– 1 cup pumpkin puree (canned or fresh)
– 1 teaspoon vanilla extract
– 4 oz cream cheese, softened
– 1/4 cup powdered sugar
– 1 tablespoon milk
Measurement Conversions
Knowing how to convert measurements helps when you want to adjust the recipe. Here are some quick conversions:
– 1 cup = 240 ml
– 1 teaspoon = 5 ml
– 1 tablespoon = 15 ml
If you need to make less or more, just adjust these amounts. For example, if you want to make six muffins, cut the ingredients in half.
Tips for Choosing High-Quality Ingredients
Choosing the right ingredients is key for great muffins. Here are some tips:
– Flour: Use fresh all-purpose flour. Check the date on the package.
– Pumpkin Puree: If using canned, look for 100% pumpkin. Avoid added sugars.
– Spices: Fresh spices give strong flavor. Check your spice cabinet for age.
– Cream Cheese: Choose full-fat cream cheese for a rich taste and smooth texture.
– Eggs: Use large, fresh eggs for the best results. They help with moisture and rise.
Following these tips ensures your muffins are delicious and have the best texture. Enjoy your baking!
Step-by-Step Instructions
Preheating and Preparing the Muffin Tin
Start by preheating your oven to 350°F (175°C). This step warms up the oven, ensuring even baking. Next, line a standard muffin tin with cupcake liners. This makes for easy removal and adds a fun touch to your muffins.
Mixing Dry and Wet Ingredients
In a medium bowl, whisk together the dry ingredients. Use 1 cup of all-purpose flour, 1 teaspoon of baking powder, 1/2 teaspoon of baking soda, 1 teaspoon of ground cinnamon, 1/2 teaspoon of ground nutmeg, 1/2 teaspoon of ground ginger, and 1/4 teaspoon of salt. Set this mixture aside.
In a larger bowl, combine 1/2 cup of granulated sugar, 1/4 cup of packed brown sugar, 1/2 cup of vegetable oil, and 2 large eggs. Use a whisk to mix until the ingredients blend smoothly. Then, add 1 cup of pumpkin puree and 1 teaspoon of vanilla extract. Stir gently until the mixture is smooth.
Cream Cheese Filling Preparation
For the cream cheese filling, take 4 oz of softened cream cheese and place it in a small bowl. Add 1/4 cup of powdered sugar and 1 tablespoon of milk. Mix until you get a creamy and smooth consistency. This filling adds a rich layer to your muffins.
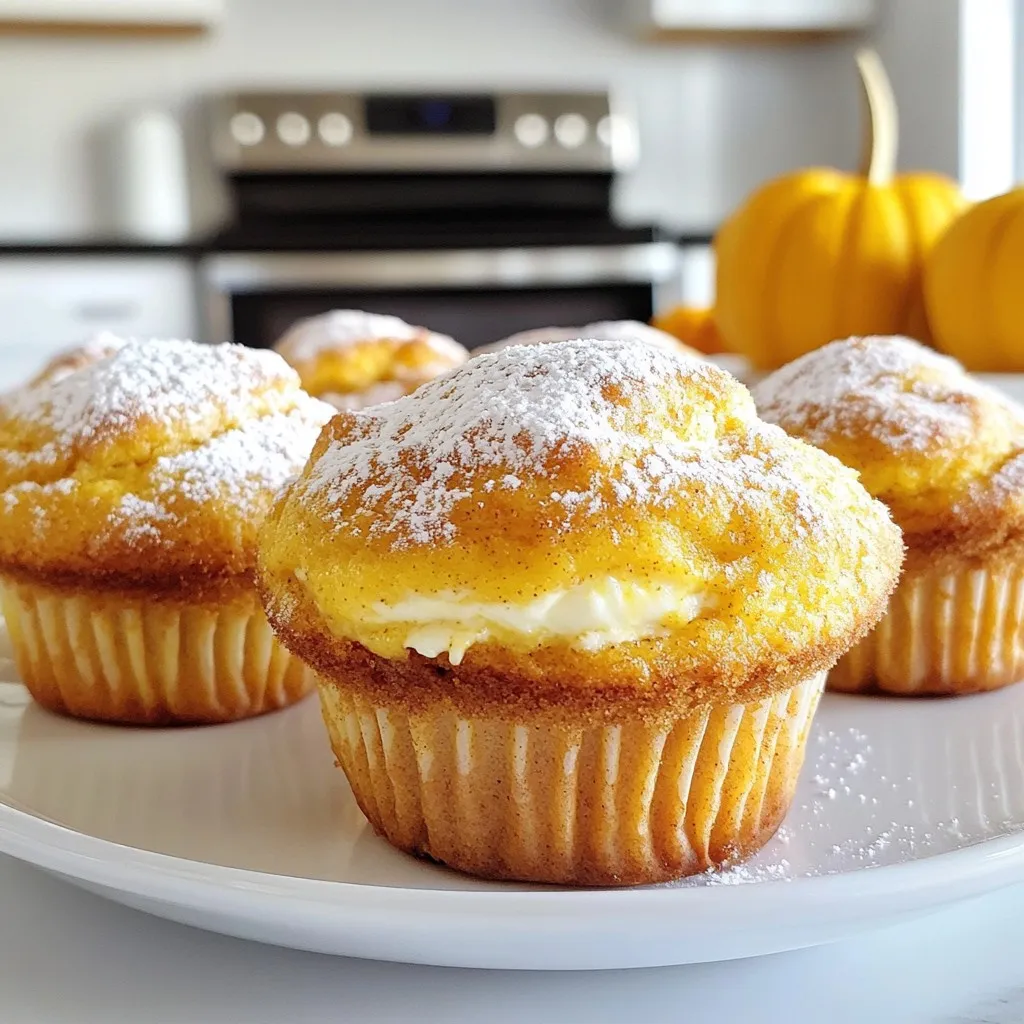
Assembling the Muffins
Fill each muffin liner halfway with the pumpkin batter. Use about 1 tablespoon for each liner. Then, add a teaspoon of the cream cheese mixture in the center of each muffin. Finally, top with more pumpkin batter until the liners are about two-thirds full. This layering creates a delightful surprise in every bite.
Baking Instructions and Doneness Test
Place the muffin tin in your preheated oven. Bake for 18-20 minutes. To check if they are done, insert a toothpick into the center of a muffin. If it comes out clean, they are ready! After baking, let the muffins cool in the pan for 5 minutes. Then, transfer them to a wire rack to cool completely. Enjoy the warm, cozy aroma filling your kitchen!
Tips & Tricks
How to Ensure Perfect Muffin Texture
To get the best texture, do not overmix the batter. Mix just until the dry and wet ingredients blend together. A few lumps are okay. This keeps your muffins light and fluffy. Also, make sure your ingredients are at room temperature. This helps them combine better and rise nicely.
Substitutions for Dietary Preferences
If you need to change the recipe, you have options. For gluten-free muffins, use a gluten-free flour blend. You can swap the eggs for flaxseed meal mixed with water for a vegan version. Just mix 1 tablespoon of flaxseed with 3 tablespoons of water for each egg. For a lower sugar option, try using applesauce instead of granulated sugar.
Enhancing Flavor with Add-ins
You can add fun flavors to your muffins. Try adding chocolate chips or chopped nuts for extra crunch. Dried cranberries or raisins add sweetness. You can also mix in some orange zest for a fresh twist. Just be sure to keep the total add-ins to about 1 cup. This keeps the texture balanced and delicious.
Pro Tips
- Room Temperature Ingredients: Ensure your cream cheese is at room temperature for easy blending, resulting in a smoother filling.
- Avoid Overmixing: Mix the wet and dry ingredients just until combined to keep your muffins fluffy and tender.
- Use Canned Pumpkin: Canned pumpkin puree is convenient and gives consistent results. Just be sure it’s 100% pumpkin, not pumpkin pie filling.
- Cool Before Serving: Let the muffins cool completely on a wire rack to enhance their flavor and texture before serving.
Variations
Pumpkin Cream Cheese Muffins with Chocolate Chips
You can easily add chocolate chips to your pumpkin cream cheese muffins. Just mix in 1/2 cup of semi-sweet chocolate chips into the batter before baking. The warm chocolate adds rich flavor. It balances the sweetness of the pumpkin and cream cheese. Each bite becomes a delightful treat!
Gluten-Free Pumpkin Cream Cheese Muffins
If you need a gluten-free option, swap all-purpose flour for a gluten-free blend. Make sure it has a good structure for muffins. Use the same amount, 1 cup. The taste will still be yummy. You can enjoy these muffins without gluten and still get the same great flavors.
Vegan Pumpkin Cream Cheese Muffins
To make these muffins vegan, change a few ingredients. Replace eggs with flax eggs or applesauce. Use non-dairy milk instead of regular milk. For cream cheese, find a vegan brand. These changes keep the muffins moist and fluffy. You get a tasty vegan version without losing flavor!
Storage Info
How to Store Pumpkin Cream Cheese Muffins
To keep your muffins fresh, store them in an airtight container. You can place them at room temperature for up to three days. If you want to keep them longer, the fridge is a good option. Just make sure they are covered well to avoid drying out.
Freezing and Reheating Tips
Freezing is a great way to save extra muffins. Wrap each muffin in plastic wrap and place them in a freezer bag. They can last for up to three months. When you want to eat one, take it out and let it thaw at room temperature. You can also warm it in the microwave for about 15-20 seconds.
Best Serving Suggestions
These muffins shine when served warm. I like to pair them with a cup of coffee or tea. For a special touch, add a dollop of whipped cream or some maple syrup on top. Enjoying them with friends or family makes them even better!
FAQs
Can I make pumpkin cream cheese muffins ahead of time?
Yes, you can. I often bake these muffins a day in advance. Store them in an airtight container. They stay fresh and tasty. If you want to keep them longer, freeze them. Just thaw them before serving.
How can I tell when the muffins are done baking?
Check your muffins around 18 minutes. Insert a toothpick into the center. If it comes out clean, they are done. If not, bake for an extra minute or two. Avoid overbaking; you want them moist.
Can I use fresh pumpkin instead of canned?
Absolutely! Fresh pumpkin adds great flavor. Just cook and puree the pumpkin first. It should have a smooth texture. This makes your muffins even more special and fresh.
What can I serve with pumpkin cream cheese muffins?
These muffins pair well with many things. Try serving them with cream cheese spread. You can also add a warm drink, like coffee or tea. A sprinkle of cinnamon on top adds a nice touch.
You learned how to make tasty pumpkin cream cheese muffins. Knowing the right ingredients and their measurements is key. I shared simple steps for mixing, baking, and storing your muffins.
Don’t forget the tips for great texture and fun variations! These muffins taste great fresh or frozen. Now it’s time for you to bake and enjoy these yummy treat
Pumpkin Cream Cheese Muffins
Ingredients
- 1 cup all-purpose flour
- 1 teaspoon baking powder
- 0.5 teaspoon baking soda
- 1 teaspoon ground cinnamon
- 0.5 teaspoon ground nutmeg
- 0.5 teaspoon ground ginger
- 0.25 teaspoon salt
- 0.5 cup granulated sugar
- 0.25 cup packed brown sugar
- 0.5 cup vegetable oil
- 2 large eggs
- 1 cup pumpkin puree
- 1 teaspoon vanilla extract
- 4 oz cream cheese, softened
- 0.25 cup powdered sugar
- 1 tablespoon milk
Instructions
- Begin by preheating your oven to 350°F (175°C). Line a standard muffin tin with cupcake liners to prepare for your batter.
- In a medium-sized mixing bowl, whisk together the all-purpose flour, baking powder, baking soda, ground cinnamon, nutmeg, ground ginger, and salt until evenly blended. Set this dry mixture aside for later use.
- In a large mixing bowl, combine the granulated sugar, packed brown sugar, vegetable oil, and the eggs. Use a whisk to blend the ingredients together until they create a smooth and cohesive mixture.
- Incorporate the pumpkin puree and vanilla extract into the mixture, stirring gently until fully combined and the mixture is smooth in texture.
- Slowly add the dry ingredients from the first bowl into the wet mixture, stirring just until combined. Be careful not to overmix; a few lumps are perfectly fine.
- In a separate small bowl, blend the softened cream cheese, powdered sugar, and milk until you achieve a smooth and creamy consistency.
- For assembly, fill each muffin liner about halfway with the pumpkin batter. Then, carefully add about a teaspoon of the cream cheese mixture right in the center of each muffin. Finally, top off with more pumpkin batter until the liners are filled about two-thirds of the way.
- Place the muffin tin in your preheated oven and bake for 18-20 minutes, or until a toothpick inserted into the center of a muffin comes out clean.
- Once baked, remove the muffins from the oven and let them cool in the pan for 5 minutes before transferring them to a wire rack to cool completely.
![To make healthy peanut butter oat bars, you need a few key items: - 2 cups rolled oats - 1/2 cup natural peanut butter - 1/4 cup honey or maple syrup - 1/4 cup unsweetened applesauce - 1/2 cup mixed nuts (almonds, walnuts, cashews), roughly chopped - 1/4 cup dark chocolate chips (optional) - 1/2 teaspoon ground cinnamon - 1/4 teaspoon sea salt These ingredients work together to create a tasty and nutritious snack. The oats provide fiber, while the peanut butter adds protein and healthy fats. Honey or maple syrup gives sweetness, and applesauce keeps the bars moist. You can easily change your bars by adding extra flavors or textures. Here are some fun options: - Dried fruits (like cranberries or raisins) - Seeds (like chia or flaxseed) - Protein powder for an extra boost - Coconut flakes for added flavor Feel free to mix and match these add-ins to suit your taste. These oat bars pack a nutritious punch. Here’s a quick look at what you’ll get: - Calories: About 150 per bar - Protein: Around 5g, thanks to the peanut butter and nuts - Fiber: Approximately 3g from the oats and nuts - Healthy Fats: Includes unsaturated fats from the peanut butter and nuts These bars not only taste great but also fuel your body. With their balanced nutrition, they make a perfect snack or breakfast option. For the complete recipe, check the Full Recipe link. Start by preheating your oven to 350°F (175°C). This step ensures even baking. Next, grab an 8x8-inch baking pan. Line it with parchment paper, letting some paper hang over the edges. This makes it easy to lift the bars out later. In a large mixing bowl, combine 2 cups of rolled oats, 1/2 teaspoon of ground cinnamon, and 1/4 teaspoon of sea salt. Stir well until the dry ingredients are mixed evenly. This mix creates a solid base for your bars. In a separate bowl, blend together 1/2 cup of natural peanut butter, 1/4 cup of honey or maple syrup, and 1/4 cup of unsweetened applesauce. Mix vigorously until the mixture is smooth. Pour this wet mixture into the bowl with the dry ingredients. Stir thoroughly, ensuring all the oats are coated. Now, it’s time for the fun part! Fold in 1/2 cup of roughly chopped mixed nuts and 1/4 cup of dark chocolate chips, if you want a sweet touch. Make sure to distribute these extras evenly throughout the batter. Spoon the mixture into your prepared baking pan. Use a spatula or your hands to press the mixture down firmly. This ensures the bars hold their shape while baking. Bake in the preheated oven for 20-25 minutes. Look for a lovely golden brown color on the edges. Once done, remove the pan from the oven. Let it cool for about 10 minutes. Use the parchment paper to lift the bars from the pan and place them on a wire rack. Allow them to cool completely before cutting into your desired size. You can store any leftovers in an airtight container to keep them fresh. Enjoy these tasty treats as a snack or a quick breakfast! For the complete recipe, see the Full Recipe section. To get the best texture for your peanut butter oat bars, use rolled oats. They stay chewy and hold together well. If you want a softer bar, add a bit more applesauce. For crunch, add more nuts. Press the mixture firmly into the pan. This helps the bars hold their shape when baked. Store your bars in an airtight container. This keeps them fresh and moist. You can also layer parchment paper between bars to prevent sticking. If you want to keep them longer, freeze them. They freeze well for up to three months. Just wrap them tightly in plastic wrap before placing them in a freezer bag. These bars make a great snack or breakfast. Cut them into small squares for easy grabbing. Pair them with yogurt or fruit for a balanced meal. You can also drizzle some honey on top for added sweetness. Feel free to explore the [Full Recipe] for more ideas on how to enjoy these delicious treats! {{image_4}} You can change up the nuts in your oat bars. Use almonds, walnuts, or cashews. If you like seeds, try adding pumpkin seeds or sunflower seeds. These options add crunch and healthy fats. Mix and match to find your favorite combination. If you want a different sweet taste, try maple syrup instead of honey. You can also use agave nectar for a milder flavor. For a low-calorie option, consider stevia or monk fruit sweetener. Each sweetener changes the taste just a little. Adding fruits and spices can make your bars pop with flavor. Try mashed bananas or dried fruits like cranberries or apricots. For spices, add a pinch of nutmeg or ginger for warmth. You can even fold in some cocoa powder for a chocolatey twist. These small changes can make your bars exciting and unique. To keep your healthy peanut butter oat bars fresh, store them in an airtight container. This helps to lock in moisture and flavor. You can keep them at room temperature for up to a week. If you want them to last longer, consider refrigerating them. The cool air helps maintain their taste and texture. Freezing is a great way to extend the life of your oat bars. Wrap each bar tightly in plastic wrap. Then place them in a freezer-safe bag or container. You can freeze the bars for up to three months. When you're ready to enjoy them, just take out a bar and let it thaw on the counter. If you prefer warm bars, you can reheat them. Simply place a bar in the microwave for about 15-20 seconds. This warms them up nicely and brings back their fresh-baked taste. If you stored them in the fridge, let them sit at room temperature for a few minutes before warming to avoid cold centers. For more details, check out the Full Recipe. Yes, you can swap peanut butter for almond, cashew, or sunbutter. Each nut butter brings its own flavor. Almond butter gives a creamy texture, while cashew butter is milder. Sunbutter is a great option for nut allergies. Just make sure to choose a natural nut butter without added sugars or oils. These oat bars last about one week at room temperature. Keep them in an airtight container. For longer storage, they can stay fresh in the fridge for about two weeks. If you want to enjoy them later, freeze the bars. They can last up to three months in the freezer. Just thaw them when you are ready to eat. Yes, this recipe is gluten-free if you use certified gluten-free oats. Most rolled oats are naturally gluten-free. However, some brands may process oats with gluten-containing grains. Always check the label before buying. This way, you can enjoy your oat bars without worry. Yes, you can skip added sugars. Use ripe bananas instead of honey or maple syrup. Applesauce also adds natural sweetness. You can add a bit more applesauce if you want a sweeter taste. This keeps the oat bars healthy and tasty without extra sugar. You now have a complete guide to making healthy peanut butter oat bars. We covered essential ingredients and fun add-ins to suit your taste. Step-by-step instructions ensure your bars come out perfectly every time. I shared tips for the best texture and storage methods to keep them fresh. You can also explore different variations for added flavor. These oat bars are easy to make, fun to customize, and nutritious. Enjoy your delicious, homemade snacks!](https://goldendishy.com/wp-content/uploads/2025/07/83a658d4-f414-4ba0-9f79-92aafa211a05-768x768.webp)