
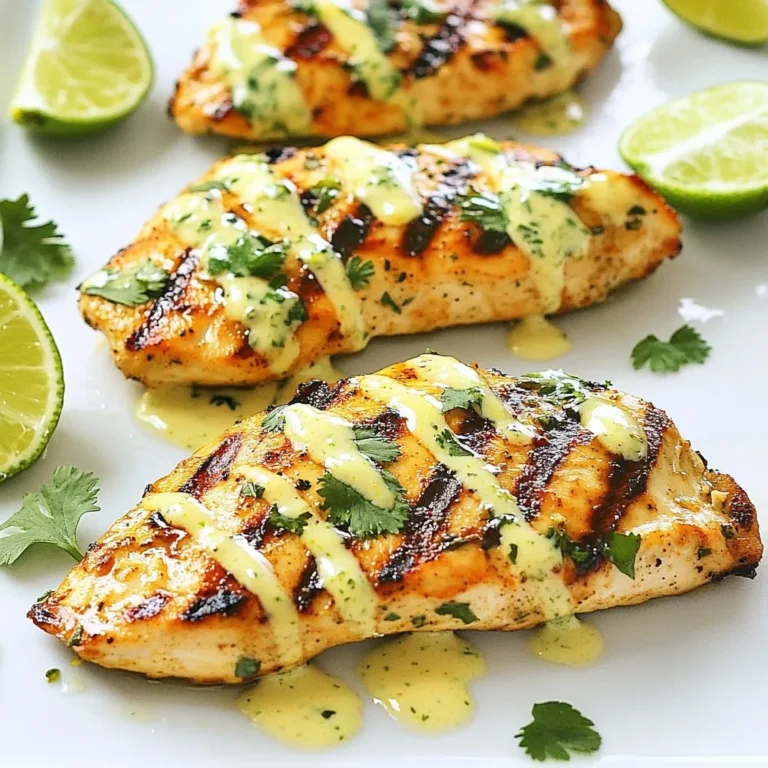
Zesty Lime Chicken Avocado Salad Fresh and Tasty Dish

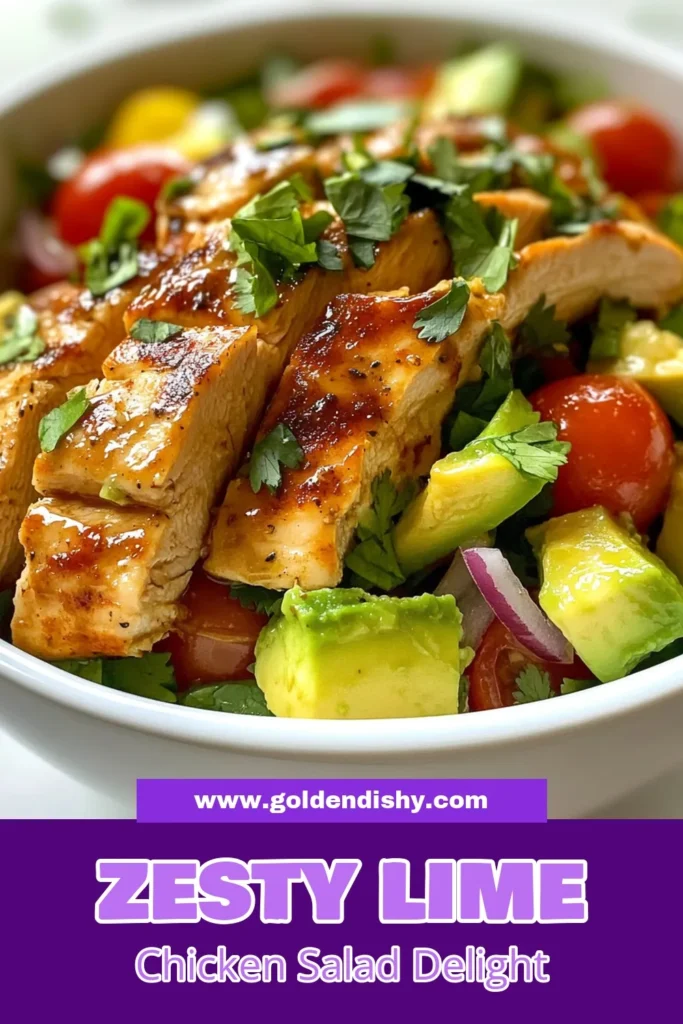
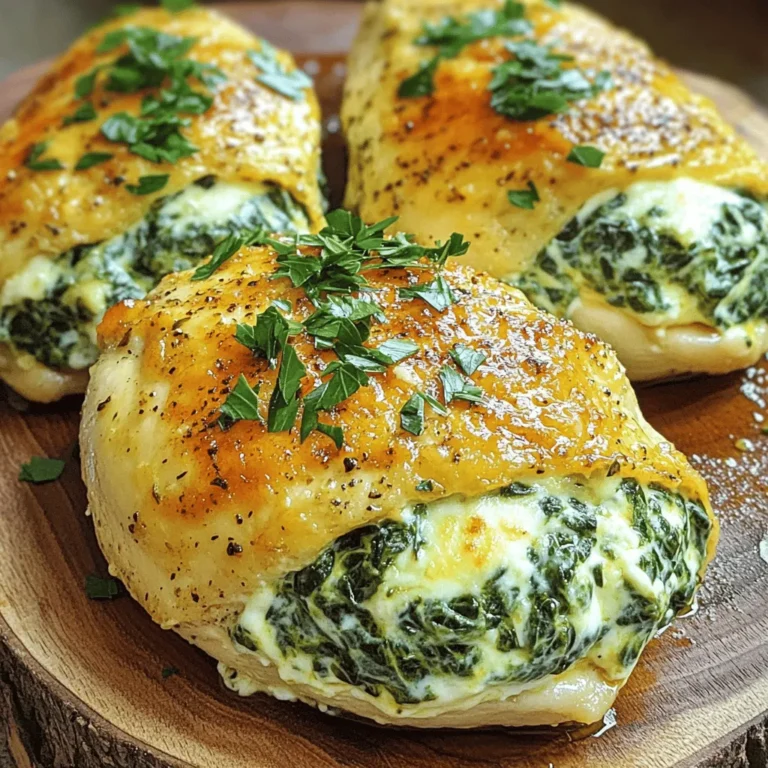
Are you ready to brighten up your dinner table? This Zesty Lime Chicken Avocado Salad bursts with fresh flavors and vibrant colors. Made with juicy chicken, creamy avocados, and zesty lime dressing, this dish is perfect for any occasion. Join me as I break down the simple steps to create this delicious and healthy salad that will impress your family and friends! Let’s dive into the tasty details!
Why I Love This Recipe
- Fresh and Vibrant: This salad combines fresh ingredients that not only look beautiful but also burst with flavor, making each bite a delightful experience.
- Healthy and Satisfying: With lean protein from the chicken and healthy fats from the avocados, this salad is both nutritious and filling, perfect for a light meal.
- Quick and Easy: Ready in just 30 minutes, this recipe is perfect for busy weeknights or when you need a delicious meal in a hurry.
- Customizable: You can easily adapt this recipe by adding your favorite ingredients or adjusting the dressing to suit your taste preferences.
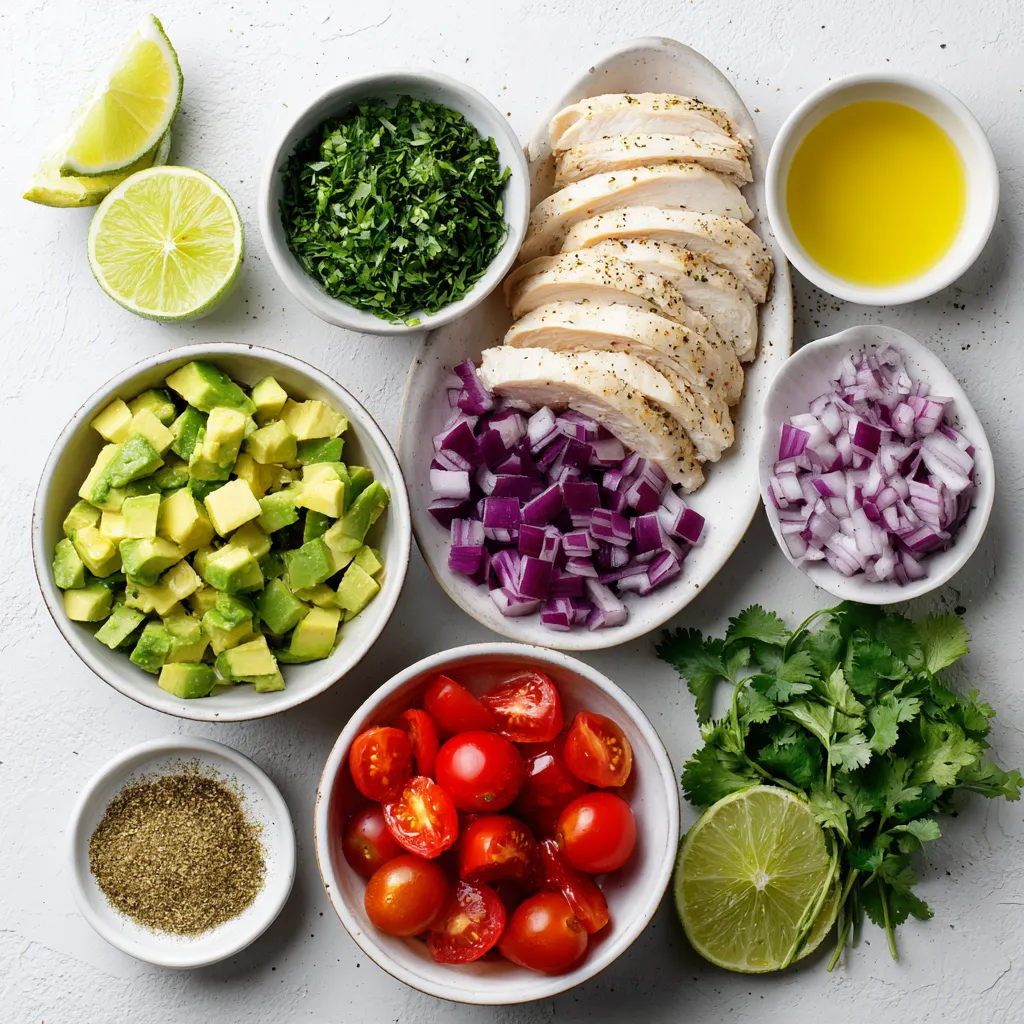
Ingredients
Main Ingredients
– 2 boneless, skinless chicken breasts
– 2 ripe avocados, diced
– 1 cup cherry tomatoes, halved
– 1/2 red onion, finely chopped
– 1/4 cup fresh cilantro, chopped
– 3 tablespoons freshly squeezed lime juice (about 2 limes)
– 2 tablespoons extra virgin olive oil
Seasoning and Spices
– 1 teaspoon garlic powder
– 1 teaspoon ground cumin
– Salt and black pepper to taste
Suggested Tools
– Skillet
– Mixing bowls
– Whisk
The main ingredients for Zesty Lime Chicken Avocado Salad are fresh and bright. The chicken offers protein, while the avocados add creaminess. Cherry tomatoes burst with flavor, and red onion gives a nice bite. Fresh cilantro brings a unique taste.
You will need a skillet for cooking the chicken. A mixing bowl is great for the salad mix and dressing. A whisk helps blend the dressing well.
Using fresh ingredients makes this salad shine. Choose ripe avocados and sweet tomatoes. Trust me; the taste will be worth it!
Step-by-Step Instructions
Cooking the Chicken
Start with the chicken breasts. First, season them on both sides with garlic powder, ground cumin, salt, and black pepper. This adds great flavor. In a skillet, heat olive oil over medium heat. When the oil is hot, add the chicken. Cook each side for about 6-7 minutes. The chicken should be browned and the juices should run clear. Once done, take it out and let it rest for 5 minutes. After resting, slice the chicken into thin strips.
Preparing the Dressing
Grab a small mixing bowl. Whisk together the lime juice and olive oil. Add a pinch of salt and black pepper. Taste the dressing, and adjust the seasoning if needed. You want it zesty but balanced.
Combining the Salad
In a large bowl, mix the diced avocados, halved cherry tomatoes, chopped red onion, and fresh cilantro. Gently fold the ingredients together. Be careful not to mash the avocados. This creates a nice, colorful base for your salad.
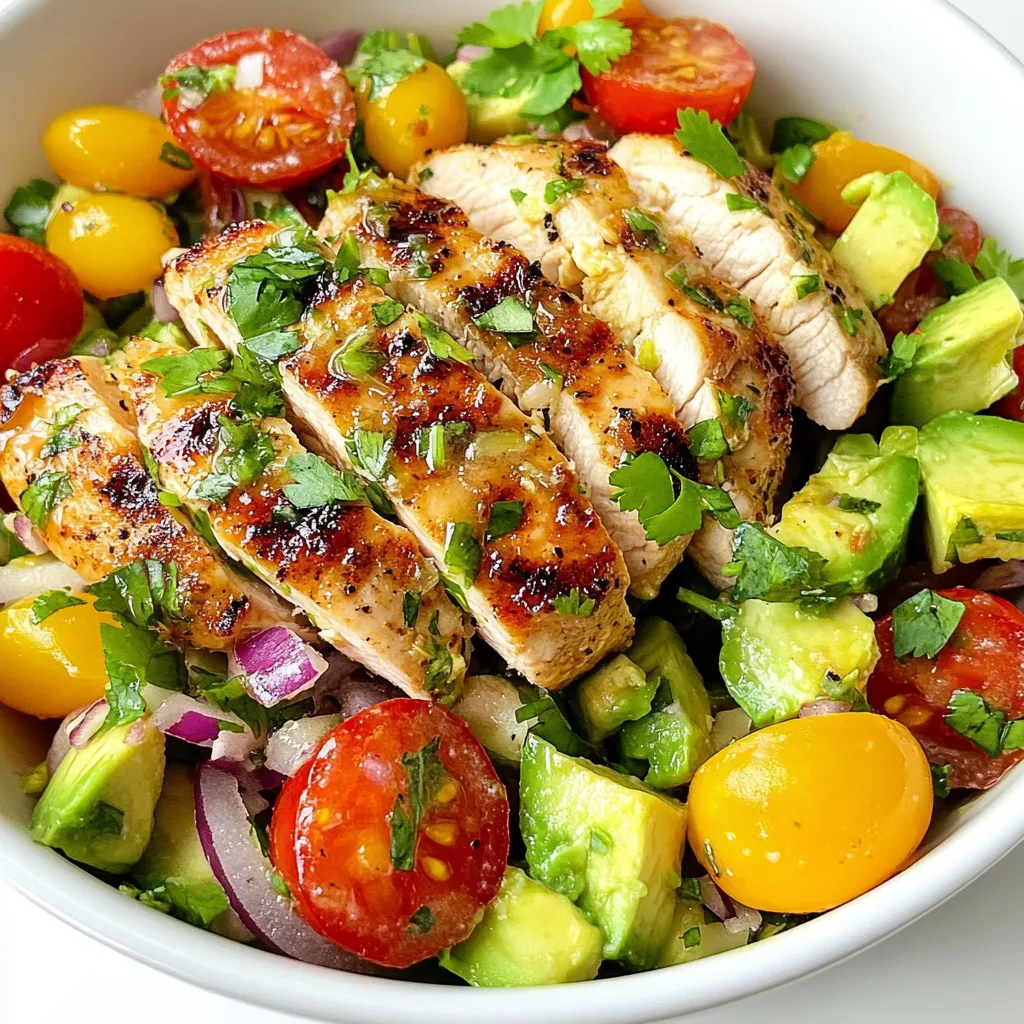
Final Assembly
Now, layer the sliced chicken on top of the salad mixture. Drizzle the lime dressing over everything. Toss the salad gently to combine. This keeps the avocados intact and creamy.
Serving Suggestions
Portion the salad into bowls or plates. For a nice touch, garnish each serving with extra cilantro leaves and lime wedges. This adds color and a burst of flavor.
Tips & Tricks
Perfecting the Salad
To keep your avocados intact, handle them gently. After cutting, use a spoon to scoop them into the bowl. Choose ripe avocados for the best flavor and texture. The perfect cooking time for chicken is about 6-7 minutes per side. Cook until juices run clear. This ensures juicy chicken for your salad.
Ingredient Substitutions
You can swap chicken for grilled shrimp or tofu. If you want a different taste, try using mango instead of avocado. For dressings, a yogurt-based dressing works well. You can also add nuts or seeds for extra crunch.
Dietary Modifications
For a gluten-free salad, just check all ingredients. Most are naturally gluten-free. If you want a vegan version, use chickpeas or tofu. They add protein and keep the salad filling. Enjoy making the salad work for your diet!
Pro Tips
- Perfectly Cooked Chicken: Use a meat thermometer to check the internal temperature of the chicken; it should reach 165°F (75°C) for safety and optimal juiciness.
- Fresh Ingredients: Select ripe avocados and fresh herbs for the best flavor. Firm avocados will not mash easily and will add creaminess to the salad.
- Make Ahead: Prepare the dressing and chop the vegetables in advance to save time. Combine just before serving to maintain freshness.
- Flavor Variations: Add diced jalapeños for a spicy kick or sprinkle some feta cheese for a creamy, tangy addition that complements the lime.
Variations
Mexican-Inspired Version
You can give this salad a fun twist with a Mexican flair. Start by adding corn and black beans. These ingredients bring a sweet and hearty flavor. You can also use taco seasoning for the chicken. This seasoning adds spice and depth to your dish, making it extra tasty.
Mediterranean Twist
For a Mediterranean twist, incorporate feta cheese and olives into your salad. Feta adds a creamy texture and a salty kick. Olives bring a briny flavor that pairs well with the other fresh ingredients. Instead of the lime dressing, try using balsamic vinaigrette. This change gives the salad a sweet and tangy note.
Seasonal Ingredients
Using fresh herbs and veggies from local markets can enhance your salad. Seasonal produce not only tastes better but also supports local farms. Consider adding seasonal fruits like strawberries or peaches. These fruits add a burst of flavor and color, making your salad even more delightful.
Storage Info
Refrigeration Guidelines
Store your Zesty Lime Chicken Avocado Salad in an airtight container. This helps keep it fresh. It is best to eat the salad within 1-2 days. After that, the avocados may turn brown and mushy. If you have leftovers, avoid mixing in the dressing until ready to eat. This keeps the salad crisp.
Freezing Considerations
Can the salad be frozen? I do not recommend freezing it. Freezing changes the texture of the avocado and tomatoes. If you want to save chicken, you can freeze it separately. Wrap the chicken tightly in plastic wrap or foil. Store it in a freezer bag for up to 3 months. Make sure to label the bag with the date.
Reheating Tips
To reheat the chicken, place it in a skillet over low heat. Add a splash of water to keep it moist. Heat for 5-10 minutes, turning often. Do not let it get too hot, or it will dry out. When you serve the salad, add fresh ingredients like avocado and tomatoes. This keeps the salad fresh and enjoyable.
FAQs
How long does Zesty Lime Chicken Avocado Salad last in the fridge?
This salad lasts about 2-3 days in the fridge. Store it in an airtight container. Always check for signs of spoilage before eating. The chicken and dressing should stay fresh for a few days. However, the avocados may brown. To slow this down, keep the dressing separate until serving.
Can I prepare the salad ahead of time?
Yes, you can prepare this salad ahead of time. Cook the chicken and let it cool before slicing. You can mix the other ingredients in a bowl. Just wait to add the dressing until you are ready to serve. This keeps the avocados fresh and tasty.
What can I serve with this salad?
This salad pairs well with many dishes. You can serve it with tortilla chips for crunch. Grilled corn on the cob also makes a great side. If you want something warm, try garlic bread. For a light meal, serve it with a soup, like tomato basil.
This blog post covers a delicious Zesty Lime Chicken Avocado Salad. We explored the main ingredients, tools needed, and step-by-step instructions to create it. I also shared tips for perfecting your salad, possible variations, and storage advice. Experiment with flavors that excite you and adapt the recipe to your taste. This salad is not only tasty, but it can also fit any meal plan. Enjoy making it your own and satisfying your hunger with fresh ingredient
Zesty Lime Chicken Avocado Salad
Ingredients
- 2 pieces boneless, skinless chicken breasts
- 2 pieces ripe avocados, diced
- 1 cup cherry tomatoes, halved
- 0.5 pieces red onion, finely chopped
- 0.25 cup fresh cilantro, chopped
- 3 tablespoons freshly squeezed lime juice
- 2 tablespoons extra virgin olive oil
- 1 teaspoon garlic powder
- 1 teaspoon ground cumin
- to taste salt and black pepper
Instructions
- Begin by seasoning the chicken breasts generously with garlic powder, ground cumin, salt, and black pepper on both sides. In a skillet, heat the extra virgin olive oil over medium heat. Once hot, add the chicken breasts and cook for approximately 6-7 minutes per side, or until the chicken is thoroughly cooked and the juices run clear. Once beautifully browned, remove the chicken from the skillet and allow it to rest for 5 minutes. Then, slice it into thin strips.
- In a small mixing bowl, whisk together the freshly squeezed lime juice, olive oil, and a pinch of salt and black pepper. Taste the dressing and adjust the seasoning if necessary, striking the perfect balance of zesty flavors.
- In a large mixing bowl, add the diced avocados, halved cherry tomatoes, finely chopped red onion, and fresh cilantro. Gently fold the ingredients together to avoid mashing the avocados, creating a colorful base for your salad.
- Layer the sliced chicken on top of the vibrant salad mixture. Drizzle the freshly prepared lime dressing over the entire bowl, then carefully toss everything together. Be gentle to ensure the avocados remain intact for a creamy texture with each bite.
- Portion the salad into individual serving bowls or plates. For an extra touch, garnish with additional cilantro leaves and lime wedges on the side for a splash of color and a burst of flavor.
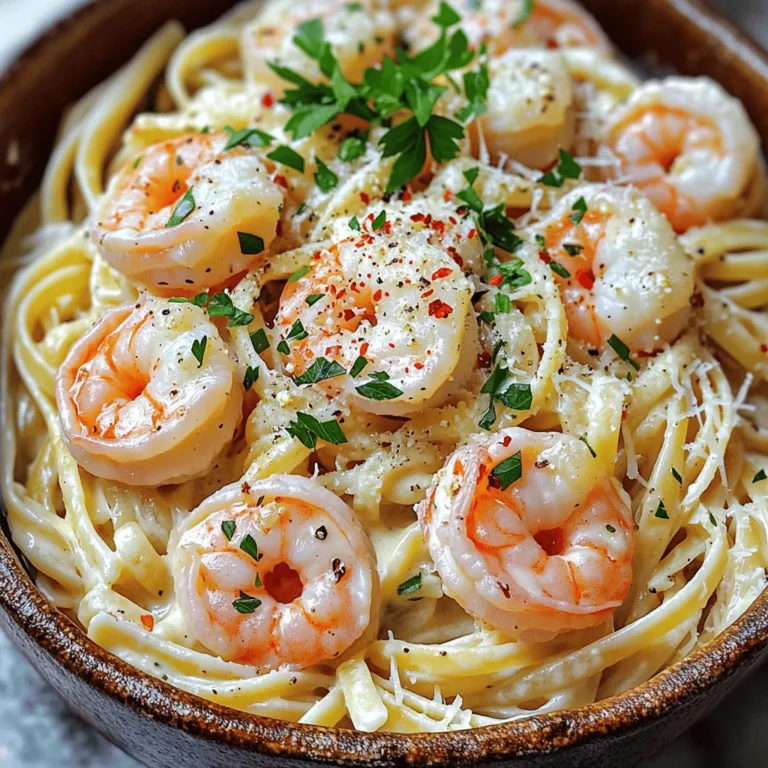
![To make the spicy honey garlic shrimp, gather these items: - 1 pound large shrimp, peeled and deveined - 3 tablespoons honey - 3 tablespoons low-sodium soy sauce - 4 cloves garlic, finely minced - 1 tablespoon extra virgin olive oil - 1 teaspoon red pepper flakes (adjust according to your spice tolerance) - 1 teaspoon freshly grated ginger - 2 green onions, finely chopped (for garnish) - Toasted sesame seeds (for garnish) - Salt and freshly ground black pepper to taste You can swap some ingredients if needed: - Instead of honey, try maple syrup for a different sweetness. - Use tamari if you need a gluten-free option for soy sauce. - For garlic, garlic powder can work in a pinch. - You can replace shrimp with chicken or tofu if you prefer. A serving of spicy honey garlic shrimp has about: - Calories: 220 - Protein: 25g - Fat: 8g - Carbohydrates: 10g - Fiber: 0g - Sodium: 600mg This dish offers a good amount of protein while keeping the carbs low. The honey adds sweetness, and the shrimp provide healthy nutrients. For the full recipe, check the link provided. To start, gather your ingredients. This makes cooking easier and faster. You need: - 1 pound large shrimp, peeled and deveined - 3 tablespoons honey - 3 tablespoons low-sodium soy sauce - 4 cloves garlic, finely minced - 1 tablespoon extra virgin olive oil - 1 teaspoon red pepper flakes - 1 teaspoon freshly grated ginger - 2 green onions, finely chopped (for garnish) - Toasted sesame seeds (for garnish) - Salt and freshly ground black pepper to taste In a medium bowl, mix the honey, soy sauce, minced garlic, red pepper flakes, and ginger. Whisk it well. Set this aside to let the flavors blend. Heat the olive oil in a large skillet over medium-high heat. Wait until it shimmers. While it heats, season the shrimp with salt and black pepper. Add the shrimp in a single layer in the skillet. Cook for about 2-3 minutes without stirring. This helps them turn pink and golden on one side. Use tongs to flip the shrimp over. Pour the honey garlic sauce over them. Sauté for another 1-2 minutes. The shrimp should be fully cooked and glossy with sauce. Remove the skillet from heat. Sprinkle the green onions and sesame seeds over the shrimp. This adds flavor and crunch. If you use smaller shrimp, reduce the cooking time. Cook them for 1-2 minutes on each side. For jumbo shrimp, increase cooking time to about 3-4 minutes per side. Always check if they turn pink and are opaque. This means they are fully cooked. Enjoy this spicy honey garlic shrimp dish, and don’t forget to check the Full Recipe for more details! To get the best shrimp, look for large, firm shrimp. They should feel smooth and have a fresh smell. Avoid shrimp that smell like ammonia or are slimy. Fresh shrimp have a slight sheen and a pink color. If buying frozen shrimp, check for ice crystals. This means they may have thawed and refrozen. Cook shrimp quickly using high heat. This keeps them juicy and tender. Start with a hot pan and add oil. Add shrimp in a single layer; avoid crowding. Cook for just 2-3 minutes on one side until pink. Flip and then add your sauce. Cook for another 1-2 minutes until cooked through. To boost flavor, add fresh herbs like cilantro or parsley. You can also use lime juice for a zesty kick. For extra heat, toss in more red pepper flakes. Want more depth? Try adding a splash of rice vinegar or a bit of sesame oil. These small changes can make your shrimp pop with flavor. For the full recipe, check out the [Full Recipe]. {{image_4}} You can easily add veggies to this dish. Bell peppers, snap peas, or broccoli work great. Start by sautéing the vegetables in the skillet before adding the shrimp. This way, they cook together perfectly. Toss them in with the shrimp and sauce for a balanced meal. The veggies soak up the sweet and spicy sauce, making each bite even better. Grilling is a fantastic way to enjoy this shrimp. Marinate the shrimp in the honey garlic sauce for about 30 minutes. Preheat your grill to medium heat. Skewer the shrimp and grill for 2-3 minutes on each side. You’ll get a nice char and smoky flavor. This method is perfect for summer cookouts or outdoor gatherings. Turn this dish into tacos for a fun twist. Use corn tortillas or flour ones, whichever you prefer. Cook the shrimp as usual, then fill each taco with them. Top with cabbage, avocado, and a squeeze of lime. The crunch from the cabbage and creaminess from the avocado balance the heat. Enjoy these tacos with your friends for a tasty meal. For the full recipe, check the section above. To keep your spicy honey garlic shrimp fresh, let it cool first. Place the shrimp in an airtight container. Store it in the fridge for up to three days. This way, you can enjoy it again later. When you're ready to eat the leftovers, reheat them gently. Use a skillet over medium heat. Add a splash of water or broth to keep the shrimp moist. Stir it often so it heats evenly. This will help maintain its flavor and texture. If you want to store shrimp longer, freezing is a great option. First, cool the shrimp completely. Then, place it in a freezer-safe bag. Squeeze out any air before sealing it. You can keep it in the freezer for up to three months. When you're ready to eat, thaw it overnight in the fridge. Reheat as mentioned above for the best taste. For the full recipe, check out the details to make this tasty dish! The best way to peel shrimp is to start at the head. Hold the body and gently pull off the shell. You can also pinch the tail to detach it. To devein, make a shallow cut along the back. Use a small knife or toothpick to pull out the dark vein. Rinse the shrimp under cold water after. This step helps clean them well. Yes, you can make Spicy Honey Garlic Shrimp in advance. Cook the shrimp and sauce, then let them cool. Store them in an airtight container in the fridge. They will stay fresh for up to two days. When ready to serve, reheat them in a skillet. This helps keep their flavor bright and tasty. You can serve Spicy Honey Garlic Shrimp with several delicious sides. Steamed jasmine rice is a classic choice. It soaks up the sauce well. You can also try it with quinoa for a healthier option. Fresh veggies or a crisp salad add color and crunch. For more details on the full recipe, check out the Full Recipe section. In this blog post, we explored the complete guide to making Spicy Honey Garlic Shrimp. We covered the ingredients, including substitutions and nutritional info. You learned step-by-step instructions for prep and cooking, adjusted for shrimp sizes. The tips shared help you choose the best shrimp and achieve perfect flavor. We also discussed tasty variations and storage tips for leftovers. Remember, you can find the full recipe for Spicy Honey Garlic Shrimp linked in this post. Enjoy cooking and sharing your delicious dish!](https://goldendishy.com/wp-content/uploads/2025/06/cf05c4bf-72ca-4483-afe2-f2d6fc570350-768x768.webp)