Vegan Chocolate Peanut Butter Cups Creamy Delight

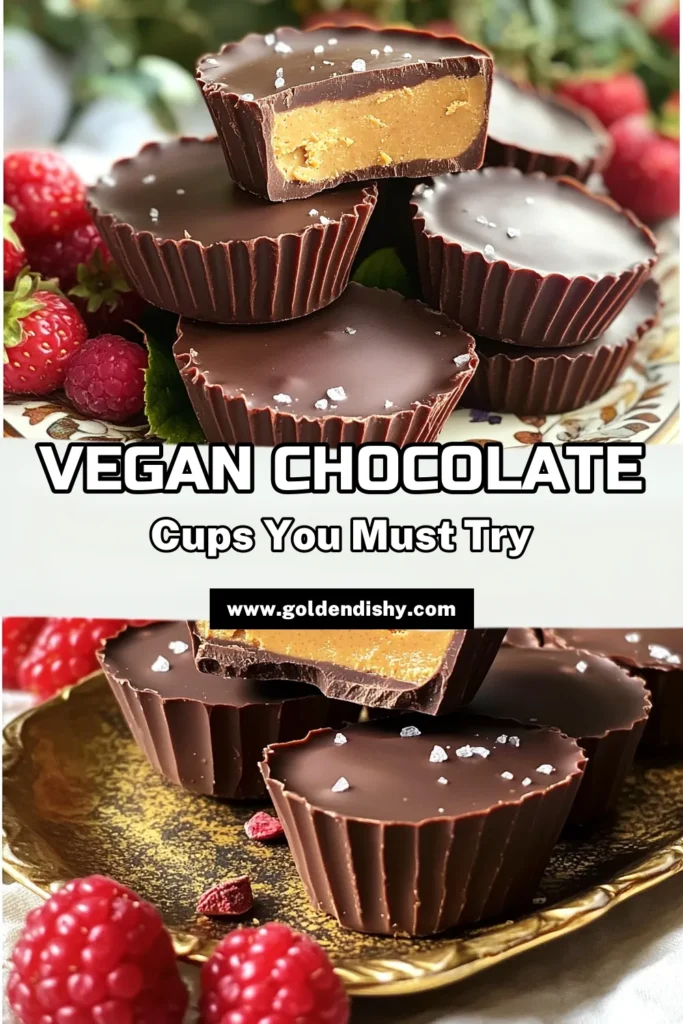
Craving a sweet treat that’s both delicious and vegan? You’ve landed in the right spot! I’m excited to share my recipe for Vegan Chocolate Peanut Butter Cups that are rich, creamy, and easy to make. With just a few simple ingredients, you’ll create a dessert that satisfies your taste buds without any guilt. Ready to impress your friends and family? Let’s dive into this creamy delight!
Ingredients
Main Ingredients for Vegan Chocolate Peanut Butter Cups
To make vegan chocolate peanut butter cups, you need a few simple ingredients:
– 1 cup of dairy-free dark chocolate chips
– 1/2 cup of natural peanut butter (smooth or crunchy)
– 2 tablespoons of maple syrup
– 1/4 cup of coconut oil (melted)
– 1 teaspoon of vanilla extract
– A pinch of sea salt
– 12 mini cupcake liners
These ingredients create a rich, creamy, and sweet treat. The dark chocolate gives a deep flavor, while the peanut butter adds a nice creaminess.
Alternative Ingredients for Dietary Restrictions
You can easily adjust this recipe if you have dietary needs:
– For nut-free options, use sun butter or pumpkin seed butter instead of peanut butter.
– If you want it sugar-free, try using a sugar substitute like erythritol.
– For a gluten-free option, ensure your chocolate chips are certified gluten-free.
These swaps help you enjoy the same great taste while meeting your needs.
Notes on Quality of Ingredients
Using high-quality ingredients matters. Choose dairy-free chocolate chips that are organic when possible. Look for natural peanut butter with only peanuts and salt. This keeps your treat healthy and tasty.
Coconut oil should be virgin and unrefined for the best flavor. Always check labels for allergens and quality. Good ingredients make a big difference in your vegan chocolate peanut butter cups.
Step-by-Step Instructions
Preparing the Muffin Tin
First, you need to grab a muffin tin. Line it with 12 mini cupcake liners. This step is key to keeping your cups neat and tidy. Each slot will hold a tasty treat. Make sure they sit flat so they don’t spill.
Melting the Chocolate and Coconut Oil
Next, let’s melt the chocolate. In a microwave-safe bowl, mix 1 cup of dairy-free dark chocolate chips with 1/8 cup of melted coconut oil. Heat this in the microwave. Set it for 30 seconds at a time. Stir well after each time until the chocolate is smooth. This step gives your cups a rich base.
Assembling Layers: Chocolate and Peanut Butter
Now, let’s build our layers. Take a tablespoon of the melted chocolate and scoop it into each cupcake liner. Use the back of the spoon to spread it evenly. Once done, pop the muffin tin into the freezer for about 10-15 minutes. This helps the chocolate set.
While that sets, make the peanut butter mix. In the same bowl, add 1/2 cup of natural peanut butter, the rest of the melted coconut oil, 2 tablespoons of maple syrup, 1 teaspoon of vanilla extract, and a pinch of sea salt. Stir until it is all smooth.
After the chocolate base is firm, take the muffin tin out. Spoon about 1 tablespoon of the peanut butter mixture onto the chocolate layer in each liner.
Next, melt the remaining chocolate the same way. Pour it over the peanut butter layer and make sure it covers well. Use a spatula to smooth the tops. This gives a nice finish.
Finally, return the muffin tin to the freezer for 30-40 minutes. Once they are set and firm, carefully peel away the cupcake liners. Enjoy your delicious vegan chocolate peanut butter cups!
Tips & Tricks
How to Achieve a Smooth Chocolate Layer
To get a smooth chocolate layer, start with quality chocolate chips. I use dairy-free dark chocolate chips for a rich taste. When melting, do it in bursts. Microwave in 30-second intervals. Stir well between each heating. This method helps prevent burning. If your chocolate is too thick, add a little more melted coconut oil. This will keep it silky.
Ensuring the Peanut Butter Mixture is Creamy
For creamy peanut butter, choose natural peanut butter. I prefer the smooth variety, but crunchy works too. Mix the peanut butter with melted coconut oil, maple syrup, and vanilla extract. Stir until it looks silky and well-blended. If it’s too thick, a splash of coconut oil can help. This keeps your peanut butter layer creamy and easy to spread.
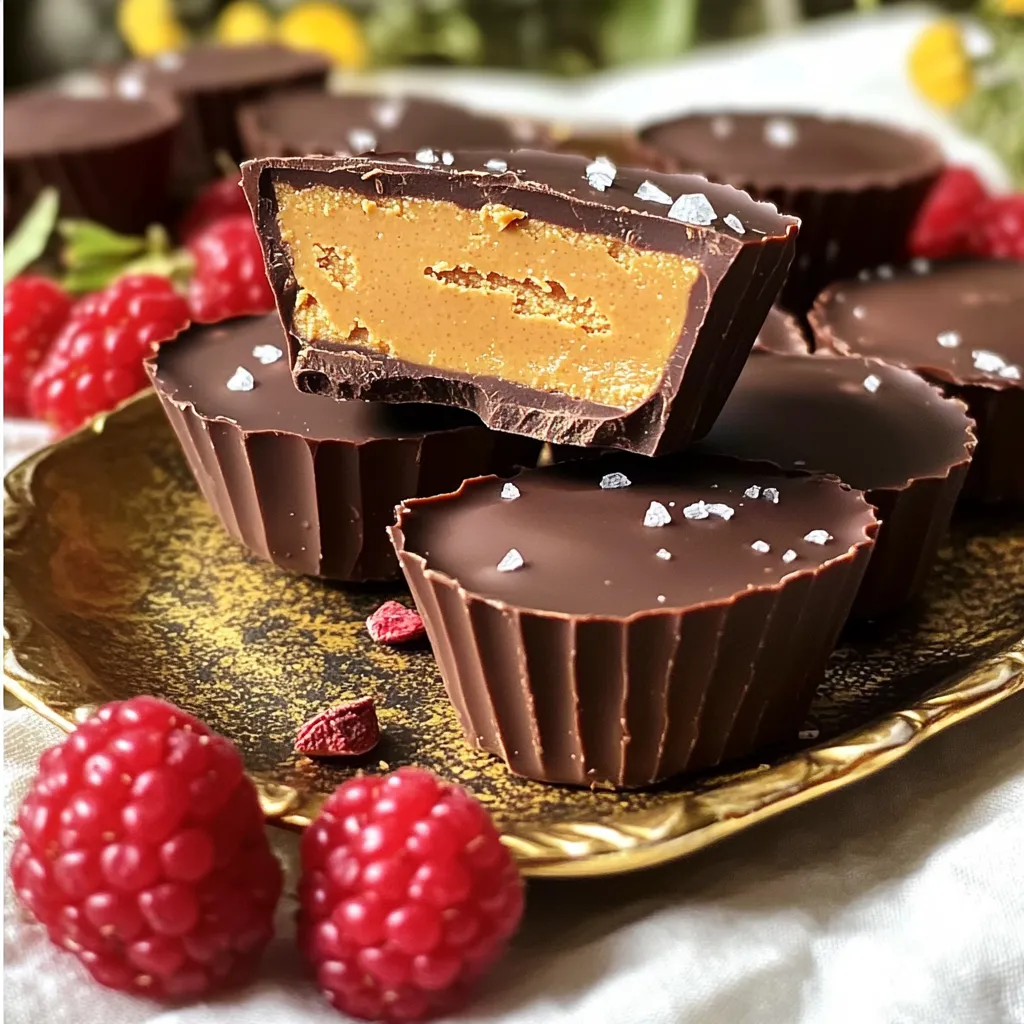
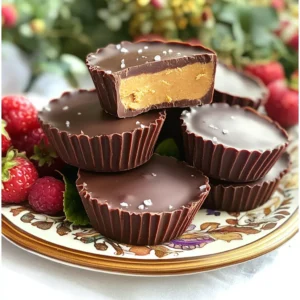
Presentation Ideas for Serving Vegan Chocolate Cups
Presentation is key! Once your cups are set, peel them from the liners. Place them on a nice platter for a special touch. To make it eye-catching, sprinkle a little sea salt on top. You can also add fresh fruit or berries around them. This adds color and makes your dessert look even more inviting.
Variations
Flavor Variations: Adding Extracts or Spices
You can make your vegan chocolate peanut butter cups even more exciting! Try adding different extracts. A drop of almond extract gives a nice twist. You can also try peppermint extract for a fresh flavor. Just a few drops will do. If you love spice, mix in a pinch of cinnamon or a dash of cayenne pepper. These flavors add warmth and depth.
Dietary Substitutions: Nut-Free or Sugar-Free Options
If you’re nut-free, you can swap peanut butter for sunflower seed butter. It has a similar creamy texture and taste. For a sugar-free option, use sugar-free chocolate chips and a sugar-free maple syrup. This way, you can still enjoy a sweet treat without the sugar. Always check the labels to ensure they fit your needs.
Creative Twists: Adding Fillings or Toppings
Get creative with your cups! You can add fillings like shredded coconut or chopped dried fruit. These add a nice chew and extra flavor. For toppings, consider crushed nuts or seeds. They add crunch and look pretty. Drizzle some melted chocolate on top for a fun finish. You can even sprinkle a bit of flaky sea salt for a gourmet touch.
Storage Info
Best Practices for Storing Homemade Cups
To keep your vegan chocolate peanut butter cups fresh, store them in an airtight container. This helps prevent them from absorbing odors and losing flavor. Place a layer of parchment paper between layers if you stack them. Avoid direct sunlight, as light can affect the taste and texture. Keep them in a cool, dry place like a pantry or kitchen cabinet.
Freezing Tips for Longer Shelf Life
Freezing is a great option to extend the life of your cups. First, make sure the cups are fully set and firm. Then, wrap each cup in plastic wrap or aluminum foil to prevent freezer burn. Place the wrapped cups in a freezer-safe bag or container. When you’re ready to enjoy them, just thaw them in the fridge for a few hours.
How Long Do Vegan Chocolate Peanut Butter Cups Last?
When stored properly, these cups can last up to two weeks at room temperature. In the fridge, they stay fresh for about three weeks. If you freeze them, they can last up to three months. Just remember, the sooner you eat them, the better the taste!
FAQs
What are the health benefits of using vegan ingredients?
Using vegan ingredients offers many health benefits. First, they are often lower in saturated fat. This can help heart health. Many vegan foods have more fiber, which aids digestion. They also provide important vitamins and minerals. For example, nuts and seeds contain healthy fats and protein. Dark chocolate is rich in antioxidants. These compounds can fight free radicals in the body.
Vegan ingredients also support better weight management. They are often less processed and full of whole foods. Eating a plant-based diet can lower the risk of certain diseases. These include diabetes and heart disease. Overall, vegan ingredients promote a balanced diet and a healthier lifestyle.
Can I make these chocolate peanut butter cups in advance?
Yes, you can make these chocolate peanut butter cups in advance. They store well in the fridge or freezer. If you want to prepare them ahead, follow the recipe steps. After they set, place them in an airtight container. In the fridge, these cups stay fresh for up to a week.
If you freeze them, they last for about two months. Just let them thaw for a few minutes before serving. Making them in advance is perfect for parties or snacks. You can enjoy a sweet treat anytime without the hassle.
Where can I purchase pre-made vegan chocolate peanut butter cups?
You can find pre-made vegan chocolate peanut butter cups in many stores. Look in the health food aisle or the snack section. Popular brands offer them, and they often have labels showing they are vegan. Online stores also sell these treats. Websites like Amazon or specialty vegan shops often have a variety.
If you prefer a local option, check farmers’ markets or specialty stores. They may carry homemade or small-batch versions. Enjoying pre-made cups is a quick and easy way to satisfy your chocolate cravings!
In this post, I shared how to make vegan chocolate peanut butter cups. We discussed key ingredients, step-by-step instructions, and tips for perfect layers. You learned about variations and how to store them well. These cups are not only tasty but also fit many diets.
I hope you feel ready to create these treats. Enjoy making them your own!
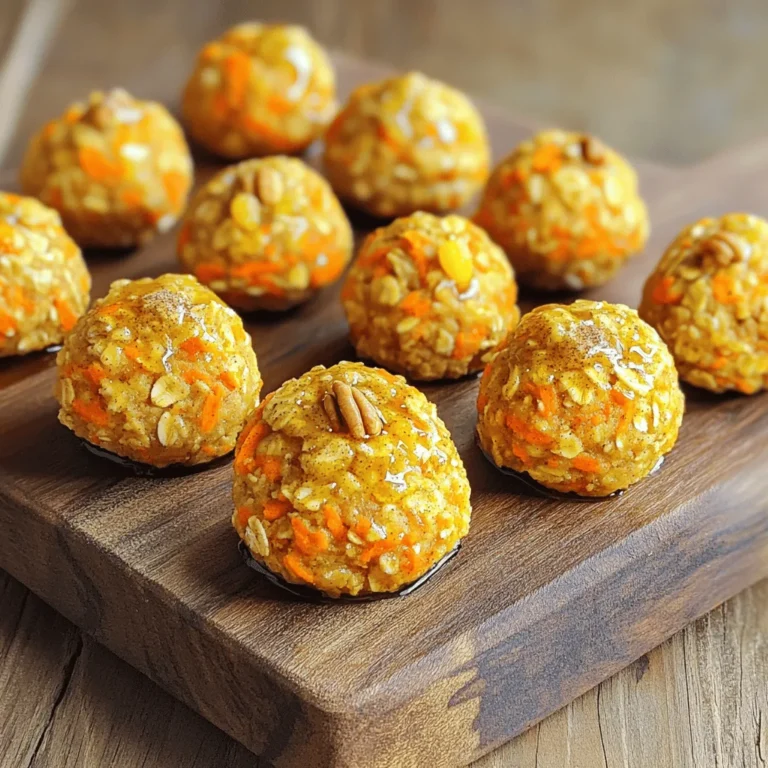
![To make tasty Maple Pecan Scones, you need some key ingredients. Here they are: - 2 cups all-purpose flour - 1/2 cup chopped pecans, plus extra for garnish - 1/3 cup packed brown sugar - 1 tablespoon baking powder - 1/2 teaspoon fine salt - 1/2 teaspoon ground cinnamon - 1/4 cup cold unsalted butter, cut into small cubes - 1/2 cup heavy cream, chilled - 1/4 cup pure maple syrup - 1 large egg, at room temperature - 1 teaspoon pure vanilla extract - Additional maple syrup for drizzling (optional) These ingredients work together to create a rich, flavorful scone. The maple syrup and pecans bring a sweet and nutty taste. You can add a few optional ingredients to enhance your scones even more. Consider these: - Dried cranberries or cherries for a tart kick - Chocolate chips for a sweet treat - Fresh herbs like rosemary for a savory twist These extras can make your scones unique. Mix and match to find your favorite flavor. If you need to swap out some items, here are some good substitutions: - Use whole wheat flour instead of all-purpose flour for more fiber. - Swap brown sugar with coconut sugar for a different taste. - Replace heavy cream with coconut cream for a dairy-free option. - Use maple extract if you run out of pure maple syrup. These swaps still keep the scones delicious. Feel free to get creative with what you have on hand. For the full recipe, check out the earlier sections. First, you need to preheat your oven. Set it to 400°F (200°C). While that heats up, grab a baking sheet. Line it with parchment paper. This step helps the scones not stick. It makes clean-up easy too. Now, let’s get to the mixing! In a large bowl, whisk these dry ingredients together: - 2 cups all-purpose flour - 1/2 cup chopped pecans - 1/3 cup packed brown sugar - 1 tablespoon baking powder - 1/2 teaspoon fine salt - 1/2 teaspoon ground cinnamon Whisk until everything is mixed well. In another bowl, combine the wet ingredients. Take: - 1/2 cup heavy cream - 1/4 cup pure maple syrup - 1 large egg - 1 teaspoon pure vanilla extract Whisk them together until smooth. Next, add the wet mix to the dry mix. Stir gently with a spatula. The dough should be sticky and chunky. Don’t overmix! Now, turn the dough onto a floured surface. Knead it gently a few times. Shape it into a circle, about 1-inch thick. Cut it into 8 wedges. Place the wedges on the baking sheet, giving them some room to grow. Bake your scones for 15-20 minutes. They should turn a light golden color and feel firm. Once done, let them cool on a wire rack. For extra flavor, drizzle with more maple syrup and sprinkle some chopped pecans on top. Enjoy your delicious maple pecan scones! For a detailed list of steps, check the Full Recipe. To get the best texture in your Maple Pecan Scones, focus on the butter. Use cold, unsalted butter. Cut it into small cubes and mix it with the flour until you see coarse crumbs. Some pieces should be the size of peas. This step keeps the scones flaky and tender. Baking time is key. Preheat your oven to 400°F (200°C). Bake the scones for 15 to 20 minutes. Watch them closely during the last few minutes. You want them lightly golden and firm to the touch. If you bake them too long, they will become dry. Serving is just as important as baking. Place warm scones on a rustic wooden board or a nice platter. Drizzle with extra maple syrup for sweetness. Add chopped pecans on top for crunch. A sprig of mint or edible flowers can add color and make the dish more inviting. For more details, check the Full Recipe. {{image_4}} You can make gluten-free maple pecan scones easily. Replace all-purpose flour with a gluten-free blend. Look for a mix that has xanthan gum, as it helps bind the ingredients. Keep the other ingredients the same. The texture may change a bit, but they will still taste great! To make vegan maple pecan scones, swap the heavy cream with almond milk or coconut milk. Use coconut oil instead of butter. You can also replace the egg with a flax egg. To make a flax egg, mix one tablespoon of ground flaxseed with three tablespoons of water. Let it sit for five minutes to thicken. These changes keep the scones tasty and fluffy! You can add fun flavors to your scones. Try mixing in chocolate chips or dried fruit. For a sweet touch, add 1/2 cup of chocolate chips or chopped dried apricots. You can also use cranberries or raisins for a chewy texture. Mix these in when you fold in the pecans. This adds extra flavor and makes each bite exciting! For the full recipe, check out the recipe section above. To keep your maple pecan scones fresh, store them in an airtight container. Place a piece of parchment paper between layers to prevent sticking. They will stay good for about three days at room temperature. If you want to keep them longer, consider freezing them. To reheat your scones, preheat your oven to 350°F (175°C). Place the scones on a baking sheet and warm them for about 5-10 minutes. This helps restore their fresh-baked taste and texture. You can also microwave them for about 15-20 seconds, but the oven gives better results. If you want to freeze your scones, do it before baking. After shaping the dough into wedges, place them on a baking sheet. Freeze them for about an hour until firm, then transfer them to a freezer bag. They can stay frozen for up to three months. When ready to bake, just add a few extra minutes to the baking time. For the full recipe, refer back to the details above. Yes, you can make Maple Pecan Scones ahead of time. Prepare the dough and shape it into wedges. Then, wrap the dough in plastic wrap and store it in the fridge for up to two days. When you're ready to bake, just slice and bake as usual. This method keeps them fresh and tasty. You can tell when the scones are done by looking for a golden color on top. They should feel firm to the touch. You can also insert a toothpick into the center. If it comes out clean, the scones are ready. Maple Pecan Scones pair well with many things. You can serve them with a drizzle of maple syrup for added sweetness. A dollop of clotted cream or butter also works great. Pair them with coffee or tea for a lovely breakfast or snack. For a fun twist, add fresh fruit or yogurt on the side. For the full recipe, check out the [Full Recipe]. Maple pecan scones bring warmth and flavor to your kitchen. We explored key ingredients and smart substitutions for a perfect batch. Step-by-step instructions ensured clear baking methods. Tips helped with texture and bake time, making your scones shine. We also discussed tasty variations to brighten your meals. Finally, proper storage methods keep leftovers fresh. Enjoy these scones with friends or alone—they're a delight for all.](https://goldendishy.com/wp-content/uploads/2025/07/b23162c1-955c-4f99-8dc2-297b57ec6074-768x768.webp)