
Pumpkin Cheesecake Mousse Cups No Bake Delightful Treat
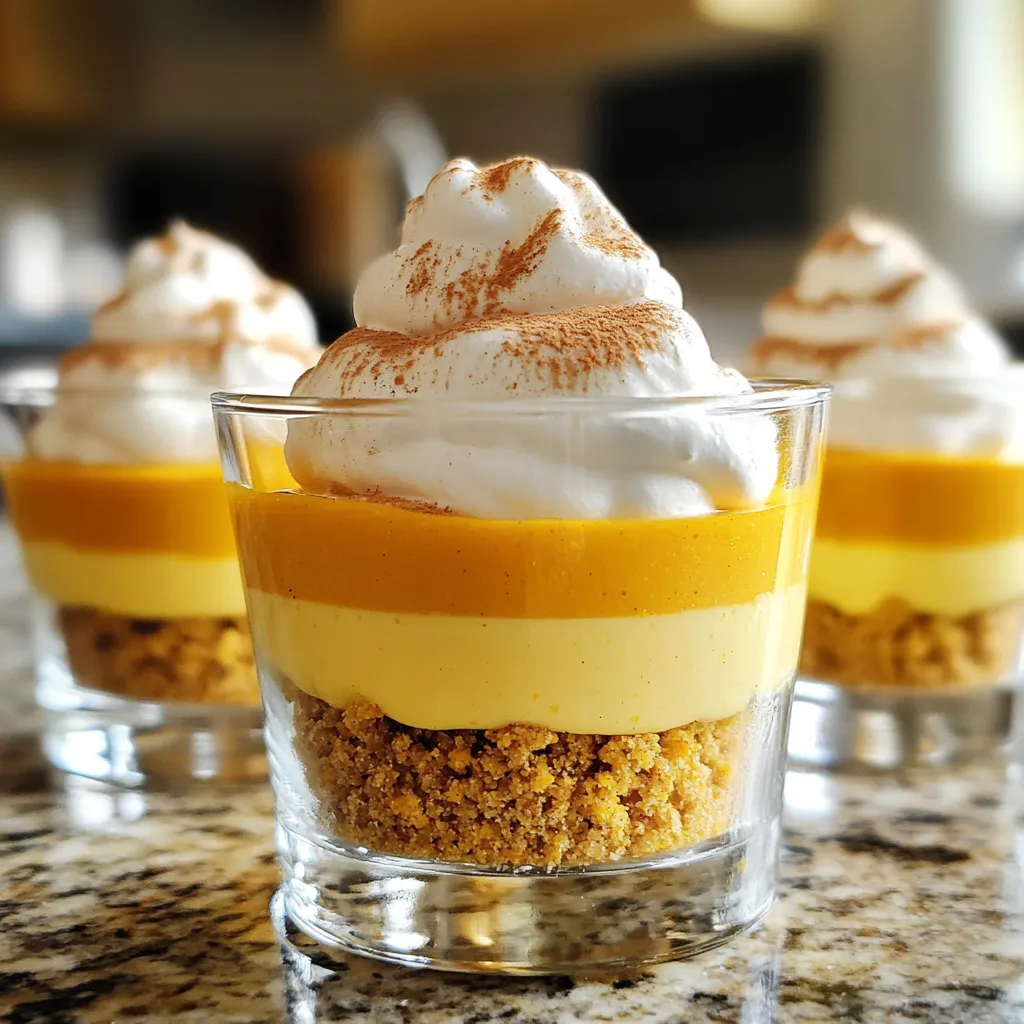
Get ready to savor the fall with my Pumpkin Cheesecake Mousse Cups! This no-bake treat combines the flavors of pumpkin and creamy cheesecake into a delightful dessert. It’s so simple to make, and you can easily customize it to your taste. You’ll impress your friends and family without spending hours in the kitchen. Let’s dive into this easy recipe that’s perfect for any occasion!
Ingredients
List of Ingredients with Measurements
– 1 cup pumpkin puree
– 8 oz cream cheese, softened
– 1 cup heavy whipping cream
– ½ cup powdered sugar
– 1 teaspoon vanilla extract
– 1 teaspoon pumpkin pie spice
– ½ teaspoon ground cinnamon
– 1 cup crushed graham crackers
– 2 tablespoons unsalted butter, melted
– Whipped cream, for garnish
– Ground cinnamon, for garnish
Substitutions and Alternatives
If you want to swap ingredients, here are some ideas:
– Use Greek yogurt instead of cream cheese for a tangy twist.
– Replace heavy cream with coconut cream for a dairy-free option.
– Maple syrup can take the place of powdered sugar for a more natural sweetness.
– Any cookie crumb can replace graham crackers, like Oreos or digestive biscuits.
Optional Garnishes
To make your mousse cups even more special, consider these garnishes:
– Top with candy corn or mini pumpkins for a festive feel.
– Drizzle caramel sauce for added sweetness and a lovely look.
– Chopped nuts, like pecans, add nice crunch and flavor.
– Fresh mint leaves can brighten up the presentation.
Step-by-Step Instructions
Preparation of Mousse
To start, grab a medium bowl. Beat the softened cream cheese with an electric mixer. Mix until it is smooth, about 2-3 minutes. Next, add the pumpkin puree, powdered sugar, vanilla extract, pumpkin pie spice, and ground cinnamon. Mix on medium speed until there are no lumps. In another bowl, pour in the heavy cream. Beat it until stiff peaks form, which takes about 4-5 minutes. Be gentle when you fold the whipped cream into the pumpkin mixture. This keeps the mousse light and fluffy.
Assembling the Mousse Cups
Now it’s time to layer your cups. In a new bowl, combine crushed graham crackers and melted butter. Mix until the crumbs look sandy. Spoon a layer of the graham cracker mix into the bottom of each cup. This creates a strong base. Then add a layer of pumpkin cheesecake mousse over the crumbs. Repeat these layers, finishing with a nice layer of mousse on top.
Chilling and Serving Instructions
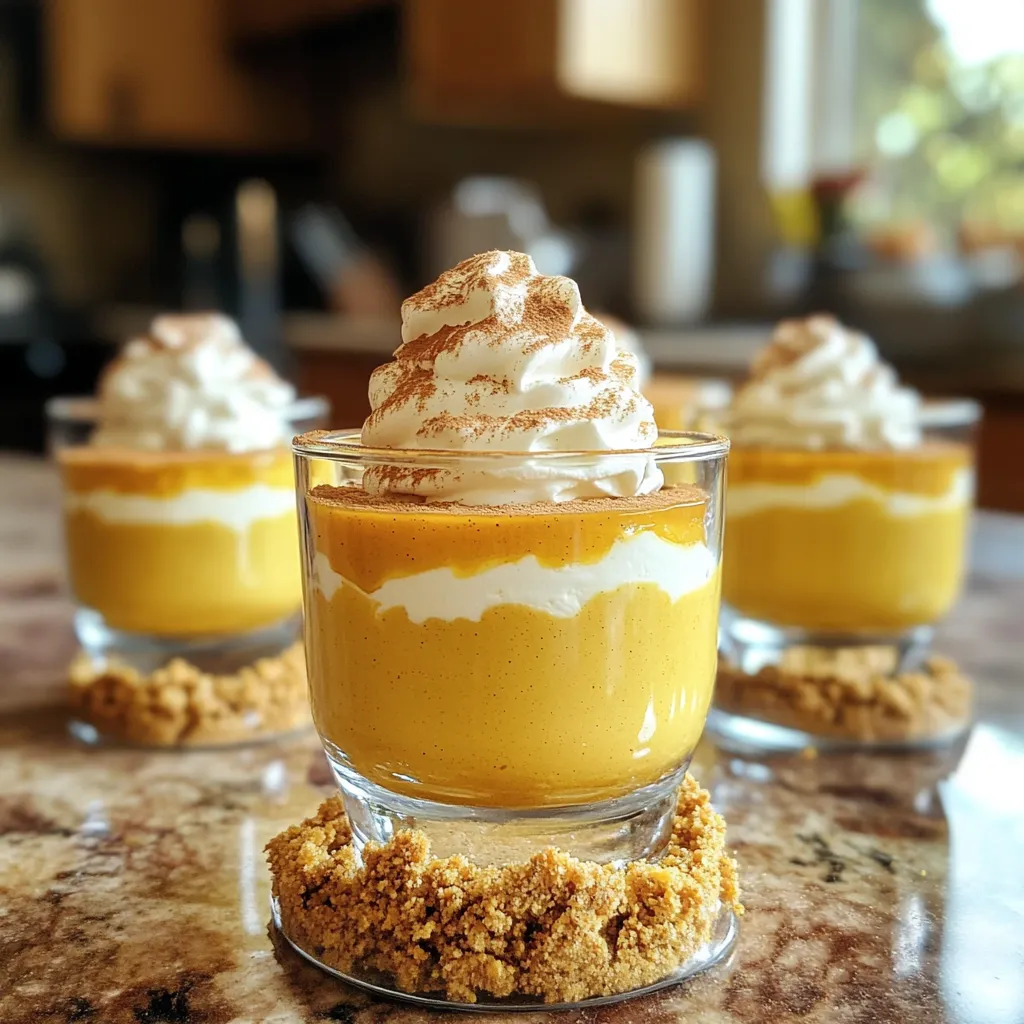
Cover your mousse cups with plastic wrap. Chill them in the fridge for at least 2 hours. This helps the mousse set and flavors blend well. When you are ready to serve, take them out and add a dollop of whipped cream on top. Sprinkle a little ground cinnamon for flair. Enjoy your delicious pumpkin cheesecake mousse cups!
Tips & Tricks
Ensuring a Smooth Cream Cheese Mixture
To get a smooth cream cheese mixture, start with soft cream cheese. Leave it at room temperature for about 30 minutes. This helps it blend well. Use an electric mixer on medium speed. Beat it for 2-3 minutes until creamy. Add the pumpkin puree slowly. Mix well with powdered sugar, vanilla, pumpkin pie spice, and cinnamon. This helps to avoid lumps and gives a nice texture.
Achieving Perfectly Whipped Cream
For the best whipped cream, use cold heavy cream. Chill your mixing bowl and whisk for extra fluffiness. Start mixing on low speed then increase to high. Beat until stiff peaks form, which takes about 4-5 minutes. Be careful not to over-whip. If the cream looks grainy, it’s done. Gently fold the whipped cream into the pumpkin mixture. This keeps it light and airy.
Layering Techniques for Presentation
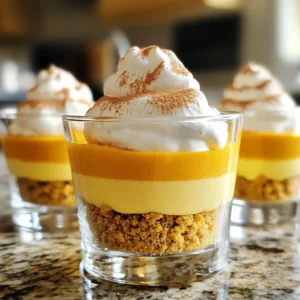
Layering makes your mousse cups look great. Start with a layer of the graham cracker mix at the bottom. Use about a tablespoon for each cup. Then add a layer of the pumpkin mousse. Repeat these layers, finishing with mousse on top. For a fun touch, top with whipped cream and a sprinkle of cinnamon. You can also add candy corn or mini pumpkins for a festive look. Use clear cups to show off those beautiful layers!
Variations
Alternative Flavor Combinations
You can switch up the flavors in many fun ways. Try using sweet potato puree instead of pumpkin. This will give your mousse a different taste. You might also mix in chocolate or caramel for a rich twist. Adding maple syrup can create a warm, cozy flavor. For a tangy kick, mix in a bit of lemon juice. Each change brings its own special charm to the mousse.
Gluten-Free and Vegan Options
If you want a gluten-free version, use gluten-free graham crackers. They provide the same crunch without the gluten. For a vegan option, swap cream cheese for a vegan cream cheese. Use coconut cream in place of heavy cream for a rich texture. Maple syrup can replace powdered sugar for natural sweetness. These options let everyone enjoy this tasty dessert.
Serving Suggestions
Serve these mousse cups in clear glasses. This way, guests can see the lovely layers. You could also add a sprinkle of nuts for crunch. Fresh fruit like berries or sliced bananas makes a bright addition. If you’re feeling festive, use candy corn or mini pumpkins for fun decor. Each serving becomes a delightful treat that looks as good as it tastes.
Storage Info
Best Practices for Refrigeration
To keep your pumpkin cheesecake mousse cups fresh, store them in the fridge. Place them in an airtight container or cover them with plastic wrap. This will prevent them from absorbing other smells in the fridge. The mousse needs to stay cool to keep its texture light and fluffy.
How Long the Mousse Cups Last
When stored properly, your mousse cups will last about 3 to 4 days. After this time, the texture may change, and the flavors might fade. Always check for any signs of spoilage before enjoying. If you notice any changes, it’s best to toss them to stay safe.
Freezing Guidelines
You can freeze the mousse cups if you want to keep them longer. However, the texture might change once thawed. To freeze, place them in a freezer-safe container. Make sure to seal them well. They can stay in the freezer for up to a month. When you’re ready to enjoy them, let them thaw in the fridge overnight. Avoid refreezing after thawing to maintain quality.
FAQs
Can I use fresh pumpkin instead of canned?
Yes, you can use fresh pumpkin. Just cook the pumpkin first. Peel, seed, and cube it. Boil or roast until soft. Then, mash it to create puree. This gives a fresh taste to your mousse.
How do I make the mousse less sweet?
To reduce the sweetness, cut down on powdered sugar. Start with half the amount. You can also add a pinch of salt. This balance will enhance flavors without making it too sweet.
Can I prepare these mousse cups in advance?
Yes, you can make these cups ahead of time. Just prepare and layer them as directed. Store them in the fridge for up to two days. This lets the flavors blend well.
What can I use instead of graham crackers?
If you need a substitute, try digestive biscuits or vanilla wafers. For a gluten-free option, use crushed gluten-free cookies. These will still give you a tasty base for your mousse cups.
This blog post covered all you need to know about making delicious mousse cups. We explored the key ingredients, discussed helpful tips, and offered great variations. You learned how to prepare and assemble your mousse, along with the best ways to store it. I hope these ideas spark your creativity and make your dessert fun! Enjoy trying new flavors and impressing guests with your tasty treats. Remember, with the right methods and practice, you can create a dessert everyone will love.

![For the baked cinnamon apple chips, you will need: - 2 large apples (Honeycrisp or Fuji are ideal for sweetness and texture) - 1 teaspoon ground cinnamon - 1 tablespoon sugar (coconut sugar serves as a healthier alternative) - A pinch of salt - Optional: 1 teaspoon lemon juice (to prevent browning of the apple slices) You can switch out the sugar for a natural sweetener like honey or agave. For a fun twist, try adding a sprinkle of nutmeg or cardamom in place of cinnamon. If you want to skip the lemon juice, you can use vinegar. Just remember, it may change the flavor a bit. I recommend using Honeycrisp or Fuji apples. They offer a great mix of sweetness and crunch. Other good choices are Granny Smith for a tart flavor or Gala for a milder taste. Each type brings its own charm to the chips, so feel free to experiment with your favorites. First, set your oven to 225°F (110°C). This low heat helps the apples dry out slowly. While the oven warms up, line two baking sheets with parchment paper. This keeps the apple chips from sticking and makes cleanup easy. Next, wash the apples under cool water. This step is key for cleanliness. Use an apple corer or a sharp knife to remove the cores. Slice the apples into thin rounds, about 1/8 inch thick. If you want to keep them fresh, sprinkle a bit of lemon juice on the slices. This will stop browning. Now, lay the apple slices on the baking sheets. Make sure they do not overlap. Overcrowding will make it hard for them to crisp up. When the apple slices bake for about 45 minutes, flip them over. This helps them cook evenly. Use a spatula and be careful not to break them. Keep an eye on the apple chips as they bake. After 1 to 1.5 hours, they should look golden and feel crisp. If they still feel soft, let them bake a little longer. Once done, take them out and let them cool on the sheets. They will get crunchier as they cool. For the complete recipe, check out the Full Recipe section! To get your apple chips nice and crispy, slice them thin. Aim for about 1/8 inch thick. The thinner the slice, the crunchier the chip. Lay the slices flat on your baking sheet without overlapping. This helps them bake evenly. Baking at a low temperature, like 225°F, lets the moisture escape slowly. Flip them halfway through baking for even crispiness. Keep an eye on the apple chips as they bake. They can go from crisp to burnt quickly. Check them every 15 minutes towards the end of baking. Look for a light golden color and a crisp texture. If they bend, they need more time. If they snap, they're done. This way, you can catch them at just the right moment. These apple chips are great on their own, but you can make them even better. Serve them in a bright bowl for a fun touch. Pair them with dips like nut butter or yogurt for a tasty snack. You can also sprinkle some extra cinnamon on top before serving for added flavor. Enjoy them as a healthy treat any time of day! {{image_4}} You can change the spice game with nutmeg or cloves. Nutmeg gives a warm, sweet taste. Cloves add a rich, spicy flavor. Try mixing cinnamon with these spices for a fun twist. A little goes a long way, so start small. Just a pinch can transform your apple chips into something special. If you want to switch things up, use different sweeteners. Honey adds a nice floral note. Agave syrup is a great vegan choice. Coconut sugar offers a brown sugar taste. Each sweetener brings its unique flavor. Just remember to adjust the amount based on sweetness. Check the [Full Recipe] for guidance on using your chosen sweetener. Want to boost flavor? Add nuts or dried fruit. Chopped almonds or walnuts add crunch and protein. Dried cranberries or raisins can bring sweetness. Mix them into your cinnamon-sugar blend for an extra treat. You can even sprinkle them on top before baking. This way, each bite becomes a delightful surprise. To keep your baked cinnamon apple chips fresh, use an airtight container. Glass jars work well. You can also use resealable plastic bags. Just make sure to remove as much air as possible. Store them in a cool, dark place. Avoid direct sunlight or heat, which can make them soggy. When stored properly, these chips can last about one week. After that, they may lose some crunch. If you place them in the fridge, they can last longer, but the texture might change. Always check for any signs of moisture or softness before enjoying them. If your apple chips lose their crunch, don’t worry! You can easily revive them. Simply preheat your oven to 200°F (93°C). Spread the chips on a baking sheet in a single layer. Bake them for about 5 to 10 minutes. This will help bring back their crispy texture. Enjoy them fresh from the oven! Yes, you can use a dehydrator. Just slice the apples thinly. Set the dehydrator to 135°F (57°C). Dehydrate for 6 to 8 hours. Check them often. You want them crisp but not burnt. This method keeps more nutrients than baking. To stop browning, you can use lemon juice. Just sprinkle a teaspoon on the slices. This acid slows down the browning process. You can also soak the slices in a mix of water and lemon juice for a few minutes. Rinse and dry them before baking. Apple chips are a great snack! They have fiber that helps digestion. They are low in calories, making them a healthier choice. You get natural sweetness without added sugar. Plus, they contain vitamins A and C. They are good for your skin and immune system. Yes, you can freeze them! First, let them cool completely. Place them in a single layer on a baking sheet. Freeze until solid. Then, transfer to an airtight bag. They can last up to 6 months in the freezer. Just let them thaw before eating. For the full recipe, check the earlier section. In this post, we explored how to make delicious baked cinnamon apple chips. We covered ingredients, substitutions, and the best apple varieties. The step-by-step guide included tips for achieving crispiness and avoiding overbaking. You also learned variations with spices and sweeteners, along with storage information. Now you have all the tools to create your own tasty snacks. Enjoy your homemade apple chips!](https://goldendishy.com/wp-content/uploads/2025/07/917ca0c2-206f-45f2-a1a8-9893eb8662bc-768x768.webp)