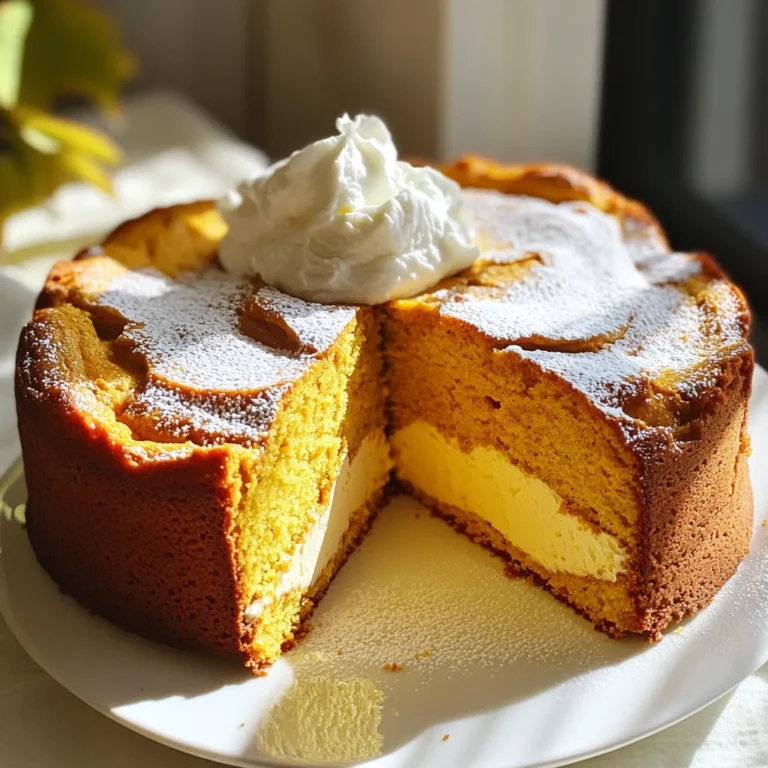
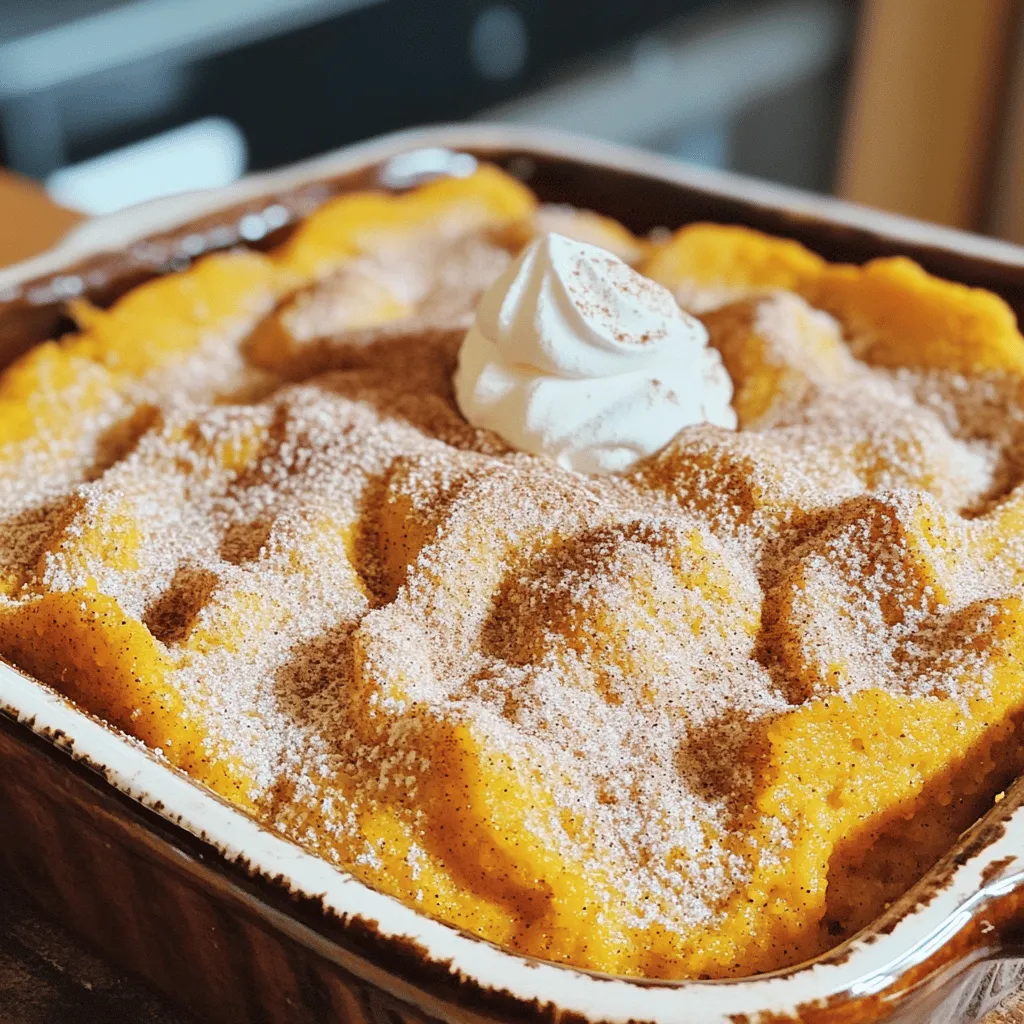
Pumpkin Snickerdoodle Coffee Cake Flavorful Delight
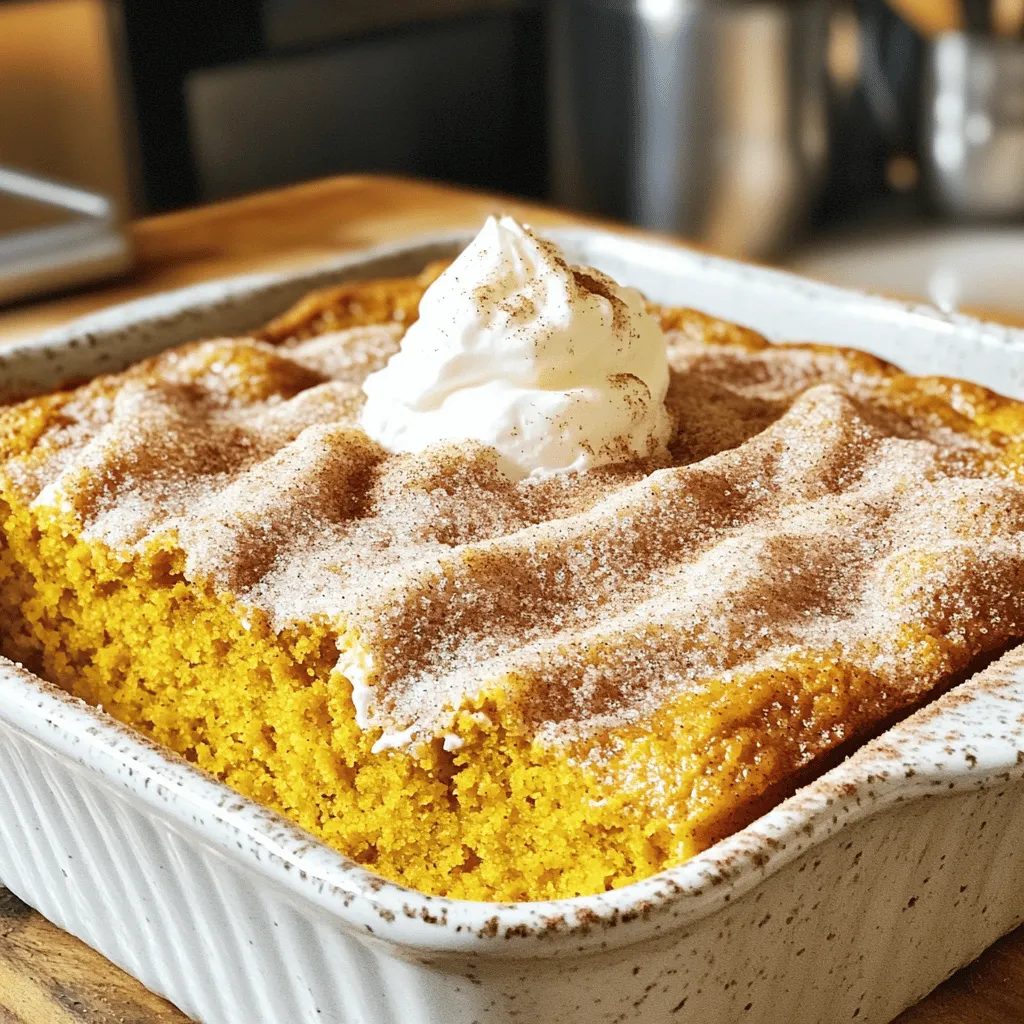
Are you ready to enjoy a delicious treat? This Pumpkin Snickerdoodle Coffee Cake blends warm spices and rich pumpkin flavor. It’s perfect for cozy mornings or festive gatherings. I’ll walk you through simple steps to create this delightful cake, plus share tips for the best texture and flavor. Whether you’re baking for yourself or to impress guests, this recipe will not disappoint! Let’s dive right in!
Ingredients
To make the Pumpkin Snickerdoodle Coffee Cake, you need a few simple ingredients that bring great flavor. Here is the list:
– 1 ½ cups pumpkin puree
– ½ cup vegetable oil
– 1 cup brown sugar, packed tightly
– ½ cup granulated sugar
– 3 large eggs, at room temperature
– 1 teaspoon vanilla extract
– 2 cups all-purpose flour
– 1 teaspoon baking powder
– 1 teaspoon baking soda
– 1 teaspoon ground cinnamon
– ½ teaspoon ground nutmeg
– ½ teaspoon salt
– ¼ teaspoon cream of tartar
– ¼ cup granulated sugar (for topping)
– 1 tablespoon ground cinnamon (for topping)
Each ingredient plays a special role in creating a soft, flavorful cake. The pumpkin puree adds moisture and a rich taste. The mix of brown and granulated sugars gives the cake a lovely sweetness. The spices like cinnamon and nutmeg bring warmth and comfort.
Using room temperature eggs helps the batter blend better. The baking powder and baking soda will make your cake rise perfectly. Finally, the cinnamon-sugar topping gives a delightful crunch and sweet finish. This cake is perfect for any gathering, and it fills your kitchen with a warm aroma that everyone will love.
Step-by-Step Instructions
Prepping the Oven and Baking Pan
– Preheat oven to 350°F (175°C)
– Grease and flour a 9×13-inch baking pan
To start, I preheat my oven. I set it to 350°F. This helps the cake bake evenly. Next, I grab a 9×13-inch baking pan. I grease it with some butter or oil. Then, I sprinkle in flour to coat the pan. This step keeps the cake from sticking.
Mixing Wet Ingredients
– Combine pumpkin puree, vegetable oil, sugars, eggs, and vanilla
In a large bowl, I add pumpkin puree. It gives the cake moisture and flavor. Then, I pour in vegetable oil for richness. Next, I add both brown sugar and granulated sugar. The brown sugar adds depth. I crack in three large eggs for binding. Lastly, I splash in vanilla extract for sweetness. I whisk everything until smooth and well mixed.
Incorporating Dry Ingredients
– Sift and mix dry ingredients carefully
In another bowl, I sift together the dry ingredients. I use all-purpose flour, baking powder, and baking soda. Each helps the cake rise. Next, I add ground cinnamon, nutmeg, and salt for flavor. Sifting is key; it makes the dry mix light. I then fold this dry mix into the wet mix gently. I stop when I see a few lumps. Overmixing can make the cake tough.
Assembling the Batter Layers
– Layering batter and cinnamon-sugar topping
Now it’s time to assemble the cake. I pour half of the batter into the greased pan. I spread it out evenly with a spatula. Then, I sprinkle half of the cinnamon-sugar mix over this layer. This adds a sweet crunch. Next, I add the rest of the batter on top, smoothing it out again. Finally, I top it with the remaining cinnamon-sugar mix.
Baking the Coffee Cake
– Baking duration and doneness test
I place the pan in the preheated oven. I set a timer for 30 to 40 minutes. To check if it’s done, I insert a toothpick in the center. If it comes out clean, the cake is ready. Once it’s baked, I take it out and let it cool for about 10 minutes. Then, I slice it up and enjoy!
Tips & Tricks
Achieving the Perfect Texture
To get a great texture, do not overmix the batter. Overmixing can lead to a dense cake. Just stir until you see no dry flour. It’s okay to have some lumps. Using room temperature eggs helps the batter blend better. Cold eggs can make the batter lumpy and uneven.
Enhancing Flavor
You can boost the flavor with extra spices. Try adding ginger or allspice for warmth. A splash of maple extract can add a nice twist. You might even consider a touch of almond extract for a nutty flavor. These little tweaks can make your cake stand out.
Presentation Tips
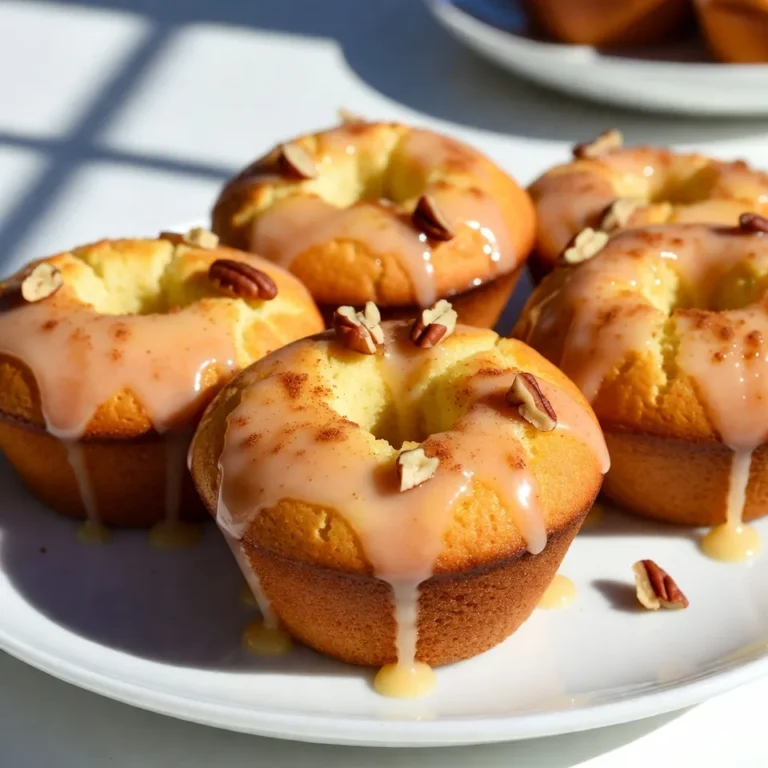
Serve your coffee cake warm for the best taste. Top each slice with a dollop of whipped cream. A sprinkle of cinnamon adds a nice touch. You can also add a few pumpkin seeds for crunch and color. This makes your cake look inviting and festive.
Variations
Gluten-Free Option
You can easily make this coffee cake gluten-free. Use a gluten-free flour blend instead of all-purpose flour. Look for blends that include xanthan gum for better texture. You may also try almond flour or coconut flour, but adjust the liquid as needed.
Vegan Version
To make a vegan coffee cake, replace eggs with flax eggs. Mix one tablespoon of flaxseed meal with three tablespoons of water for each egg. For dairy, use plant-based milk and oil instead of vegetable oil. This keeps the cake moist and delicious.
Flavor Twist Suggestions
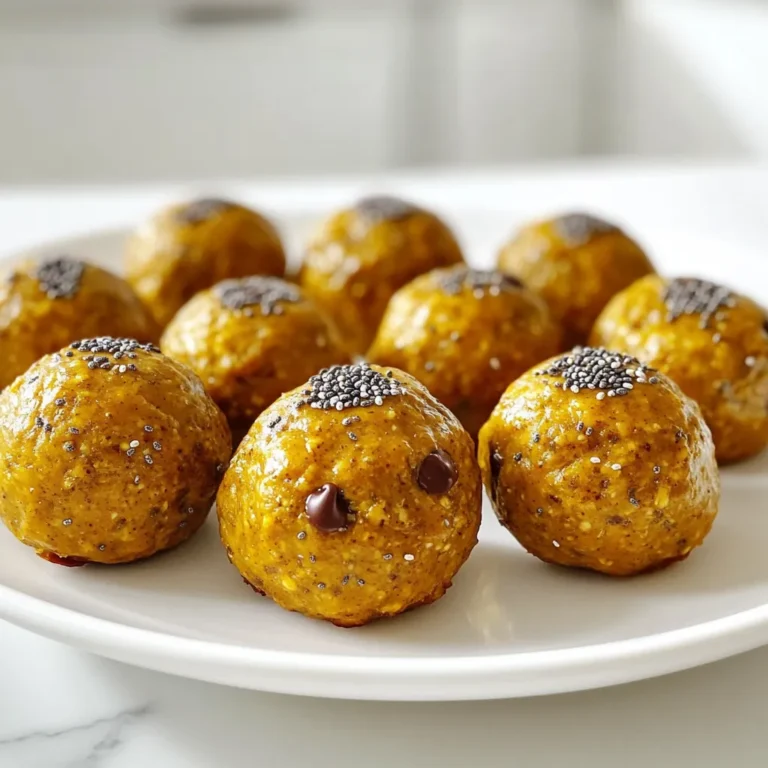
Want to change up the flavor? Add chocolate chips for a sweet touch. You can also mix in nuts, such as walnuts or pecans, for crunch. These additions will give your cake a new and exciting taste.
Storage Info
How to Store Leftovers
To keep your pumpkin snickerdoodle coffee cake fresh, store it in an airtight container. This helps keep moisture in and keeps the cake soft. If you don’t have a container, wrap the cake tightly in plastic wrap. Store it in the fridge, where it can last up to five days.
Reheating Instructions
When you want to enjoy your coffee cake again, reheat it in the oven or microwave. For the oven, preheat it to 350°F (175°C) and warm the cake for about 10 minutes. This method helps restore the cake’s soft texture. If you use the microwave, heat a slice for about 20 seconds. This gets it warm without drying it out.
Freezing Guidelines
You can freeze pumpkin snickerdoodle coffee cake for longer storage. First, slice the cake and wrap each piece in plastic wrap. Then, place the wrapped slices in a freezer-safe bag. They can stay in the freezer for up to three months. To defrost, take out a slice and let it thaw in the fridge overnight or on the counter for a few hours. Enjoy it fresh as if it was just baked!
FAQs
Can I use fresh pumpkin instead of canned?
Yes, you can use fresh pumpkin! Just roast or steam the pumpkin first. After cooking, mash it until smooth. This gives a wonderful, fresh taste to your cake. Fresh pumpkin may have more moisture, so adjust flour if needed.
How long does the coffee cake last?
The coffee cake lasts about 3 to 4 days at room temperature. Store it in an airtight container to keep it fresh. You can also refrigerate it for up to a week. Just let it warm up before serving for the best taste.
What can I serve with pumpkin snickerdoodle coffee cake?
This coffee cake pairs well with many things! Try serving it with:
– Whipped cream
– Vanilla ice cream
– A warm cup of coffee
– Hot apple cider
These options enhance the flavors and make your dessert even more enjoyable!
Can I make this recipe ahead of time?
Yes, you can make it ahead! Bake the coffee cake, let it cool, and then store it. Wrap it tightly in plastic wrap or foil. You can also freeze it for up to 3 months. Just thaw it overnight in the fridge before serving.
This pumpkin snickerdoodle coffee cake is easy to make and delicious. You learned about key ingredients, step-by-step instructions, and helpful tips. I shared ways to adapt the recipe for gluten-free or vegan diets. Storing and reheating options keep the cake fresh. Enjoy your baking journey with this simple recipe. You’ll impress friends and family with your tasty creation. Happy baking!