Classic Snickerdoodle Cookies Tasty and Easy Treat
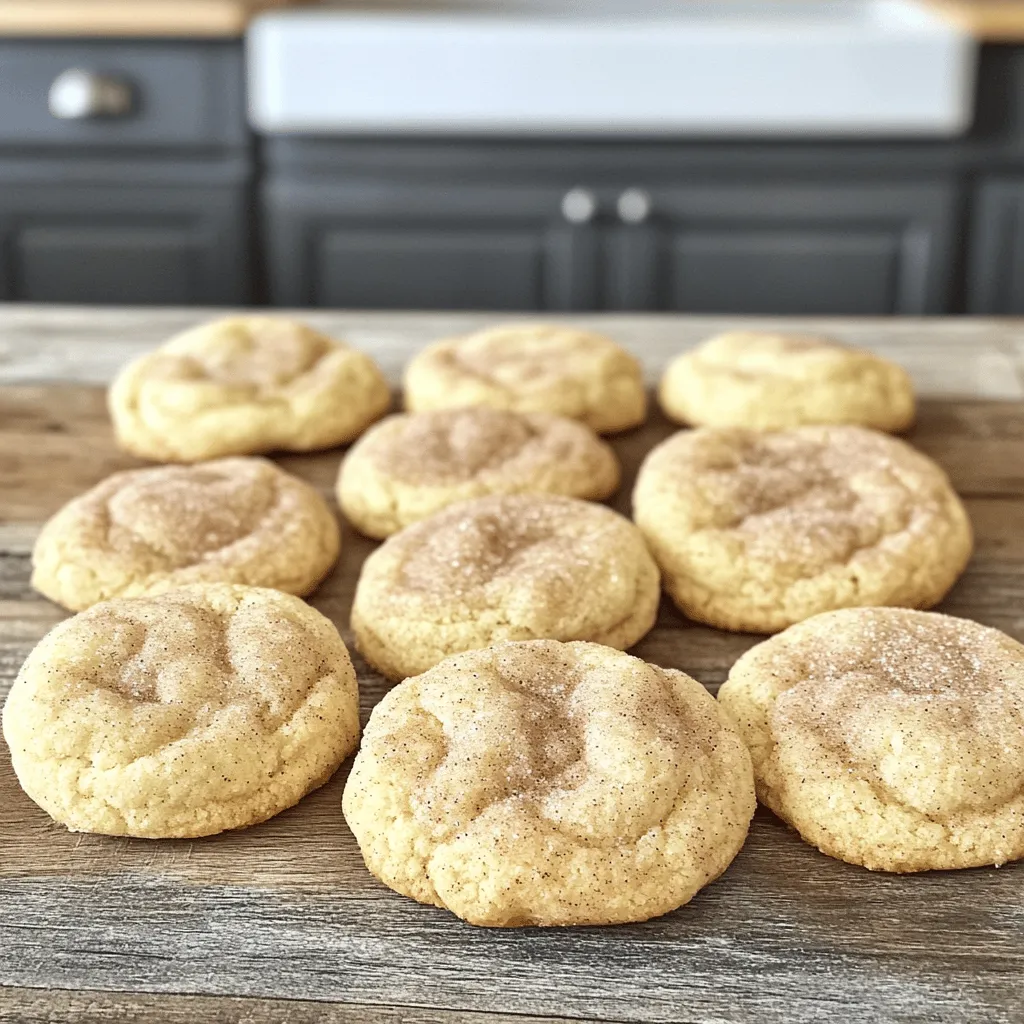
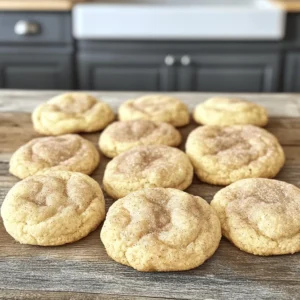
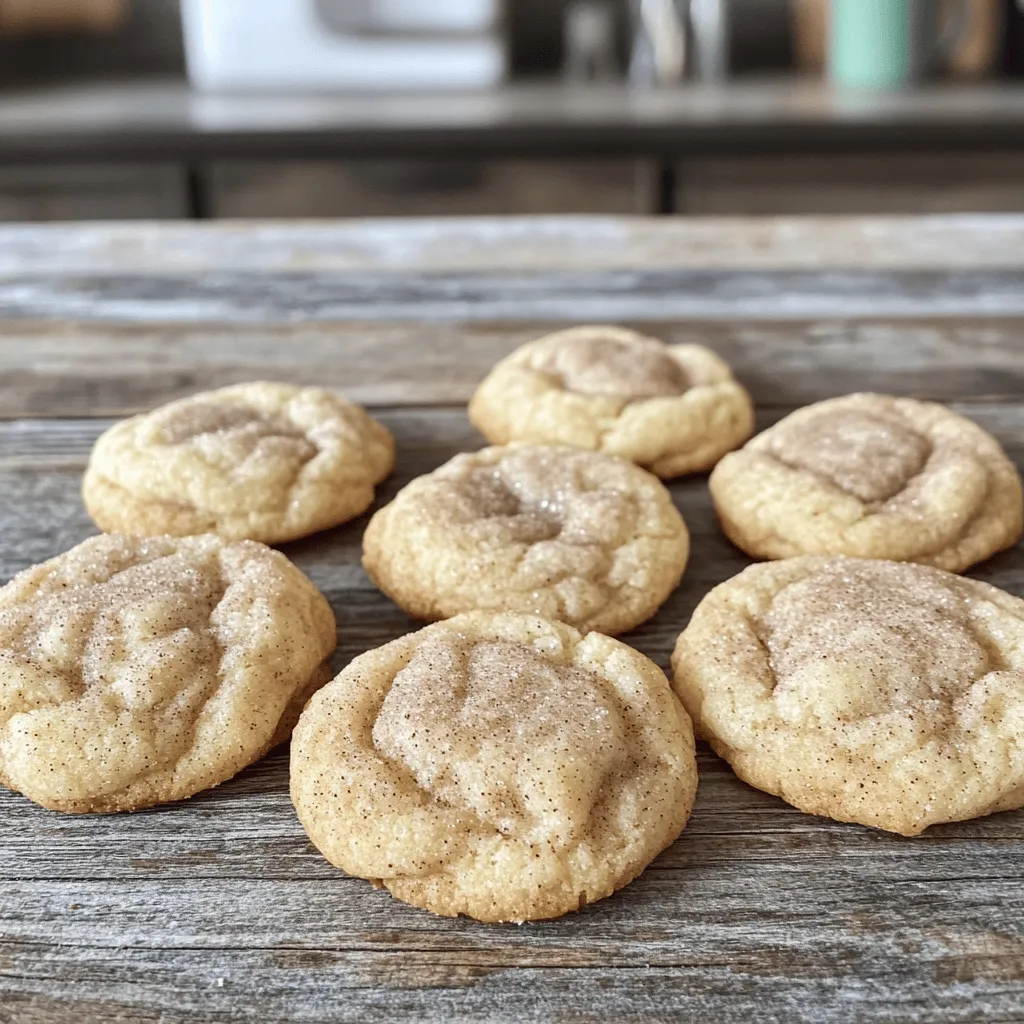
Classic snickerdoodle cookies are a timeless treat that everyone loves. With just a few simple ingredients, you can create soft, chewy cookies bursting with cinnamon flavor. I’ll guide you through the steps to make this easy recipe, share tips for the perfect texture, and explore delicious variations. Get ready to bake a batch that will have your friends and family asking for more! Let’s dive in and satisfy that cookie craving.
Ingredients
To make classic Snickerdoodle cookies, you need a few simple ingredients that come together to create a delightful treat. Here’s what you’ll need:
– 1 cup unsalted butter, softened
– 1 ½ cups granulated sugar
– 2 large eggs
– 1 teaspoon pure vanilla extract
– 2 ¾ cups all-purpose flour
– 2 teaspoons cream of tartar
– 1 teaspoon baking soda
– ½ teaspoon salt
– 3 tablespoons granulated sugar (for the cinnamon-sugar coating)
– 1 tablespoon ground cinnamon (for the cinnamon-sugar coating)
When it comes to ingredient substitutions, here are some tips:
– If you don’t have cream of tartar, you can use lemon juice or white vinegar instead. Use 1 teaspoon of either for this recipe.
– You can swap the all-purpose flour with a gluten-free blend if needed.
– For a dairy-free option, replace the butter with a vegan butter substitute.
These ingredients create a soft, chewy cookie with a sweet cinnamon flavor. They are easy to find and perfect for baking days.
Step-by-Step Instructions
Preparation Steps
1. Preheat your oven to 350°F (175°C). Line two baking sheets with parchment paper. This helps the cookies not stick.
2. In a large bowl, cream 1 cup of softened butter. Use an electric mixer on medium speed for 2 to 3 minutes. The butter should look light and fluffy.
3. Gradually add 1 ½ cups of granulated sugar. Keep mixing until it’s well combined.
4. Add 2 large eggs, one at a time. Mix well after each egg. Add 1 teaspoon of vanilla extract and stir until mixed.
Mixing Dry Ingredients
1. In another bowl, whisk together 2 ¾ cups of all-purpose flour, 2 teaspoons of cream of tartar, 1 teaspoon of baking soda, and ½ teaspoon of salt. This helps the cookies rise evenly.
2. Slowly add the dry mix to the wet mixture. Use a spatula or wooden spoon. Mix until the dough just comes together. Don’t overmix; this keeps cookies tender.
Shaping and Baking
1. In a small bowl, mix 3 tablespoons of sugar with 1 tablespoon of ground cinnamon for the coating.
2. Scoop the dough into balls, about 1 inch wide. Roll each ball in the cinnamon-sugar mix until fully coated.
3. Place the dough balls on the baking sheets. Leave about 2 inches between them to allow spreading.
4. Bake for 10-12 minutes. The edges should set and the tops should crack slightly. The centers may look soft but will firm up as they cool.
5. Let the cookies cool on the baking sheets for 5 minutes. Then, move them to a wire rack to cool completely before you enjoy them.
Tips & Tricks
Achieving Perfect Texture
To get the best texture for snickerdoodle cookies, use room temperature ingredients. This helps the butter mix well with sugar. When you cream them, they become light and fluffy. Avoid overmixing the dough. Mix just until you see no dry flour. Overmixing can make your cookies tough.
Flavor Enhancements
To enhance flavor, add a bit more vanilla. You can also try other spices like nutmeg or ginger. These spices will give your cookies a unique twist. Don’t be afraid to experiment! You can add mix-ins too. Chocolate chips or butterscotch chips make a fun addition. Just fold them in gently at the end.
Presentation Tips
When serving, arrange your cookies on a nice plate. A decorative platter makes them look special. Dust a little cinnamon on top for flair. You can also serve them with a glass of milk. It’s a classic pairing that everyone loves. For a fun twist, try stacking them high for a cookie tower!
Variations
Nutty Snickerdoodles
You can easily add a twist to your classic snickerdoodles. Try mixing in chopped nuts like pecans or walnuts. The nuts add a nice crunch and enhance the flavor. Just about ½ cup will do. Fold them into the dough right after you mix in the flour. This small change makes your cookies even more special.
Chocolate Variation
If you love chocolate, you can incorporate it into snickerdoodles. Add chocolate chips or cocoa powder to the dough. About ½ cup of chocolate chips works great. For a richer taste, use ¼ cup of cocoa powder. Just mix these in when you combine the dry ingredients. The chocolate adds a delightful surprise with each bite.
Dietary Alternatives
For those with dietary needs, snickerdoodles can be made gluten-free. Substitute regular flour with gluten-free all-purpose flour. You can also use sugar substitutes, like coconut sugar or monk fruit sweetener. These options keep the cookies tasty while meeting your dietary goals. Just follow the same measurements as the original recipe.
Storage Info
Storing Baked Cookies
To keep your snickerdoodle cookies fresh, use an airtight container. A glass jar or plastic bin works well. This helps keep moisture out and flavor in. Your cookies will stay soft and tasty when stored this way. They last about one week at room temperature. If you want to enjoy them longer, try freezing.
Freezing Tips
Freezing snickerdoodle cookies is simple. First, let them cool completely after baking. Then, place them in a single layer on a baking sheet. Put the sheet in the freezer for a few hours. This will freeze the cookies individually. Once frozen, transfer them to a freezer-safe bag. Remove as much air as possible. They can last up to three months in the freezer.
When you want to eat a cookie, take it out. Let it thaw at room temperature for about 30 minutes. You can also warm it in the oven for a few minutes. Enjoy your fresh-tasting cookie!
FAQs
What makes Snickerdoodle cookies unique?
Snickerdoodle cookies stand out because of cream of tartar. This ingredient gives the cookies their soft texture and slight tang. Cream of tartar also helps the cookies rise well. It reacts with baking soda, making the cookies fluffy. This is what makes Snickerdoodles different from other cookies.
Can I make Snickerdoodles in advance?
Yes, you can make Snickerdoodles ahead of time. You can prepare the dough and chill it in the fridge. Chilling the dough helps the cookies hold their shape. This is a great trick if you want fresh cookies later. Baked cookies can also be made in advance. Just store them in an airtight container.
How can I tell when Snickerdoodles are done baking?
You can tell when Snickerdoodles are done by looking at them. The edges should look set, and the tops might crack a little. The centers can look soft, but they will firm up as they cool. If the cookies are golden brown and fragrant, they are likely done.
Do Snickerdoodle cookies need to be refrigerated?
Snickerdoodle cookies do not need to be refrigerated. Store them in a cool, dry place. Use an airtight container to keep them fresh. If you live in a humid area, refrigeration might help. Just let them sit out to come back to room temperature before eating.
You now know how to make delicious Snickerdoodle cookies. We covered the key ingredients and steps, like creaming the butter and sugar. You learned tips to achieve the perfect texture and flavor. Plus, we explored fun variations like nutty and chocolate options. Storing and freezing your cookies is simple too.
Enjoy baking these treats, and share them with friends. With practice, you’ll make the best Snickerdoodles ever.