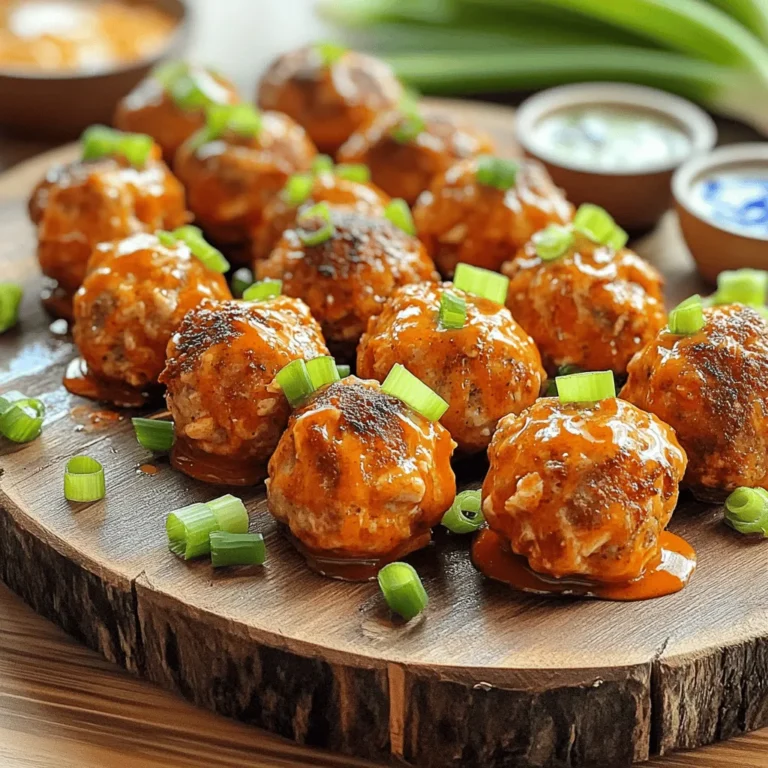
Pickle Ranch Chicken Meatballs Simple and Flavorful Dish
Are you ready for a bold twist on a classic favorite? Pickle Ranch Chicken Meatballs combine juicy ground chicken and zesty pickle flavors, creating an easy, delicious dish. You can whip these up for dinner and wow your family or guests. Whether you’re meal prepping or looking for a tasty snack, these meatballs will impress. Let’s dive into the ingredients and make magic in your kitchen!
Ingredients
To make Pickle Ranch Chicken Meatballs, you need fresh and flavorful ingredients. Here’s the complete list of ingredients you’ll want to gather:
– Ground chicken
– Breadcrumbs
– Dill pickle juice
– Chopped dill pickles
– Ranch dressing
– Grated Parmesan cheese
– Garlic powder
– Onion powder
– Black pepper
– Salt
– Fresh dill (optional)
– Cooking spray or olive oil
These ingredients work together to create a tasty dish. The ground chicken serves as the base, while the breadcrumbs add texture. Dill pickle juice and chopped dill pickles give a tangy kick. Ranch dressing brings creaminess and flavor that ties it all together.
Parmesan cheese adds a savory note, while garlic and onion powders enhance the taste. Don’t forget the black pepper and salt; they balance the other flavors. Using fresh dill is optional, but it can brighten up the dish.
For cooking, you will need either cooking spray or olive oil to help the meatballs bake perfectly.
Step-by-Step Instructions
Preheat the Oven
Start by preheating your oven to 400°F (200°C). This is the best temperature for cooking the meatballs evenly. Next, line a baking sheet with parchment paper. This step helps with easy cleanup and keeps the meatballs from sticking.
Combine Ingredients
In a large bowl, add 1 lb ground chicken and 1 cup breadcrumbs. Pour in 1/4 cup dill pickle juice and then 1/2 cup finely chopped dill pickles. Add 1/4 cup ranch dressing, 1/4 cup grated Parmesan cheese, 1 teaspoon garlic powder, 1 teaspoon onion powder, 1/2 teaspoon black pepper, and 1/2 teaspoon salt. If you like, mix in 1 tablespoon chopped fresh dill. Use a fork or your hands to mix everything together. Make sure the flavors blend well for a tasty bite.
Shape the Meatballs
To shape the meatballs, wet your hands slightly. This will help prevent sticking. Scoop out a tablespoon of the mixture and roll it into a ball. Aim for uniform sizes, so they cook evenly. Place each meatball on the lined baking sheet, leaving space between them.
Bake the Meatballs
Lightly spray the meatballs with cooking spray or drizzle some olive oil over them. Place the baking sheet in the oven. Bake for 20-25 minutes. You’ll know they’re done when they turn golden brown and reach an internal temperature of 165°F (75°C).
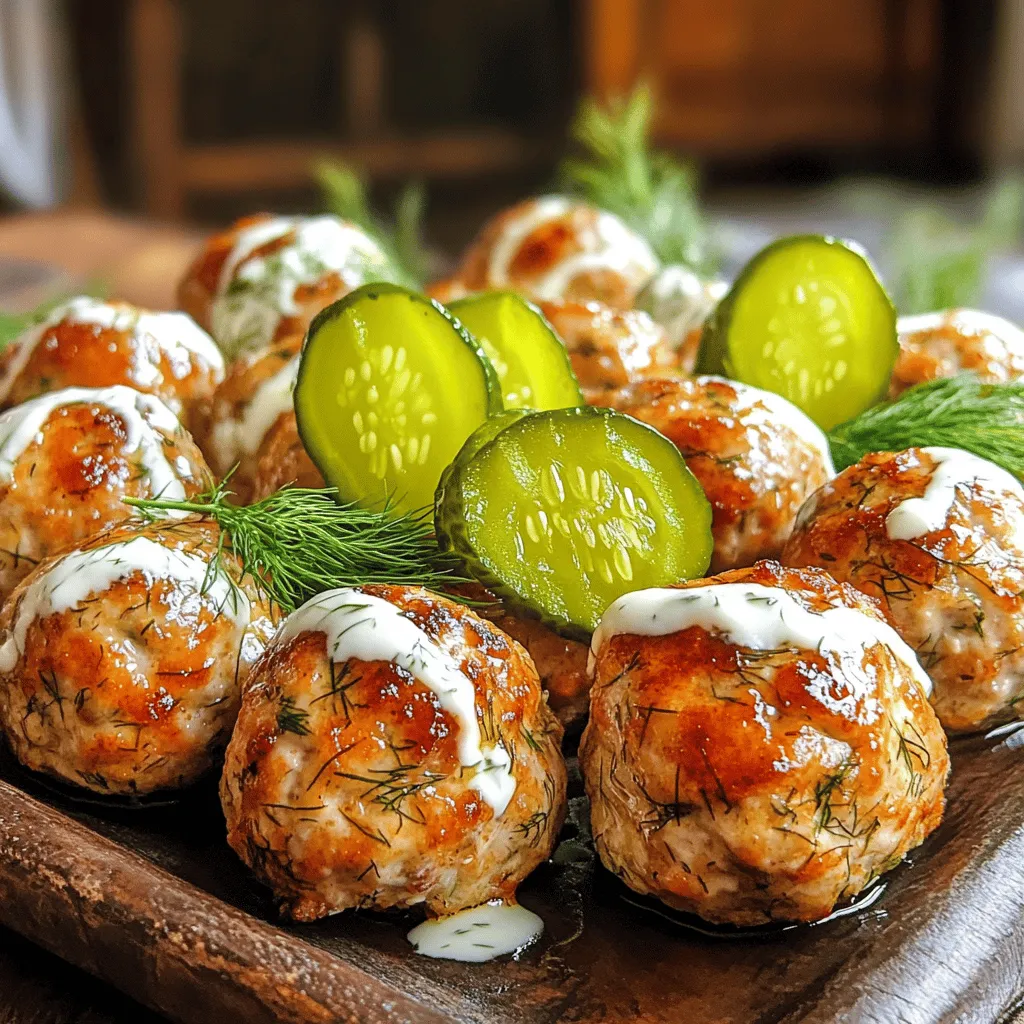
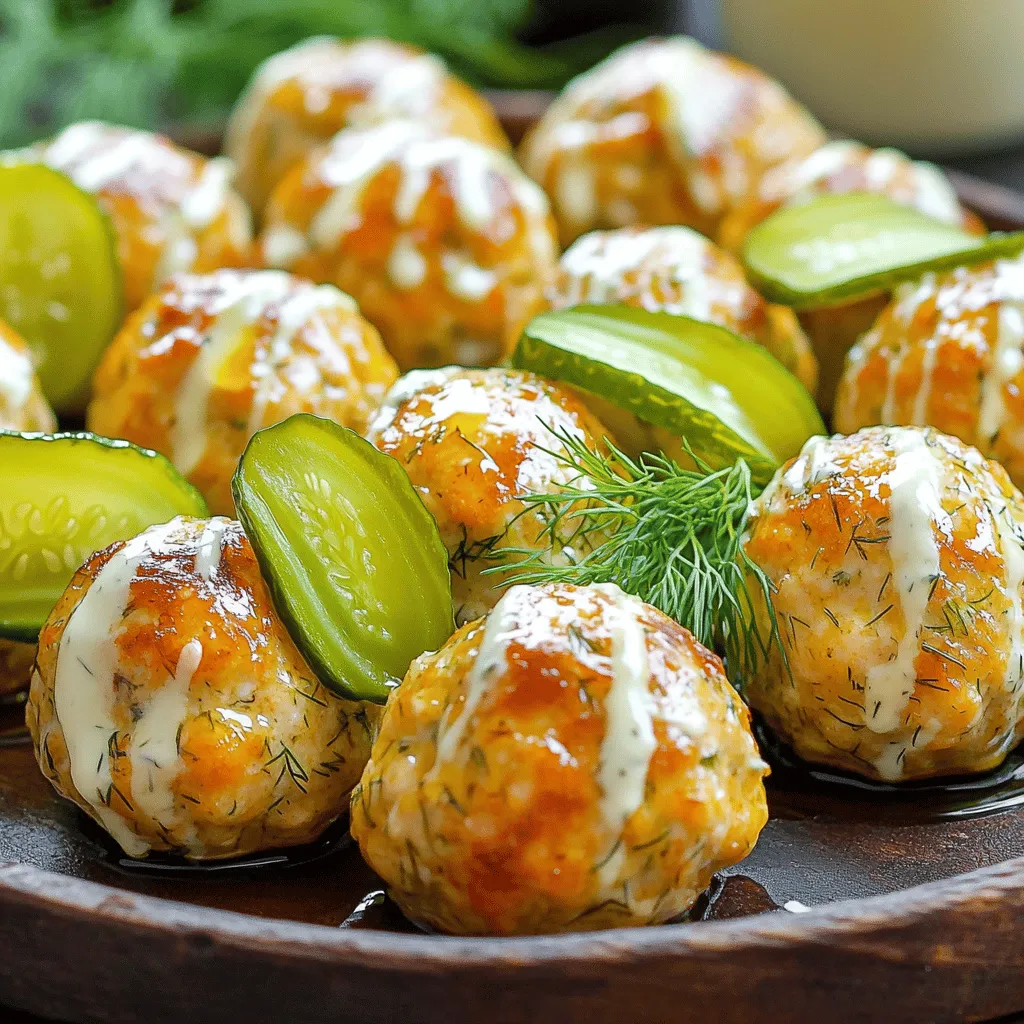
Serve
After baking, let the meatballs cool for a few minutes. Serve them warm on a platter. You can drizzle extra ranch dressing on top or have it on the side for dipping. To make it pretty, add fresh dill sprigs and pickle slices to the platter.
Tips & Tricks
Perfecting Meatball Texture
When making meatballs, avoid over-mixing. This keeps them tender and light. Too much mixing can make them tough. To keep meatballs moist, add enough pickle juice and ranch dressing. These ingredients add moisture and flavor.
Enhancing Flavor
You can boost flavor by adding herbs or spices. Try a pinch of paprika or a dash of cayenne for a kick. You can also add fresh parsley or chives to brighten the taste. For ranch dressing, use a trusted brand like Hidden Valley or Annie’s. These brands offer a creamy texture that complements the meatballs.
Meal Prep Friendly
You can make these meatballs ahead of time. Shape them, then store in the fridge for up to two days. When you’re ready, just bake them. For longer storage, freeze the meatballs on a tray. Once frozen, transfer them to a bag. They last for about three months. You can bake them straight from the freezer; just add a few extra minutes to cooking time.
Variations
Alternative Proteins
You can swap ground chicken for other meats. Turkey or beef work great too. They add their own flavor. If you want a lighter choice, turkey is perfect. Ground beef gives a richer taste and texture. For those who prefer plant-based meals, try using lentils or chickpeas. You can mash them up and blend in the same ingredients. This gives a tasty vegetarian option. For a vegan twist, use a meat substitute like tofu or tempeh. Just make sure to season well to keep the flavors bold.
Different Flavor Combinations
Want to kick things up a notch? Make a spicy pickle ranch version! Add some chili powder or cayenne pepper to the mix. This brings a nice heat to the meatballs. You can also try a sweet and spicy twist. Mix in some honey or brown sugar along with hot sauce. This creates a fun blend of flavors. You can play with spices too! Consider adding smoked paprika or cumin for a new taste.
Serving Suggestions
Pair these meatballs with fun side dishes. Think creamy coleslaw or crispy fries. You can also serve them over a bed of rice or pasta. If you want a fresh touch, add a salad with crunchy vegetables. Sauces can enhance the dish too. Extra ranch dressing is a classic choice. You can also try barbecue sauce or a spicy aioli. These options will complement the meatballs well. For a gourmet touch, drizzle some balsamic glaze over the top. It adds a sweet and tangy flavor. Want more ideas?
Storage Info
Storing Leftovers
To keep your Pickle Ranch Chicken Meatballs fresh, place them in the fridge. Use airtight containers to prevent moisture loss. You can also wrap them tightly in plastic wrap. These methods help keep the meatballs moist and tasty. Store them for up to three days.
Reheating Meatballs
When you reheat meatballs, you want them warm but not dry. The best way is to use an oven. Preheat it to 350°F (175°C). Place the meatballs on a baking sheet and cover them with foil. Heat for about 10-15 minutes. You can also use a microwave. Place the meatballs on a plate and cover them with a damp paper towel. Heat for 1-2 minutes. Check to ensure they are hot throughout.
Freezing Guidelines
Freezing meatballs is easy. First, let them cool completely. Then, place them in a single layer on a baking sheet. Freeze them for about an hour until firm. After that, transfer them to a freezer bag. Remove as much air as possible before sealing. They can stay frozen for up to three months. When ready to cook, thaw them overnight in the fridge. You can also cook them directly from frozen. Just add a few extra minutes to the cooking time for best results.
FAQs
Can I use other types of meat?
Yes, you can! If you want to switch things up, try using ground turkey. It offers a similar taste and texture. Ground beef also works well, but it will add more fat. If you prefer a lighter option, ground pork is great too. You can even mix different meats for unique flavors.
How can I make these gluten-free?
To make these meatballs gluten-free, use gluten-free breadcrumbs. You can find these at most grocery stores. Instead of regular flour, you can use almond flour or oat flour as a binder. These options keep the texture nice and hold everything together.
What dishes pair well with Pickle Ranch Chicken Meatballs?
These meatballs go well with many sides! Serve them with a fresh salad or steamed veggies for a light meal. You could also try pairing them with mashed potatoes or rice for a hearty option. Consider adding a side of ranch dip or extra pickles for extra flavor.
How can I adjust the spice level?
To make the meatballs milder, use less black pepper. You can also skip spicy pickles if you want a calmer taste. If you like heat, add a pinch of cayenne pepper or crushed red pepper flakes. Start small, then taste and adjust as needed for the perfect kick!
In this post, we covered delicious pickle ranch chicken meatballs. You learned about the key ingredients and step-by-step instructions to prepare them. We also shared tips for perfecting their texture and flavor, plus storage tips for leftovers. You can even try different proteins and flavors to match your taste. Overall, these meatballs are easy to make and fun to enjoy. Get creative with your meal prep and explore new pairings. Enjoy these tasty bites any time!