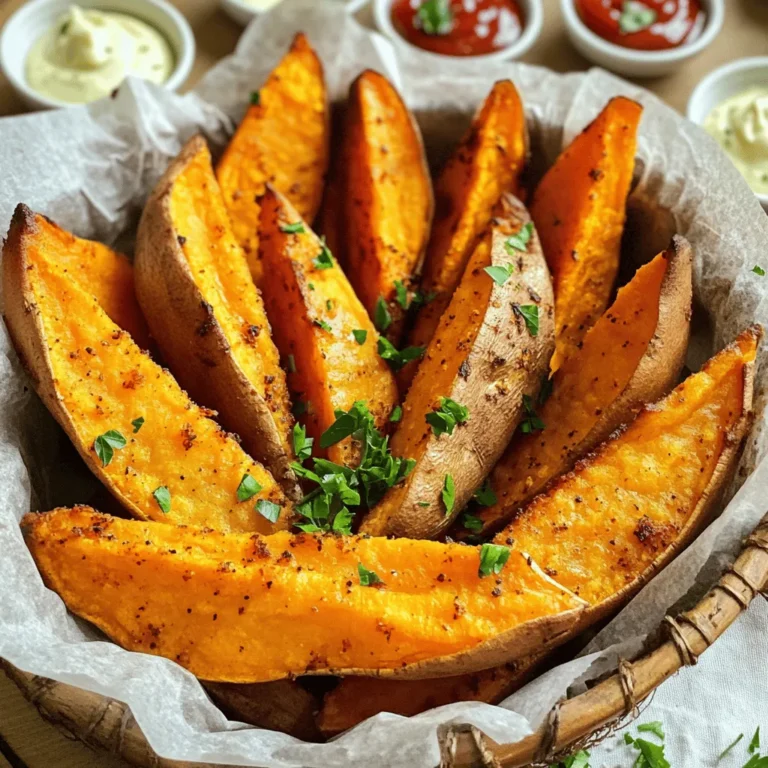
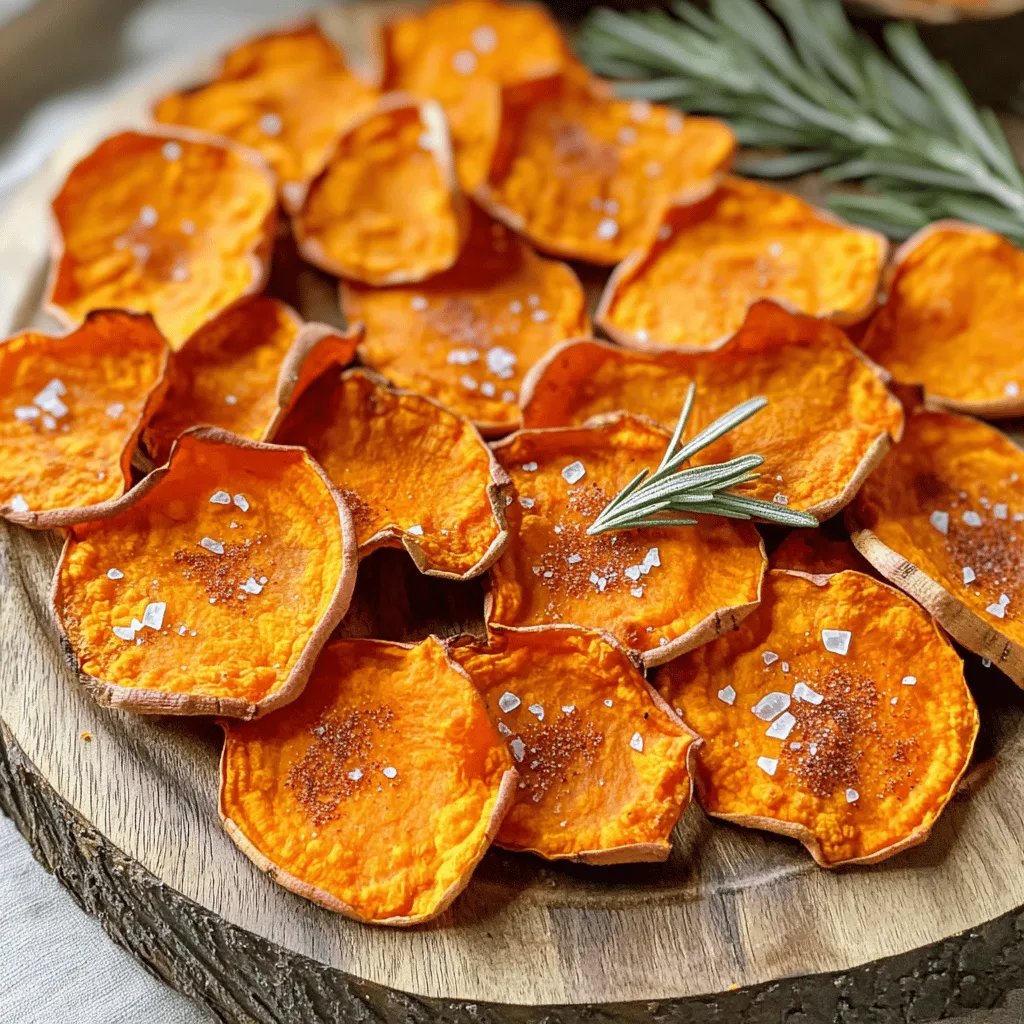
Baked Sweet Potato Chips Crispy and Flavorful Treat

If you’re looking for a tasty, healthy snack, you’ve found it! Baked sweet potato chips are crispy, flavorful, and easy to make at home. With simple ingredients and basic steps, you’ll have a delicious treat that satisfies your crunchy cravings. Whether you enjoy them plain or dressed up with seasonings, these chips are sure to impress. Let’s dive in and create your new favorite snack!
Ingredients
Essential Ingredients for Baked Sweet Potato Chips
To make yummy baked sweet potato chips, you need just a few key items:
– 2 large sweet potatoes
– 2 tablespoons extra virgin olive oil
– 1 teaspoon sea salt
These ingredients form the base of your chips. Sweet potatoes bring a sweet flavor, while olive oil helps them crisp up. The salt adds a nice touch.
Recommended Seasonings
For extra flavor, consider these seasonings:
– 1/2 teaspoon smoked paprika
– 1/4 teaspoon garlic powder
– 1/4 teaspoon cayenne pepper (optional, adjust to taste)
These spices make your chips exciting! Smoked paprika gives a warm, smoky taste. Garlic powder adds depth, and cayenne gives a kick. You can adjust the cayenne based on how spicy you like your chips.
Optional Garnishes
After baking, you can add some fun garnishes:
– Fresh herbs like rosemary or thyme
These fresh herbs brighten up your chips. They also add a lovely color and aroma. Just chop them finely and sprinkle over the warm chips for the best effect.
Step-by-Step Instructions
Preheating the Oven and Preparing Baking Sheets
Start by preheating your oven to 400°F (200°C). This step is key for crispiness. While the oven heats, line two baking sheets with parchment paper. This helps prevent sticking and makes clean-up a breeze.
Slicing the Sweet Potatoes
Wash the sweet potatoes under cool water. Use a vegetable peeler to remove the skin. For even slices, use a mandoline slicer or a sharp knife. Aim for slices that are about 1/8 inch thick. Consistent thickness helps them bake evenly.
Seasoning the Sweet Potatoes
Place the sweet potato slices in a large bowl. Drizzle 2 tablespoons of extra virgin olive oil over the slices. Toss them gently to coat each piece. Next, add 1 teaspoon of sea salt, 1/2 teaspoon of smoked paprika, 1/4 teaspoon of garlic powder, and cayenne pepper if you want some heat. Make sure every slice is well-seasoned for maximum flavor.
Baking the Sweet Potato Chips
Arrange the seasoned sweet potato slices in a single layer on the baking sheets. Avoid overlapping the slices, as this ensures they get crisp. Bake for 15 to 20 minutes. Flip the chips halfway through to help them cook evenly. Keep an eye on them; you want a lovely golden brown color without burning.
Cooling and Final Garnishing
Once baked, remove the sheets from the oven. Let the chips cool for a few minutes on the sheets. This cooling time helps them crisp up even more. For the final touch, sprinkle finely chopped fresh herbs over the chips. This adds extra flavor and a beautiful look. Enjoy your crispy baked sweet potato chips, as they are a delightful treat!
Tips & Tricks
Achieving Crispy Sweet Potato Chips
To ensure your sweet potato chips turn out crispy, follow these simple tips. First, make sure to slice the sweet potatoes evenly. This helps them cook at the same rate. Aim for slices about 1/8 inch thick. You can use a mandoline for this. It’s fast and gives you uniform slices.
After slicing, soak the potato slices in cold water for about 30 minutes. This step removes excess starch, leading to a crunchier chip. After soaking, dry them thoroughly with a clean towel. Moisture can make them soggy, so this step is key.
Best Practices for Slicing
When slicing sweet potatoes, keep these points in mind. Always use a sharp knife or mandoline. A dull knife can squash the sweet potatoes, making uneven slices. If you use a mandoline, be careful with your fingers. Safety first!
Slice all the sweet potatoes before you season them. This way, you can focus on seasoning and baking once they’re all ready. If you prefer thicker chips, adjust the baking time. Thicker chips need a bit more time to become crispy.
Oven Variations and Monitoring
Every oven is different. Some may cook faster than others. Keep a close eye on your chips while they bake. Start checking them at around 15 minutes. Flip them halfway through to ensure they brown evenly.
If your oven has hot spots, rotate the baking sheets halfway through. This will help all chips cook evenly. You want them to be golden brown, not burnt. Once they’re done, let them cool on the baking sheets. This helps them crisp up even more.
Variations
Flavoring Options for Sweet Potato Chips
You can add many flavors to sweet potato chips. Try different spices for a unique taste. Besides smoked paprika, you can use curry powder for a warm flavor. For a zesty kick, add lemon zest. A sprinkle of cinnamon can give a sweet twist. You can also experiment with herbs like dill or oregano. Each spice will change the taste and make it fun!
Other Types of Potatoes to Use
Sweet potatoes are great, but other potatoes work too. You can use regular white potatoes for a classic flavor. Yukon gold potatoes give a creamy texture. Purple potatoes add color and are fun to eat. Remember, different potatoes may need slight adjustments in baking time. Thin slices are key for all types, helping them get crispy.
Pairing Suggestions with Dips and Sides
Baked sweet potato chips pair well with many dips. Hummus is a healthy choice, adding creaminess. Guacamole brings a fresh taste that complements the sweetness. You can also try salsa for a spicy kick. For a twist, combine yogurt with herbs for a cool dip. Serve chips with sliced veggies or cheese for a full snack spread. Enjoy mixing and matching flavors!
Storage Info
How to Store Baked Sweet Potato Chips
To keep your chips fresh, place them in an airtight container. Make sure they are completely cool before storing them. This step helps maintain their crispiness. If you have lots of chips, you can layer them with parchment paper. This prevents them from sticking together.
Reheating Instructions
When you want to enjoy your chips again, reheat them in the oven. Set your oven to 350°F (175°C). Spread the chips on a baking sheet. Heat them for about 5-10 minutes. This method keeps them crunchy, unlike the microwave, which can make them soft.
Shelf Life and Potential Changes in Crispiness
Stored correctly, baked sweet potato chips can last up to a week. However, they may lose some crispiness over time. If you notice they are not as crunchy, reheating them can help. Always check for freshness before eating them. If they smell off or feel soggy, it’s best to toss them.
FAQs
How do I make sweet potato chips in an air fryer?
To make sweet potato chips in an air fryer, start by slicing the sweet potatoes thinly. Aim for even slices, about 1/8 inch thick. Toss them in a bowl with olive oil and your favorite seasonings. Preheat the air fryer to 375°F (190°C). Arrange the sweet potato slices in a single layer in the basket. Fry for about 12-15 minutes, shaking the basket halfway through. Check for crispiness and adjust time as needed. Air frying gives you a crunchy chip without using much oil.
Can I prepare baked sweet potato chips ahead of time?
Yes, you can prepare baked sweet potato chips ahead of time. After baking, let the chips cool completely. Store them in an airtight container at room temperature. They stay fresh for about 2-3 days. If you want them extra crispy, reheat them in the oven or air fryer for a few minutes before serving.
What nutritional benefits do sweet potatoes offer?
Sweet potatoes are packed with nutrients. They are high in fiber, which helps digestion. They also contain vitamins A and C, which support your immune system. Sweet potatoes have antioxidants that can reduce inflammation. Plus, they provide energy due to their natural carbohydrates. Eating sweet potatoes can be a tasty way to boost your health.
How do I keep my sweet potato chips from burning?
To keep sweet potato chips from burning, slice them evenly. Thinner slices cook faster, so aim for about 1/8 inch thick. Bake them at 400°F (200°C) and watch closely. Flip the chips halfway through baking for even cooking. If they start to brown too quickly, reduce the oven temperature slightly. This way, they will crisp up without burning.
What are some healthy dipping options for sweet potato chips?
For healthy dips, try hummus or guacamole. Both are tasty and nutritious. You can also serve sweet potato chips with yogurt-based dips or salsa. These options add flavor and keep your snack healthy. If you want something spicy, try a chipotle sauce. Enjoy experimenting with different dips to find your favorite!
Baked sweet potato chips are simple and rewarding. We covered essential ingredients, seasonings, and garnishes. The step-by-step guide helps start from preheating the oven to cooling the chips. Clever tips ensure crispy results, while variations allow for fun flavors. Storing and reheating methods keep your chips fresh longer.
Enjoy these tasty snacks with healthy dips. Try out the tips and enjoy your homemade crispy chips today!