Mango Salsa Chicken Tasty and Quick Weeknight Meal
Are you looking for a tasty and quick weeknight meal? Look no further! Mango Salsa Chicken is bursting with flavor and easy to make. In just a few simple steps, you’ll create a dish that impresses your family and fills their bellies. I’ll walk you through the ingredients, tips, and variations to suit any taste. Let’s dive into this delicious recipe that’s all set to become your new go-to!
Ingredients
Detailed Ingredients List
For Mango Salsa Chicken, you will need:
– 4 boneless, skinless chicken breasts
– Salt and freshly ground black pepper, to taste
– 1 tablespoon extra virgin olive oil
– 1 ripe mango, peeled and diced
– 1/2 red bell pepper, finely chopped
– 1/4 cup red onion, finely chopped
– 1 jalapeño, deseeded and minced (adjust to taste for heat)
– Juice of 1 fresh lime
– 2 tablespoons fresh cilantro, finely chopped
– 1 teaspoon honey (optional, for sweetness)
These ingredients create a dish that is both fresh and flavorful. The chicken pairs perfectly with the sweet and zesty mango salsa.
Alternative Ingredients for Customization
You can adjust this recipe based on what you have on hand. Here are some ideas:
– Chicken: Swap chicken breasts for thighs for a juicier option.
– Mango: If mango is out of season, try peach or pineapple for a different twist.
– Spice: Use red pepper flakes instead of jalapeño if you prefer a milder kick.
– Herbs: Replace cilantro with parsley or mint if you dislike cilantro.
These swaps let you personalize the dish to fit your taste!
Ingredients for Variations (e.g., Grilled vs. Baked)
You can prepare Mango Salsa Chicken in different ways. Here’s how:
– Grilled: Follow the recipe with the grilling method for a smoky flavor.
– Baked: Season the chicken and place it in a baking dish. Cook at 375°F for about 25-30 minutes.
– Tacos: Use shredded chicken and serve it in tortillas topped with mango salsa.
Each method offers a unique taste and texture while keeping the core flavors intact.
Step-by-Step Instructions
Prepping the Chicken
Start by rinsing your chicken breasts under cold water. Pat them dry with paper towels. This helps the seasonings stick better. Sprinkle salt and black pepper on both sides. Use your hands to rub the seasoning in well. Next, drizzle olive oil over the chicken. This oil adds flavor and keeps the chicken moist while cooking.
Grilling Instructions
Preheat your grill or grill pan to medium-high heat. This is key to getting a nice char. Place the chicken on the grill. Cook each side for 6 to 7 minutes. Check the internal temperature. It should reach 165°F (75°C). Remove the chicken and let it rest for a few minutes. This step helps keep the juices inside.
Making the Mango Salsa
While the chicken rests, grab a medium bowl. Add the diced mango, chopped bell pepper, red onion, and jalapeño. Squeeze in the lime juice. This adds a fresh zing. Toss in the chopped cilantro and honey if you want some sweetness. Stir gently until everything is mixed well. The salsa adds a bright, fresh touch to the chicken. Now you’re ready to serve your delicious dish with the fresh mango salsa on top!
Tips & Tricks
Perfecting the Grilling Technique
To grill chicken perfectly, start with a hot grill. Preheat it to medium-high heat. This helps to sear the meat and lock in juices. Always oil the grill grates. This prevents the chicken from sticking. Use tongs to flip the chicken only once. This keeps the juices inside. Cook for about 6-7 minutes on each side. Check the internal temperature. It should reach 165°F (75°C) to be safe.
Enhancing Flavor with Marinades
Marinades boost flavor and make the chicken tender. You can make a simple marinade with lime juice, olive oil, and spices. Let the chicken soak for at least 30 minutes. If you have more time, try marinating overnight. This allows the flavors to soak in deeper. For a twist, add crushed garlic or ginger to your marinade. These will add a nice kick to your dish.
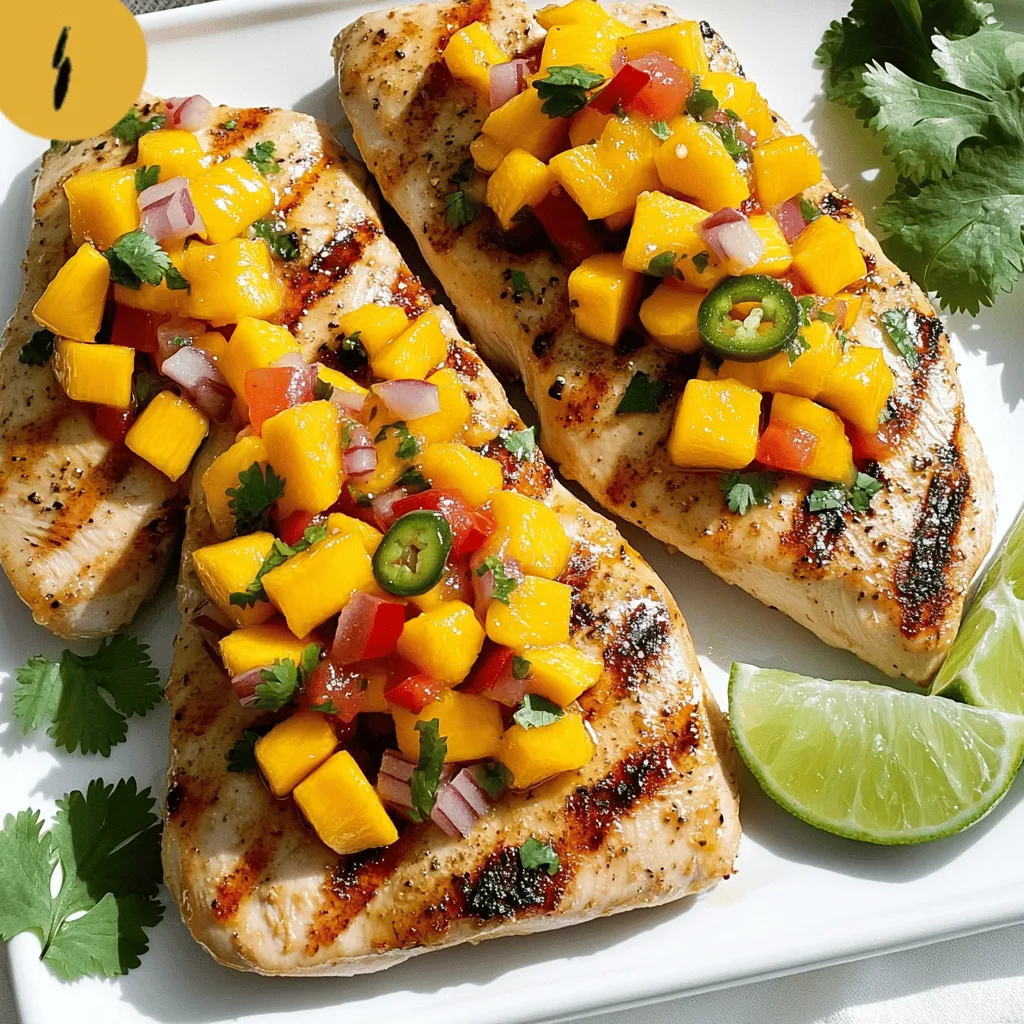
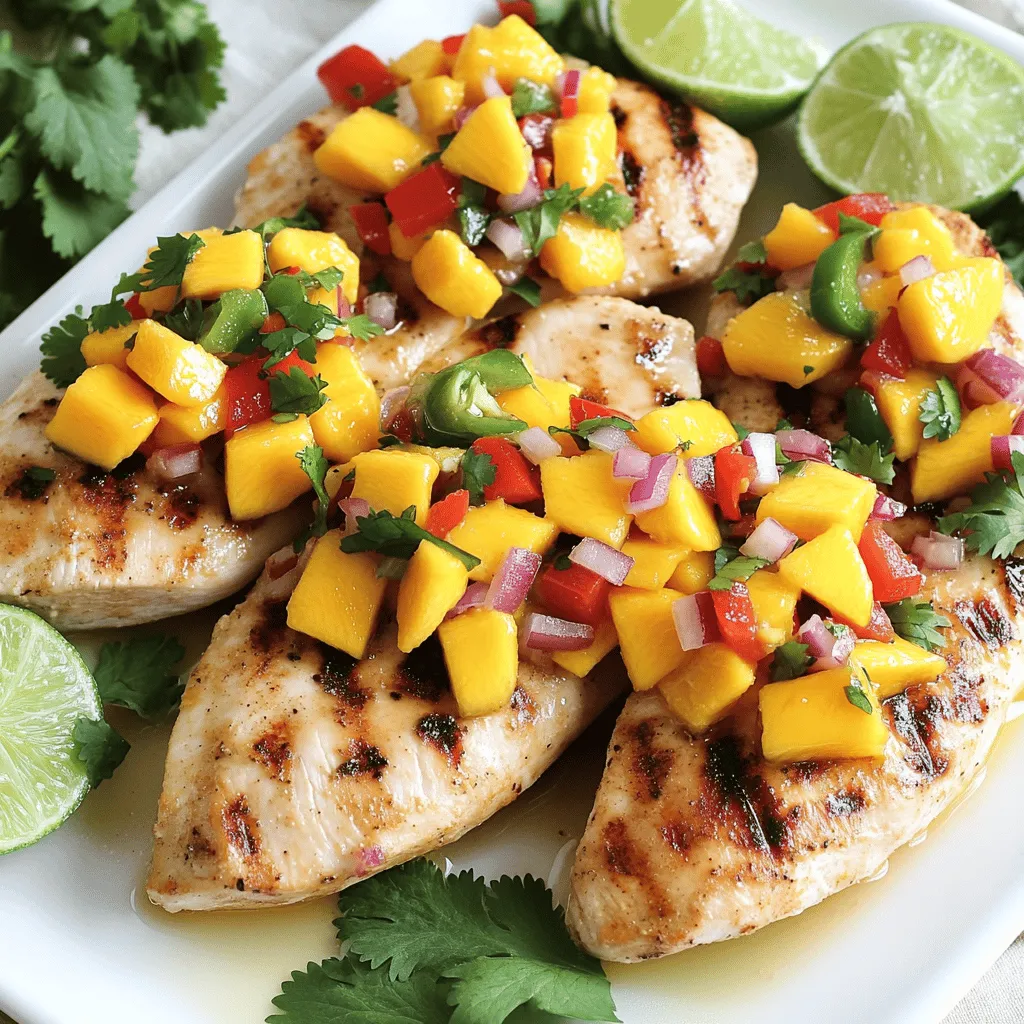
Presentation Tips for Serving
A beautiful plate makes the meal special. Arrange the grilled chicken on a white platter. This contrast highlights the colorful mango salsa. Drizzle any extra salsa over the chicken. Add fresh cilantro leaves and lime slices as a garnish. This not only looks nice but also adds fresh flavor. You can also serve with lime wedges on the side. This gives guests a zesty burst when they squeeze it on their chicken. Enjoy this dish not just for taste but for its stunning look!
Variations
Grilled Mango Salsa Chicken
Grilling brings out great flavors in chicken.Use the grill to cook the chicken until it’s juicy and tender. The smoky taste pairs well with fresh mango salsa. You can add spices like cumin or paprika for extra flavor. This method is quick and perfect for summer nights.
Baked Mango Salsa Chicken
Baking is another easy way to make mango salsa chicken. Preheat your oven to 375°F (190°C).Place the chicken in a baking dish and pour the salsa over the top. Bake for about 25-30 minutes, or until the chicken is cooked through. This method keeps the chicken moist and allows the flavors to meld nicely.
Mango Salsa Chicken Tacos
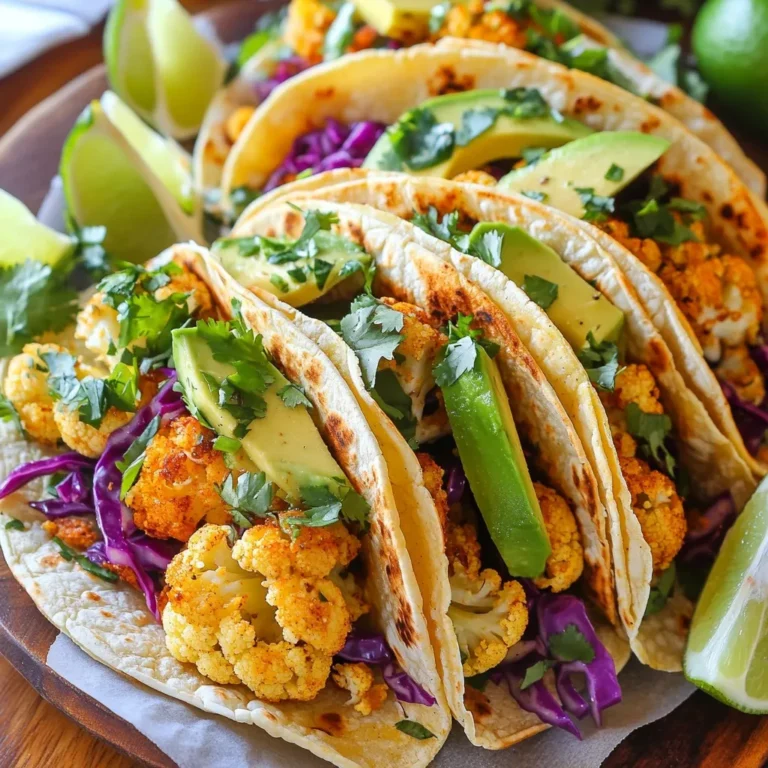
Turn your mango salsa chicken into tasty tacos. Cook the chicken using your favorite method from above. Slice it into strips and place it in soft or hard taco shells. Top with mango salsa, avocado slices, and a squeeze of lime juice. These tacos are fun to eat and perfect for gatherings. They bring a fresh twist to taco night!
Storage Info
Storing Leftovers Properly
Store leftover Mango Salsa Chicken in an airtight container. Keep it in the fridge for up to four days. Make sure the chicken has cooled down before sealing it. This helps keep the chicken juicy and fresh.
Reheating Tips
When reheating, place the chicken in the microwave for about one to two minutes. Check the temperature to ensure it’s hot inside. You can also reheat it in the oven at 350°F (175°C). Cover it with foil to keep it moist. This way, you avoid dry chicken.
Freezing Mango Salsa Chicken
You can freeze Mango Salsa Chicken for later meals. First, let the chicken cool completely. Wrap it tightly in plastic wrap, then place it in a freezer bag. It can stay in the freezer for up to three months. Defrost it in the fridge overnight before reheating.
FAQs
Can I use frozen mango for the salsa?
Yes, you can use frozen mango. Just thaw it first. Drain any extra liquid to keep the salsa fresh. Frozen mango works well when fresh mango is not in season. It still provides that sweet and fruity flavor we love.
How can I make it spicier?
To add more spice, use more jalapeño. You can also add a pinch of cayenne pepper. If you like heat, try using a hotter pepper like serrano or habanero. Mix and taste as you go for the perfect heat level.
What sides pair well with Mango Salsa Chicken?
Mango Salsa Chicken goes well with many sides. Here are some great options:
– Rice: White or brown rice complements the dish nicely.
– Quinoa: A healthy and tasty choice, packed with protein.
– Corn Salad: Fresh corn salad adds crunch and sweetness.
– Grilled Veggies: Grilled zucchini, bell peppers, and asparagus bring color and flavor.
– Tortillas: Serve with warm tortillas for a fun twist.
These sides balance the flavors and make your meal complete.
In this post, we explored the key ingredients for making Mango Salsa Chicken. We looked at variations, preparation methods, and handy tips for grilling. I shared lots of ideas for customizing flavors and serving this dish. Remember, whether grilled or baked, this recipe is delicious and fun. Dive into your kitchen and try it out. Enjoy the great taste and healthy benefits of Mango Salsa Chicken!