Chickpea Curry Flavorful and Easy Vegan Delight
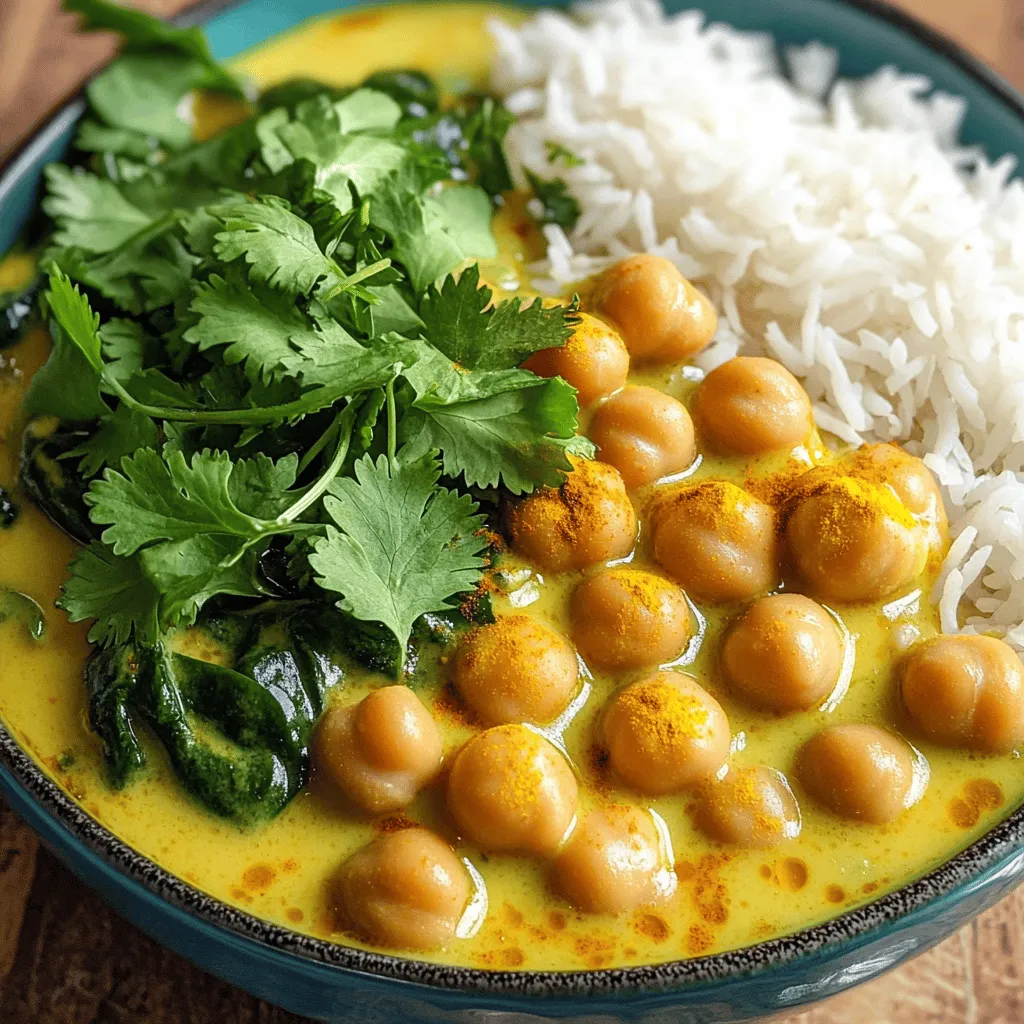
Are you ready to whip up a dish that’s both simple and bursting with flavor? This Chickpea Curry is a delightful vegan treat that will impress everyone at your table. With just a few key ingredients and some easy steps, you can enjoy a meal that’s not only healthy but also packed with taste. Let’s dive into the heart of this recipe and discover how to create your own bowl of happiness!
Ingredients
Essential Ingredients for Chickpea Curry
To make a great chickpea curry, you need some key ingredients:
– 2 cups canned chickpeas, thoroughly rinsed and drained
– 1 medium onion, finely diced
– 3 cloves garlic, minced
– 1-inch piece of fresh ginger, finely grated
– 1 can (14 oz) full-fat coconut milk
– 2 tablespoons concentrated tomato paste
These ingredients form the base of our flavorful curry. The chickpeas provide protein and texture, while the coconut milk adds creaminess. The onion, garlic, and ginger create a fragrant and savory foundation.
Spices and Seasonings
Spices are the heart of any curry. For this dish, you will need:
– 1 teaspoon ground turmeric
– 1 teaspoon whole cumin seeds
– 1 teaspoon ground coriander
– 1 teaspoon garam masala
– 1 tablespoon extra virgin olive oil
– Salt and freshly cracked black pepper to taste
Turmeric gives a lovely golden color. Cumin seeds add warmth and depth. Garam masala brings a complex blend of flavors that elevates the dish.
Fresh Additions
Fresh ingredients make the curry vibrant. You should include:
– 1 cup fresh spinach, roughly chopped
– Fresh cilantro leaves for garnish
– Suggested serving options: basmati rice or warm naan
Spinach adds a pop of green and nutrients. Cilantro enhances the flavor and makes it look pretty. Serve the curry with fluffy basmati rice or warm naan for a complete meal.
Step-by-Step Instructions
Preparing the Base
Heat olive oil in a large pot over medium heat. Add cumin seeds and sauté for 30 seconds. This step brings out their warm, nutty flavor. Next, add the finely diced onion. Stir it occasionally for about 5 to 7 minutes. You want the onions to be soft and translucent. Then, add minced garlic and grated ginger. Cook them together for 1 to 2 minutes, until they smell amazing.
Building Flavor
Now, stir in the ground turmeric, ground coriander, and tomato paste. Mix everything well and cook for about 2 minutes. This helps the spices bloom and creates a tasty base. After that, add the drained chickpeas and pour in the coconut milk. Stir gently to blend all the ingredients. Bring it to a gentle simmer, which lets the flavors combine beautifully.
Finishing Touches
Let the curry simmer for 15 to 20 minutes. This step allows all the flavors to meld together. After simmering, add the chopped spinach and garam masala. Stir the pot and cook for another 5 minutes. The spinach will wilt and turn a bright green. Taste the curry and adjust the seasoning with salt and pepper as needed. Serve this delicious chickpea bliss curry hot. For a complete meal, enjoy it with fluffy basmati rice or warm naan.
Tips & Tricks
Cooking Techniques
Sautéing adds depth to chickpea curry. It brings out the flavors of spices. When you heat olive oil, add cumin seeds first. This step wakes up their aroma. After that, add onion, garlic, and ginger. Cook until they are soft and fragrant. Boiling does not give the same rich taste, so avoid it.
Simmering time is key. Once you mix in the coconut milk and chickpeas, let it sit. Simmer for at least 15 minutes. This time helps flavors blend perfectly. The longer you simmer, the better it gets. Just keep an eye on it to avoid burning.
Timing and Temperature
Cook chickpea curry over medium heat. This helps all ingredients cook evenly. If you turn the heat too high, some parts may burn. If you use different fresh veggies, adjust the cook time. For example, bell peppers may need less time than spinach. Just keep tasting to find the right balance.
Serving Suggestions
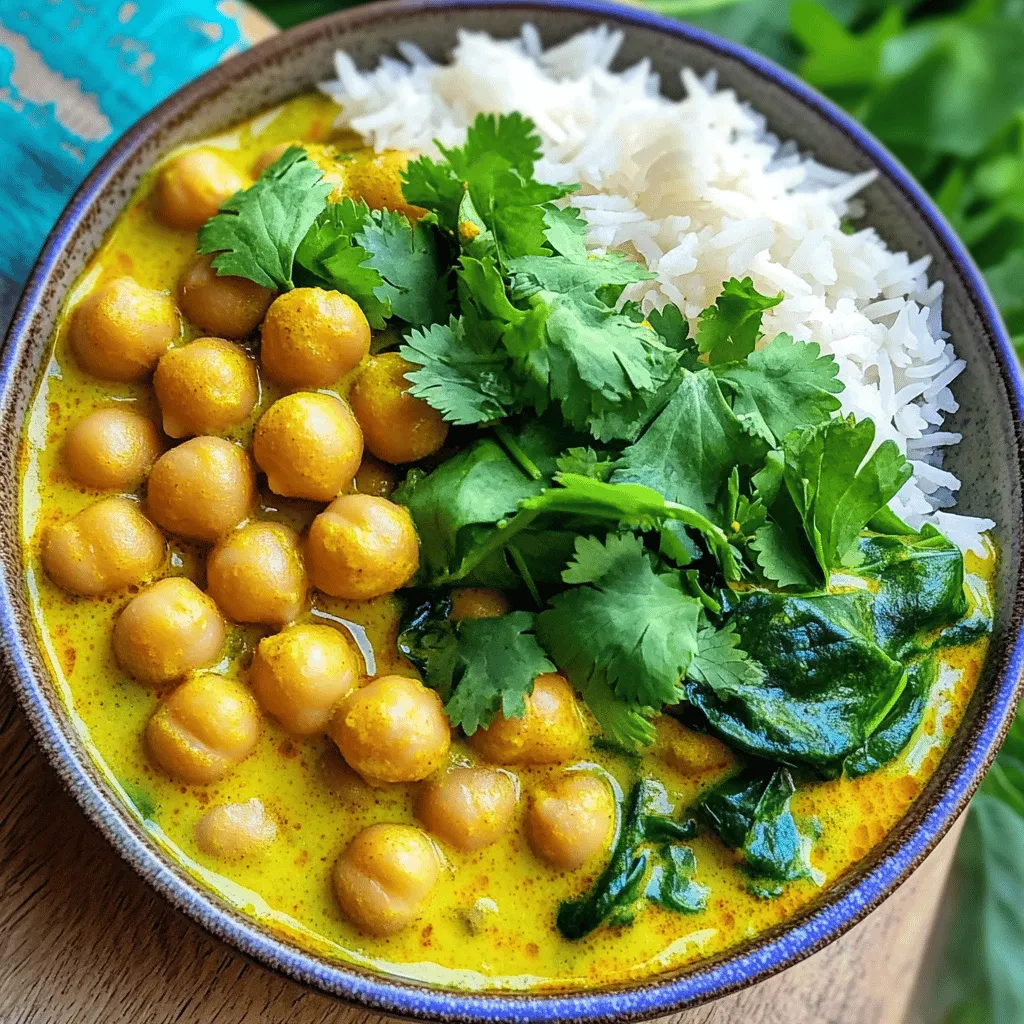
Pair your chickpea curry with rice or naan. Both options soak up the rich sauce. This makes every bite a delight. For a nice touch, serve the curry in a big bowl. Show off the bright colors of the dish. Add a sprig of cilantro on top for flavor and looks. This makes your meal feel special and inviting.
Variations
Dietary Modifications
You can easily make chickpea curry vegan. The recipe is already plant-based. Use coconut milk for creaminess. For gluten-free options, enjoy this dish with rice or gluten-free naan. Check labels on any packaged items to ensure they are gluten-free.
Flavor Enhancements
You can boost flavor by adding different veggies. Try bell peppers or sweet carrots. They add color and texture. You can also mix in some leafy greens like kale for added nutrition. Want more spice? Add chili powder or paprika for heat. A pinch of smoked paprika can add depth.
Alternate Cooking Methods
You can make chickpea curry in different ways. An Instant Pot cooks it fast and keeps flavors strong. Just set it to pressure cook for about 10 minutes. On the stovetop, simmer for deeper flavor. You can also use a slow cooker. This method allows flavors to develop slowly over 4-6 hours. It’s great for meal prep.
Storage Info
Proper Storage Techniques
To keep your chickpea curry fresh, store leftovers in the refrigerator. Use an airtight container. This helps maintain its flavor and texture. Your curry can stay good for about 3 to 5 days in the fridge.
If you want to save it for longer, freezing is a great option. Let the curry cool completely before you freeze it. Then, place it in a freezer-safe container. It can last up to three months in the freezer without losing its taste.
Reheating Guidelines
When you’re ready to eat, reheating properly matters. The best way is to warm it on the stove. Pour the curry into a pot and heat it on low. Stir it often to avoid burning. This method keeps the flavors intact.
If you’re in a hurry, you can use the microwave. Just place your curry in a safe bowl. Cover it loosely and heat for about 1 to 2 minutes. Stir halfway through to heat evenly. Adjust time based on your microwave’s power.
Shelf Life
Chickpea curry can last in the fridge for 3 to 5 days. Always check for signs of spoilage. If it smells off or has a strange color, it’s best to throw it away.
When stored correctly, frozen chickpea curry can last up to three months. However, the longer it stays frozen, the more it may lose flavor. Always label your containers with the date for easy tracking.
FAQs
What are the health benefits of chickpea curry?
Chickpeas are packed with protein and fiber. This makes them great for your health. They help keep you full and satisfied. Plus, chickpeas support digestion and heart health. Coconut milk adds healthy fats, too. It gives the curry a creamy texture. Spices like turmeric have anti-inflammatory properties. They can help boost your immune system. With each bite, you nourish your body while enjoying a tasty meal.
Can I make chickpea curry spicy?
Yes, you can easily make chickpea curry spicy. Start by adding more spices like cayenne pepper. You can also use fresh chili peppers. Adjust the amount to match your heat level. If you like it mild, add spices slowly. Taste as you go to find the right balance. You can even serve hot sauce on the side for extra kick.
What to serve with chickpea curry?
Chickpea curry pairs well with many side dishes. Cooked basmati rice is a classic choice. It soaks up the sauce and adds texture. Warm naan is also a great option. You can use it to scoop up the curry. In some cultures, serving yogurt adds a cool contrast. A simple salad can refresh your palate, too. These pairings enhance your meal and connect with tradition. Enjoy your chickpea curry with friends and family!
Chickpea curry offers rich flavors and nutrition through simple ingredients. This dish shines with spices, coconut milk, and fresh veggies. You can adjust spices for heat or add new flavors. Proper storage keeps it fresh for later meals. With these tips, you can enjoy a tasty, healthy dish any day. Explore variations and make it your own. Dive into chickpea curry and savor every bite!
