
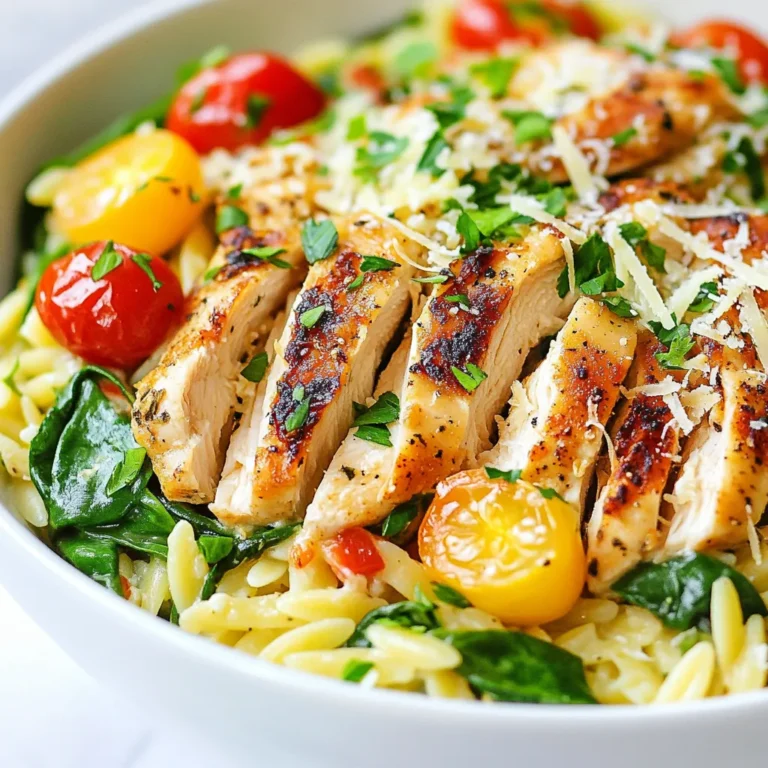
2. Lemon Garlic Roasted Chicken Flavorful and Simple Meal
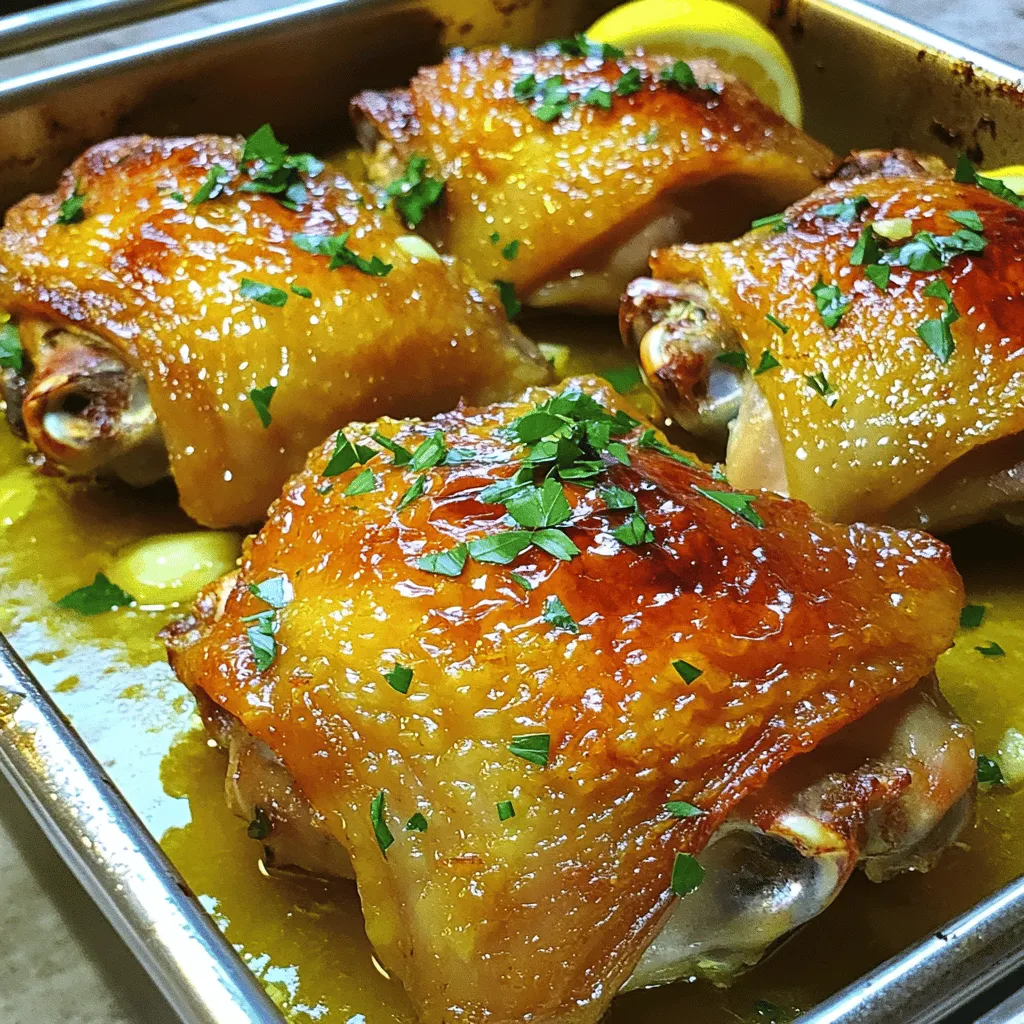
Looking for a meal that’s packed with flavor but easy to make? You’ve come to the right place! My Lemon Garlic Roasted Chicken combines fresh flavors and simple steps. Whether you’re cooking for family or friends, this dish will impress everyone at the table. Join me as I guide you through the ingredients, tips, and variations that will make this chicken a go-to in your kitchen. Let’s get cooking!
Ingredients
Main Ingredients for Lemon Garlic Roasted Chicken
– 2 bone-in, skin-on chicken thighs
– 1 large lemon, zested and juiced
– 4 cloves of fresh garlic, finely minced
– 2 tablespoons high-quality olive oil
– 1 teaspoon dried oregano
– 1 teaspoon smoked paprika
– Salt and freshly cracked black pepper to taste
– Fresh parsley, chopped, for a vibrant garnish
The main ingredients create a bright and tasty dish. The lemon adds a nice zing, while the garlic gives it depth. Chicken thighs are juicy and flavorful, making them perfect for roasting.
Optional Ingredients for Extra Flavor
– 1 teaspoon honey for a touch of sweetness
– 1 teaspoon red pepper flakes for heat
– 1 tablespoon balsamic vinegar for richness
You can add honey for a sweet twist. Red pepper flakes bring some heat, while balsamic vinegar adds depth. These extras let you customize the dish to your taste.
Equipment Needed for Preparation
– Mixing bowl for the marinade
– Whisk for combining ingredients
– Roasting pan for cooking the chicken
– Meat thermometer to check doneness
– Cutting board and knife for prepping ingredients
Having the right tools makes cooking easier. A mixing bowl helps blend the marinade well. A meat thermometer ensures the chicken is safe to eat. The roasting pan gives the chicken room to brown nicely. This setup leads to a successful meal.
Step-by-Step Instructions
Preparing the Marinade
To make the marinade, gather your ingredients. You need lemon zest, lemon juice, garlic, olive oil, oregano, smoked paprika, salt, and pepper. In a small bowl, mix these items well. This blend gives your chicken a fresh and bold flavor. Using fresh garlic and good olive oil makes a big difference.
Marinating the Chicken
Take your chicken thighs and place them in a dish or a bag. Pour the marinade over the chicken, covering each piece. This step is key. The longer you let it sit, the better the taste. Aim for at least 30 minutes. If you can, let it marinate for up to 2 hours in the fridge.
Roasting the Chicken
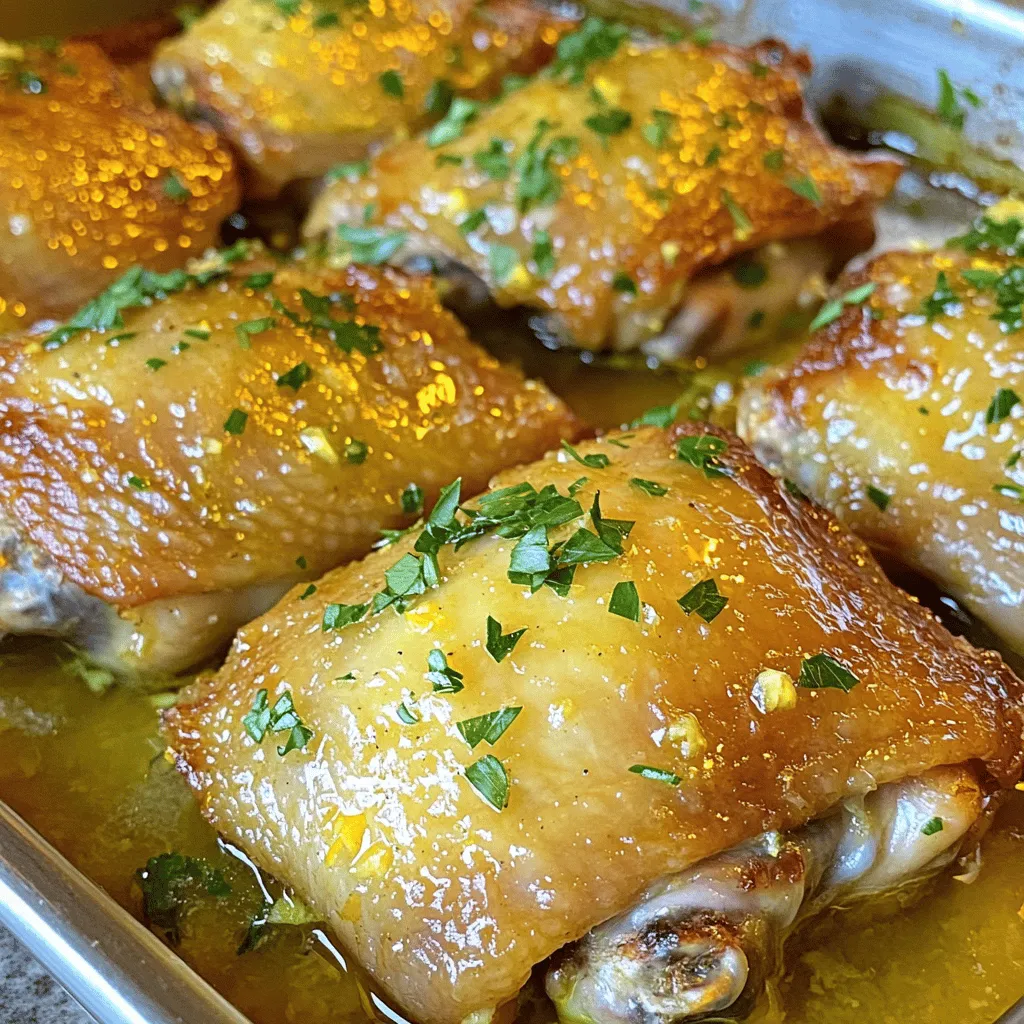
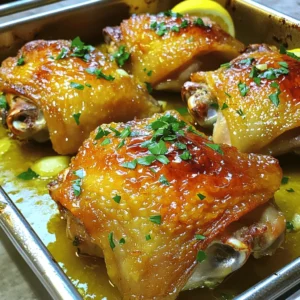
Preheat your oven to 425°F (220°C). This hot setting helps the skin become crispy. Place the marinated chicken in a roasting pan with skin facing up. Drizzle any leftover marinade on top. Roast the chicken for about 35-40 minutes. You want the internal temperature to reach 165°F (75°C). The skin should look golden brown and crisp. After roasting, let the chicken rest for 5 minutes before serving. This helps keep the juices inside, making each bite juicy and tender.
For a great finish, sprinkle chopped parsley on top before serving. Enjoy your Lemon Garlic Roasted Chicken with sides like roasted veggies or rice.
Tips & Tricks
How to Achieve Crispy Skin
To get crispy skin on your chicken, start with dry chicken thighs. Pat them dry with paper towels before marinating. This step helps the skin crisp up nicely in the oven. Another key is to roast at a high heat of 425°F. This helps render the fat under the skin. Also, don’t cover the chicken while it roasts. This allows steam to escape and keeps the skin crunchy.
Marination Time Tips
Marinating your chicken is vital for flavor. Aim for at least 30 minutes, but 2 hours is best. The longer you let it sit, the more flavors it absorbs. If you cannot wait, even 30 minutes will enhance the taste. Use a resealable bag for easy coating. Make sure all pieces are well coated with the lemon garlic marinade.
Pairing Suggestions for Side Dishes
This lemon garlic roasted chicken pairs well with many sides. Try roasted vegetables like carrots and broccoli. They add color and nutrients. Steamed rice is another good choice. It soaks up the juices well. For a fresh touch, a simple salad with mixed greens and a lemon vinaigrette works great. Explore these options to find your favorite pairing!
Variations
Herb Alternatives for Different Flavors
You can change the herbs to make this dish your own. Instead of oregano, try thyme or rosemary for a new taste. Both add a lovely aroma and flavor to the chicken. You can also use fresh herbs if you have them. Just chop them up and mix them in with the marinade.
Cooking Methods (Grilling or Slow-Cooking)
You can cook this chicken in different ways. Grilling adds a smoky flavor and crispy skin. Just follow the same marinating steps. Place the chicken on a hot grill and cook for about 6-8 minutes per side. Slow-cooking is another great option. It makes the chicken tender and juicy. Just place the marinated chicken in a slow cooker and cook on low for 6-8 hours.
Adding Vegetables to the Roasting Pan
Roasting vegetables alongside your chicken can add flavor and color. You can use carrots, potatoes, or bell peppers for a tasty mix. Chop them into even pieces and toss them with olive oil, salt, and pepper. Place them in the roasting pan with the chicken. They will soak up all the yummy flavors from the chicken as they cook. This makes for a complete meal all in one dish!
Storage Info
How to Store Leftovers Properly
To keep your lemon garlic roasted chicken fresh, let it cool first. Then, place it in an airtight container. Make sure to label the container with the date. Store it in the fridge for up to three days. This way, you’ll enjoy its great flavor later.
Reheating the Chicken for Best Results
When you’re ready to enjoy leftovers, preheat your oven to 350°F (175°C). Place the chicken in an oven-safe dish. Cover it with foil to keep moisture in. Heat for about 20 minutes or until warm. This helps keep the chicken juicy and tasty.
Freezing Tips for Long-Term Storage
If you want to keep the chicken longer, freezing is a great option. Wrap each piece tightly in plastic wrap. Then place them in a freezer bag. Remove as much air as you can. You can freeze the chicken for up to three months. When you’re ready to eat, thaw it in the fridge overnight before reheating. Enjoy your flavorful meal anytime!
FAQs
Can I use boneless chicken for this recipe?
Yes, you can use boneless chicken for this recipe. Boneless chicken cooks faster. It is great for quick meals. Use chicken breasts or thighs for the best taste. Just adjust the cooking time. Check for doneness after 25-30 minutes.
How can I tell if the chicken is fully cooked?
To check if the chicken is fully cooked, use a meat thermometer. Insert it into the thickest part of the meat. The internal temperature should read 165°F (75°C). If you don’t have a thermometer, cut into the chicken. The juice should run clear, and the meat should not be pink.
What are other herbs that go well with lemon garlic chicken?
Other herbs that pair well with lemon garlic chicken include:
– Thyme
– Rosemary
– Basil
– Tarragon
– Sage
These herbs add unique flavors. You can mix and match them based on your taste. Feel free to experiment for more delicious meals.
Lemon garlic roasted chicken is simple, tasty, and fun to make. We explored the main and optional ingredients, plus the tools you need. I shared step-by-step instructions to help you cook with ease.
Remember, marination time matters for the best flavor. Enjoy crispy skin with my tips. You can mix it up with different herbs or cooking styles.
Storing leftovers correctly keeps your meal fresh. I hope you feel confident to try this dish yourself. Enjoy cooking!

. Start by gathering all your ingredients. You will need chicken, garlic, lemon juice, and spices. If you use wooden skewers, soak them in water for at least 30 minutes. This step helps keep them from burning on the grill. In a large bowl, mix the minced garlic, lemon juice, lemon zest, olive oil, smoked paprika, cayenne pepper, ground cumin, salt, and pepper. Whisk these together until they blend well. Then add the chicken cubes. Make sure each piece is coated in the marinade. Cover the bowl and place it in the fridge. Let it marinate for at least 1 hour, or longer if you have time. This will add great flavor to the chicken. Preheat your grill to medium-high heat. If you use a grill pan, heat it over medium on the stove. Once your chicken has marinated, thread the pieces onto the skewers. Leave a small space between each piece. This helps the chicken cook evenly. Grill the skewers for about 10 to 12 minutes. Turn them often to get nice grill marks. Check that the chicken reaches an internal temperature of 165°F (75°C). After grilling, let the skewers rest for a few minutes. This keeps the juices inside. Finally, garnish with fresh parsley before serving. This adds a nice touch to your dish. For the full recipe, check the instructions above. To get the best flavor, use fresh ingredients. Fresh garlic and lemon juice give a bright taste. When mixing the marinade, let the spices blend well. They create a rich flavor. Don't rush the marinating. Allow at least one hour, or better yet, overnight. This soaking time lets the chicken absorb all those tasty flavors. Adjust the cayenne pepper based on your spice level. This way, you can make the dish mild or fiery to fit your taste. One common mistake is not soaking wooden skewers. If you skip this step, they can burn on the grill. Always soak them for at least thirty minutes. Another mistake is overcrowding the skewers. Leave some space between the chicken pieces. This helps them cook evenly. Also, don't rush the resting time after grilling. Letting them rest keeps the juices inside, making the chicken juicy. To make your skewers look great, use a large serving platter. Arrange the skewers neatly. Add fresh lemon wedges around them for color. A sprinkle of chopped parsley on top makes it more inviting. For an extra treat, serve with a yogurt dip or tzatziki. This adds creaminess and coolness to the spicy flavors. These simple steps can elevate your dish and impress your guests. For the complete guide on making these skewers, check the Full Recipe. {{image_4}} You can swap chicken for other proteins. Try shrimp for a quick cook. Beef or pork also works well. Just adjust your cooking time to avoid overcooking. Fish, like salmon, can add a rich flavor. Each protein brings its own taste. For a vegetarian version, use firm tofu. It soaks up flavors well. You can also try mushrooms for a meaty texture. Bell peppers, zucchini, and cherry tomatoes make colorful additions. For a vegan option, skip the chicken and keep the marinade. Mix things up with different marinades. Try adding soy sauce or ginger for an Asian twist. A spicy chili paste can add heat. For a Mediterranean flair, use herbs like oregano and thyme. Experiment with what you like for new tastes. For the full recipe, check out the details above. After enjoying your spicy lemon garlic chicken skewers, let any leftovers cool down. Place them in an airtight container. Store them in the fridge for up to three days. This keeps the chicken fresh and tasty for later meals. To reheat the chicken skewers, preheat your oven to 350°F (175°C). Place the skewers on a baking sheet. Heat for about 10-15 minutes or until they are warm. You can also use a microwave. Heat them on medium power for 1-2 minutes. This way, the chicken stays juicy and delicious. If you want to save the skewers for later, freezing is a great option! Wrap each skewer in plastic wrap or aluminum foil. Place them in a freezer-safe bag. They can last up to three months in the freezer. When you are ready to eat them, thaw them in the fridge overnight. Then, reheat as mentioned above for a tasty meal. For the full recipe, check out the link! You should marinate chicken for at least 1 hour. For the best taste, let it sit overnight. This longer time allows the flavors to soak in well. The garlic and lemon will really shine through. Just remember, the longer the chicken sits in the marinade, the more flavorful it becomes. Yes, you can cook these skewers in the oven. Preheat your oven to 400°F (200°C). Line a baking sheet with foil for easy cleanup. Place the skewers on the sheet and bake for about 15-20 minutes. Make sure to turn them halfway through for even cooking. Check that the chicken reaches 165°F (75°C) inside. These skewers go great with many side dishes. Here are some tasty options: - Grilled vegetables like bell peppers and zucchini - A fresh green salad with lemon vinaigrette - Rice or quinoa to soak up the juices - Garlic bread for a crunchy contrast Each of these sides will add a nice balance to the meal. To change the spice level, simply adjust the cayenne pepper. For less heat, use half a teaspoon or skip it. If you want more spice, add an extra teaspoon. You can also use spicy marinades or hot sauce for extra kick. Always taste as you go, so you can find your perfect level of heat. For the full recipe, check the earlier section. Enjoy cooking! You learned how to make Spicy Lemon Garlic Chicken Skewers. We covered the main ingredients, marinade, and garnishes. I provided step-by-step instructions for grilling. You also got tips for perfect flavor and common mistakes to avoid. There are variations, like using different proteins and marinades. Lastly, I shared storage info and answered key FAQs. Try these skewers for your next cookout. Enjoy the bold flavors and easy prep!](https://goldendishy.com/wp-content/uploads/2025/06/b1f94ef8-81fb-4621-8ae2-1513b5b656e4-768x768.webp)