Cheesy Broccoli and Rice Casserole Easy Family Meal

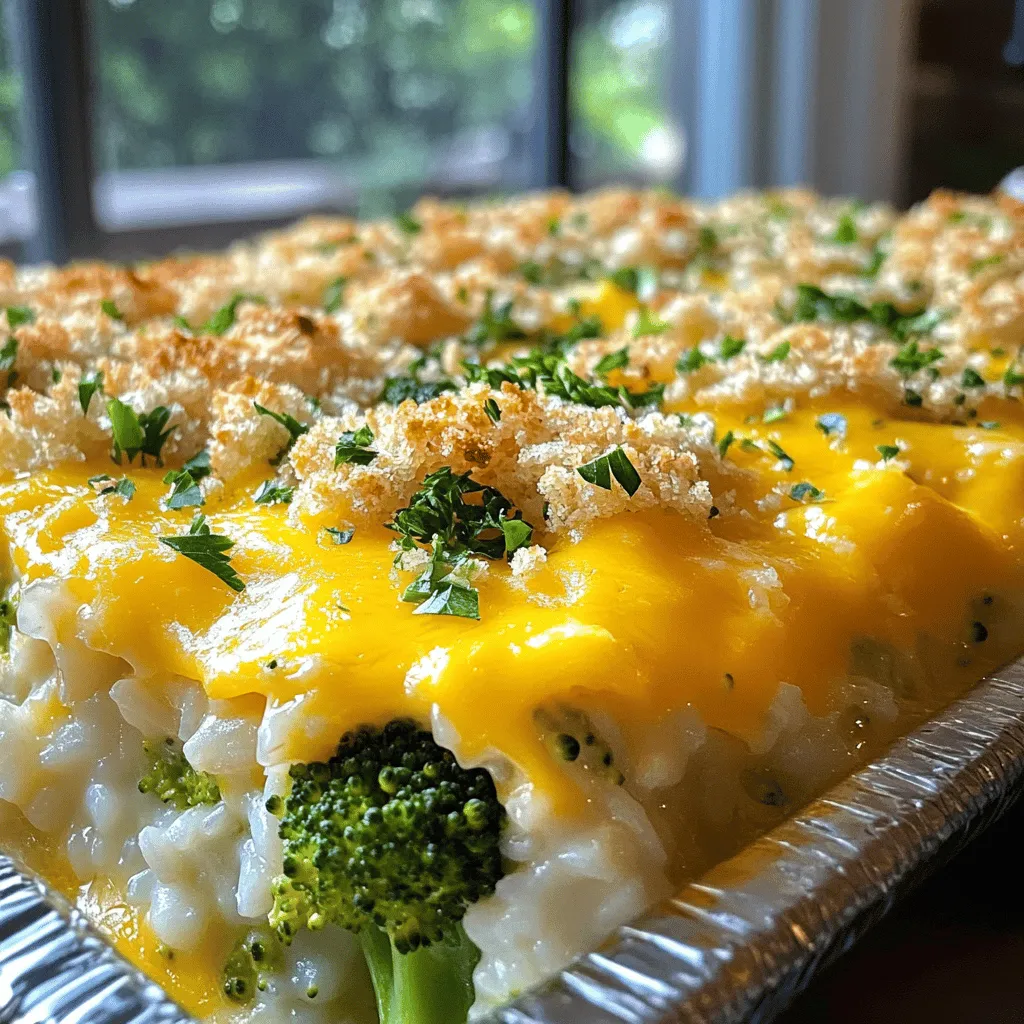
Looking for a quick and tasty dinner that your whole family will love? This Cheesy Broccoli and Rice Casserole is the answer! It’s easy to make, packed with flavor, and a great way to get kids excited about vegetables. In this post, I’ll guide you through simple steps, share ingredient tips, and suggest fun variations. Let’s dive into this comforting dish that fits perfectly on your table!
Ingredients
List of Required Ingredients
To make this Cheesy Broccoli and Rice Casserole, you need these key ingredients:
– 2 cups cooked rice (white or brown)
– 1 head of fresh broccoli, cut into bite-sized florets
– 1 cup shredded sharp cheddar cheese
– 1 cup shredded mozzarella cheese
– 1 cup cream of mushroom soup (store-bought or homemade)
– 1/2 cup milk (whole or low-fat)
– 1/2 cup finely chopped onions
– 2 cloves garlic, minced
– 1 teaspoon smoked paprika
– Salt and pepper to taste
– 1/2 cup breadcrumbs (optional for topping)
– Fresh parsley, chopped (for garnish, optional)
Alternative Ingredient Options
If you want to switch things up, you can consider these alternatives:
– Use quinoa instead of rice for a different grain.
– Swap cream of mushroom soup for cream of chicken or a cheese soup.
– Try using different cheese types like gouda or pepper jack for unique flavors.
– Replace fresh broccoli with frozen broccoli for convenience.
Ingredient Substitutions
Do you need to substitute any ingredients? Here are some easy swaps:
– For a dairy-free version, try coconut milk and vegan cheese.
– If you don’t have smoked paprika, regular paprika works well too.
– Instead of onions, use shallots for a milder taste.
– If you’re out of breadcrumbs, crushed crackers or oats can work as a topping.
This recipe is flexible. Don’t hesitate to mix and match based on what you have at home.
Step-by-Step Instructions
Preparation and Preheating Oven
First, preheat your oven to 350°F (175°C). This step helps your casserole cook evenly. Make sure your oven is hot before you bake the dish.
Cooking Broccoli: Blanching Method
Next, get a large pot and fill it with water. Add a pinch of salt and bring it to a boil. Once the water is bubbling, add the broccoli florets. Blanch them for about 2-3 minutes. You want them bright green and tender-crisp. After that, drain the broccoli right away. This stops the cooking and keeps the color bright.
Mixing Ingredients for the Casserole
In a big mixing bowl, combine your cooked rice and the blanched broccoli. Add the chopped onions, minced garlic, cream of mushroom soup, and milk. Stir in half of the cheddar and mozzarella cheese. Don’t forget the smoked paprika! Season with salt and pepper. Mix well until everything is nicely coated.
Transferring and Baking the Casserole
Now, take the mixture and put it into a greased 9×13 inch baking dish. Spread it out evenly. Top it with the rest of the cheese. If you like crunch, sprinkle some breadcrumbs on top. Bake it in the oven for 25-30 minutes. You want the cheese to melt and bubble. It should also turn a light golden brown. When it’s ready, let it cool for a few minutes before serving. This helps it hold its shape when you serve it.
Tips & Tricks
Best Practices for Perfect Texture
To make your casserole just right, focus on the rice and broccoli. Use cooked rice that is fluffy and not sticky. If your rice clumps together, rinse it under cold water before using it. For the broccoli, blanch it briefly. This keeps it bright green and crisp. Don’t overcook the broccoli; tender-crisp is the goal. If you want a creamier texture, add a bit more milk or cream of mushroom soup.
Flavor Enhancements for Your Casserole
To boost flavor, try adding spices or herbs. Smoked paprika gives a nice depth. You can also add black pepper and garlic for more kick. If you like a bit of heat, a pinch of red pepper flakes works well. Adding a squeeze of lemon juice before serving brightens the dish, too. For extra cheesiness, mix different cheese types. Mix in some Parmesan or pepper jack for a unique twist.
Serving Suggestions and Pairings
Serve the casserole hot from the oven. It looks great with fresh parsley sprinkled on top. Pair it with a simple salad or grilled chicken for a full meal. This dish also works well as a side for any main course. If you want something light, serve it with steamed veggies. For a cozy night, enjoy it with crusty bread and a warm soup.

Variations
Vegetarian Options
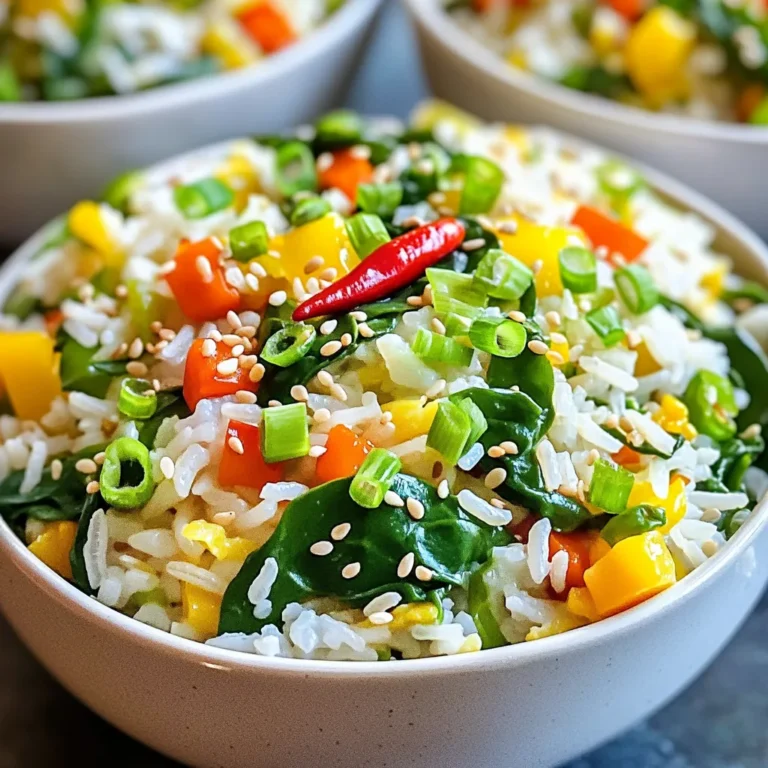
You can make this casserole vegetarian by skipping any meat. Focus on the veggies. You can use more broccoli, carrots, or bell peppers. Adding spinach gives great flavor too. You can also mix in some corn for sweetness. For a twist, try adding some cooked lentils. They give a hearty texture.
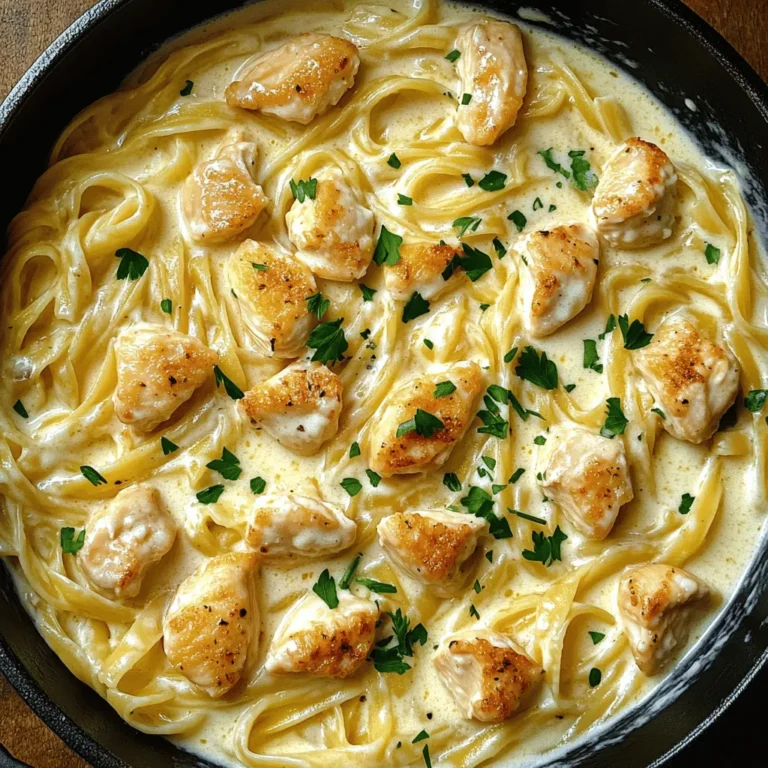
Adding Proteins: Chicken or Turkey
If you want to add protein, chicken or turkey works well. Cook and shred the meat first. Mix it with the rice and veggies. You can use rotisserie chicken for speed. Just add it to the bowl when you combine the other ingredients. If you like, season the meat with herbs or spices for extra flavor.
Gluten-Free Alternative
To make this dish gluten-free, substitute the breadcrumbs with crushed gluten-free crackers. You can also use gluten-free cream of mushroom soup. Check labels to make sure they are safe. This keeps the dish just as tasty without gluten. You can still enjoy the creamy texture and cheesy flavor!
Storage Info
How to Store Leftovers
To keep your Cheesy Broccoli and Rice Casserole fresh, store it in a sealed container. Place it in the fridge within two hours of cooking. It stays good for about three to four days. Make sure to cool it to room temperature first. This prevents moisture build-up and keeps the flavors intact.
Reheating Instructions
When you’re ready to enjoy leftovers, preheat your oven to 350°F (175°C). Place the casserole in an oven-safe dish. Cover it with foil to keep it moist. Heat for about 20 minutes. You can also microwave it for quicker reheating. Use a microwave-safe dish and cover it loosely. Heat in one-minute intervals until it’s hot all the way through.
Freezing for Future Meals
Freezing is great if you want to save some for later. First, let the casserole cool completely. Then, cut it into portions for easy use. Wrap each piece in plastic wrap and place it in a freezer-safe bag. Label it with the date. It keeps well for about two to three months. When you’re ready to eat, thaw overnight in the fridge. Reheat it the same way as mentioned above. Enjoy your easy family meal whenever you like!
FAQs
Can I make this casserole ahead of time?
Yes, you can! Prepare the casserole the night before. Just follow the steps, then cover it and chill in the fridge. When you’re ready to bake, take it out and let it sit for 30 minutes. This way, it warms up to room temp. Bake as usual, adding a few extra minutes if needed.
Is it possible to use frozen broccoli?
Absolutely! Frozen broccoli works great. Just make sure to thaw and drain it well. Excess water can make the casserole soggy. Add the broccoli to the mix just like you would with fresh. It saves time and still tastes delicious.
What can I serve with Cheesy Broccoli and Rice Casserole?
This casserole pairs well with many sides. Here are some ideas:
– Grilled chicken for protein.
– A fresh salad for a crisp touch.
– Roasted carrots for sweetness.
– Garlic bread for a tasty crunch.
Feel free to mix and match these options. Each side adds its own vibe to your meal!
This blog post covered all you need for a Cheesy Broccoli and Rice Casserole. We explored key ingredients, step-by-step cooking methods, and helpful tips to enhance flavors. You learned about variations, storage tips, and answers to common questions.
Remember, with some easy swaps and ideas, you can make this dish your own. Try different ingredients and enjoy the fun of cooking. This casserole is not just tasty; it’s also a great way to share a meal. Happy cooking!


. 1. Preheating the oven: Start by setting your oven to 400°F (200°C). This heat helps the chicken cook evenly and ensures a crispy skin. 2. Drying the chicken thighs: Use paper towels to pat the chicken thighs dry. Getting rid of moisture is key for that nice, crispy texture. 1. Mixing seasoning and applying to chicken: In a bowl, mix olive oil, garlic powder, dried oregano, salt, and black pepper. Rub this mix all over the chicken thighs. Be sure to coat them well for great flavor. 2. Layering the pesto: Take your basil pesto and spoon a good amount onto each thigh. Make sure each piece is coated well for the best taste. 1. Arranging chicken in the baking dish: Place the chicken thighs skin-side up in a baking dish. Scatter halved cherry tomatoes around the chicken. Their juices will add even more flavor. 2. Baking time and checking doneness: Put the dish in the oven. Bake for about 35-40 minutes. Check that the juices run clear and the thickest part of the thigh reads 165°F (74°C) on a meat thermometer. This step-by-step guide will help you create the best Baked Pesto Chicken Thighs. For the full recipe, check out the earlier section. To get crispy skin on your baked pesto chicken thighs, start by patting the chicken dry with paper towels. This step removes extra moisture, helping the skin crisp up nicely. Next, set your oven to 400°F (200°C). This temperature is key for cooking the chicken evenly while also achieving that perfect crispy finish. Mix your basil pesto with a teaspoon of olive oil if it feels thick. This makes it easier to coat the chicken thighs evenly. A good layer of pesto adds rich flavor to each bite. For a fresh touch, use herbs like basil or parsley to garnish the dish. They add color and a bright flavor. Serve your baked pesto chicken thighs on a large platter. Drizzle any juices from the baking dish over the chicken. Scatter the halved cherry tomatoes around for a colorful look. Pair this dish with a fresh salad or fluffy rice. Both sides complement the chicken well and make for a complete meal. For the full recipe, check out the details above. {{image_4}} You can use chicken breast instead of thighs. Chicken breasts are lean and cook faster. They will still soak up the pesto flavor. For a twist, try turkey. Turkey thighs or breasts work well too. They add a different taste while keeping it juicy. Experiment with homemade pesto. You can make it from sun-dried tomatoes or spinach. Both options give a unique flavor. If you like heat, add red pepper flakes. Just a pinch can spice things up without being too hot. This recipe can fit gluten-free diets. Just check that the pesto is gluten-free. Use gluten-free pasta or a side dish to complete the meal. For those avoiding dairy, choose dairy-free cheese. Many brands offer great options that melt well. Feel free to explore these variations to make your Baked Pesto Chicken Thighs even more exciting. For the full details on the base recipe, check the Full Recipe section. To store leftovers properly, let the chicken cool first. Place the chicken thighs in an airtight container. This will keep them fresh longer. I recommend using glass or BPA-free plastic. These containers seal well and prevent spills. You can freeze baked chicken thighs for later use. To do this, wrap each thigh in plastic wrap. Then, place them in a freezer bag. Remove as much air as possible before sealing. When you’re ready to eat, thaw the chicken overnight in the fridge. Reheat it in the oven at 350°F (175°C) until hot. In the fridge, baked pesto chicken thighs last about 3-4 days. Keep an eye on them. If you see any off-smells or discoloration, discard them right away. These signs mean the chicken is spoiled. Enjoy your meal with peace of mind by storing it properly. For the full recipe, check back to make this tasty dish! Bake chicken thighs for about 35 to 40 minutes. This time gives you juicy meat and crispy skin. Check the chicken at 35 minutes to see if it's done. The juices should run clear. If you have a meat thermometer, insert it in the thickest part. It should read 165°F (74°C). This temperature ensures the chicken is safe to eat. Yes, you can prep this dish ahead of time. Season the chicken and coat it with pesto. Place it in your baking dish and cover it. Store it in the fridge for up to 24 hours. When you're ready to cook, just bake it as directed. This makes meal prep easy and quick. Chicken should reach a safe cooking temperature of 165°F (74°C). This temperature kills harmful bacteria. Use a meat thermometer for the most accurate reading. Insert it into the thickest part of the thigh. Once it hits 165°F, your chicken is safe and ready to eat. This post covered juicy chicken thighs baked with pesto and cherry tomatoes. You learned about the key ingredients, seasoning, and steps to prepare this dish. I shared tips to achieve crispy skin and suggestions for variations. Storing leftovers and meal prep were also discussed. Incorporate these ideas in your cooking. Enjoy the flavors and share with others. Your kitchen is now ready for this tasty meal!](https://goldendishy.com/wp-content/uploads/2025/06/60e55a10-6222-4f06-b0be-30d915c75343-768x768.webp)

![To make this Creamy Tuscan White Bean Soup, gather these simple ingredients: - 2 cans (15 oz each) white beans (such as cannellini or navy beans), rinsed and drained - 1 tablespoon olive oil - 1 medium onion, finely diced - 2 cloves garlic, minced - 3 cups vegetable broth - 1 cup fresh spinach, roughly chopped - 1 cup full-fat coconut milk (for richer creaminess) - 1 teaspoon Italian seasoning blend - 1/2 teaspoon red pepper flakes (adjust based on your spice preference) - Salt and freshly ground black pepper, to taste - Fresh basil leaves, for garnish You can easily adapt this soup for different diets. Here are some options: - Use gluten-free vegetable broth if you need a gluten-free version. - Swap the coconut milk for almond milk for a lighter base. - If you are avoiding beans, try using lentils instead. - For added protein, consider adding cooked chicken or turkey. While fresh ingredients often taste best, canned ingredients save time. Here’s a breakdown: - Canned White Beans: Convenient and ready to use. Rinse them to remove excess sodium. - Fresh Spinach: Fresh spinach adds a vibrant color and flavor. - Fresh Garlic and Onion: These provide a strong base for your soup. Fresh is always best here. - Vegetable Broth: You can use homemade broth for more flavor or store-bought for quick prep. Using a mix of fresh and canned ingredients helps create a creamy and satisfying soup with less effort. For the full recipe, check it out above! 1. Sauté Aromatics: Start by heating olive oil in a large pot over medium heat. Once the oil is hot, add the diced onion. Sauté for about 5 to 7 minutes until the onion is soft and clear. 2. Add Garlic: Next, stir in minced garlic. Cook it for 1 minute. This will make the kitchen smell amazing. 3. Combine Main Ingredients: Now, add the rinsed white beans, vegetable broth, Italian seasoning, and red pepper flakes. Stir everything well and bring it to a gentle simmer. 4. Simmer for Flavor: Once the soup simmers, reduce the heat to low. Let it cook for about 15 minutes. This helps all the flavors blend nicely. 5. Blend for Creaminess: After 15 minutes, use an immersion blender to blend the soup until it's smooth. If you don’t have one, pour half into a regular blender, blend it, and return it to the pot. 6. Incorporate Coconut Milk: Pour in the full-fat coconut milk and stir to mix well. Then, add chopped spinach. Let it simmer for another 5 minutes until the spinach is tender. 7. Season to Taste: Taste the soup and add salt and black pepper as you like. 8. Serve and Garnish: Scoop the hot soup into bowls. Top with fresh basil leaves for extra flavor. - Prep Time: 10 minutes - Total Cooking Time: 30 minutes - Servings: 4-6 - Large pot - Immersion blender or regular blender - Wooden spoon for stirring - Measuring cups and spoons - Knife and cutting board for chopping With these steps, you can create a tasty and creamy Tuscan white bean soup. For the full recipe, check out the ingredients and instructions above. Enjoy making this warm comfort bowl! To make your soup creamy, use full-fat coconut milk. This adds a rich texture. Blend the soup well for smoothness. An immersion blender works best for this task. If you prefer, transfer half the soup to a regular blender. This method gives a nice blend of creaminess and beans. Add fresh herbs like basil at the end for bright flavor. A squeeze of lemon juice can also enhance taste. If you like it spicy, add more red pepper flakes. A good sprinkle of salt helps all the flavors pop. Consider using homemade vegetable broth for deeper taste. Don't rush the sautéing of the onions. This step builds the base flavor. Avoid blending the soup too early; let it simmer first. This helps flavors meld together. Always taste the soup before serving and adjust seasoning. Too little salt can make it bland. Lastly, don’t skip the fresh basil garnish. It adds color and flavor to each bowl. For the complete process, check out the Full Recipe. {{image_4}} You can easily switch ingredients in this soup to change its taste. Instead of white beans, try chickpeas or lentils. Both give a nice texture. For a richer flavor, add smoked paprika or sun-dried tomatoes. You can also swap coconut milk with heavy cream or cashew cream for a different creaminess. This soup is already vegan and gluten-free. Just ensure all ingredients are certified gluten-free. If you want to add protein, toss in some cooked quinoa or diced tofu. Both keep the soup hearty while sticking to your dietary needs. Get creative with your soup! Add roasted vegetables like carrots or zucchini for extra flavor. Top each bowl with crunchy croutons or toasted nuts for a nice contrast. You can even drizzle some balsamic glaze on top for a sweet touch. For a fresh kick, sprinkle some lemon zest before serving. Explore these ideas to make your creamy Tuscan white bean soup a personal favorite! For the full recipe, check out the [Full Recipe]. After making your Creamy Tuscan White Bean Soup, let it cool down. Once cooled, store it in an airtight container. Glass containers work great for this. Keep it in the fridge for up to 4 days. Make sure to label it with the date. This helps you keep track of freshness. When you’re ready to enjoy the soup again, pour it into a pot. Heat it on medium until it’s warm. Stir it often to prevent sticking. You can also use a microwave. Place the soup in a safe bowl and heat for 1-2 minutes. Stir and check the heat. This ensures even warming. Want to save some for later? You can freeze the soup! Use freezer-safe bags or containers. Leave some space at the top for expansion. The soup can last up to 3 months in the freezer. When you want to eat it, thaw it in the fridge overnight. Then, reheat it as described above. Enjoy your tasty meal whenever you want! For the full details of making this soup, check the Full Recipe. The best way to blend the soup is with an immersion blender. It makes blending easy and quick. Just blend until it’s smooth. If you don’t have one, use a regular blender. Pour half the soup into the blender, blend it, and return it to the pot. Yes, you can use dried beans. You will need to soak them first. Soak the dried beans overnight in water. Then, cook them until they are soft. This will take more time than using canned beans. Once cooked, follow the same steps in the recipe. To make the soup spicier, add more red pepper flakes. Start with an extra 1/4 teaspoon. You can also add hot sauce or diced jalapeños. Stir them in while the soup simmers. Taste as you go to find your perfect heat level. Enjoy experimenting with the spice! In this blog post, we looked at how to make Creamy Tuscan White Bean Soup. We covered ingredients, including options for diets like vegan and gluten-free. I explained step-by-step cooking, along with tips for the best creaminess and flavor. We also discussed storage and answered common questions. Making soup can be fun and easy. Try the variations and enjoy each bowl. You can impress yourself and others with this recipe. It’s a warm dish full of flavor and comfort.](https://goldendishy.com/wp-content/uploads/2025/07/ec110289-7482-4578-8259-8912d7aded83-768x768.webp)

